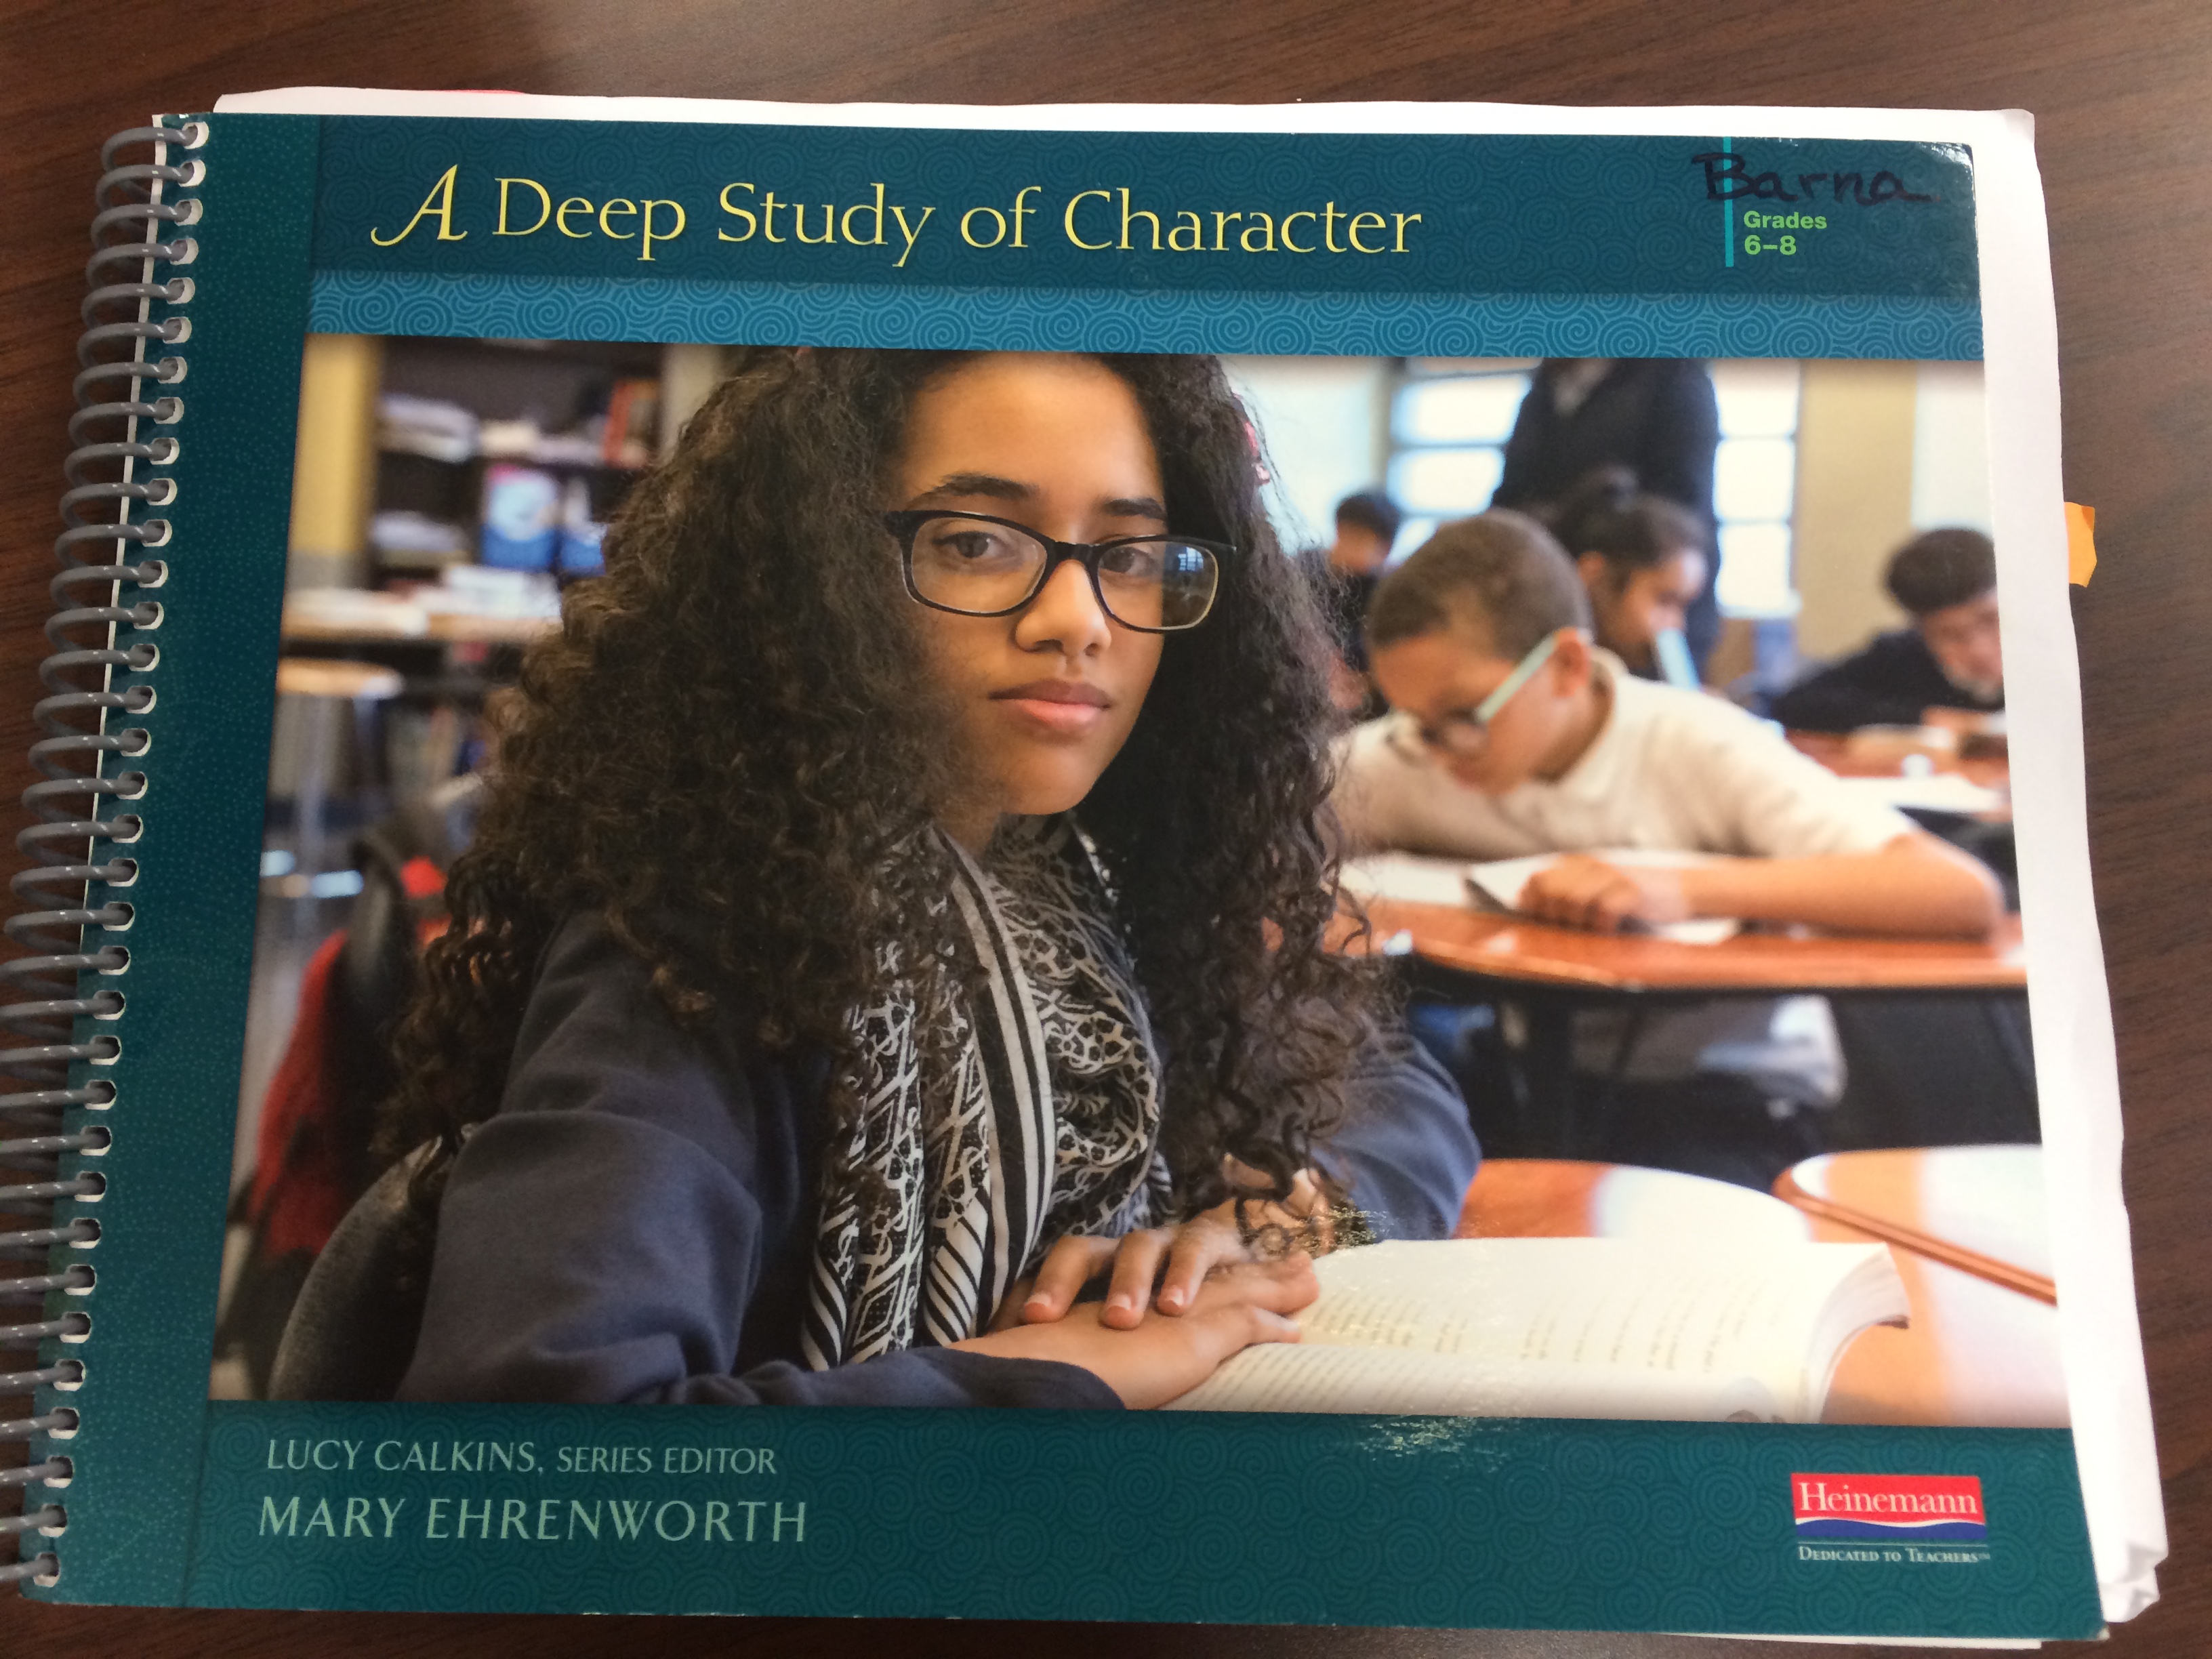
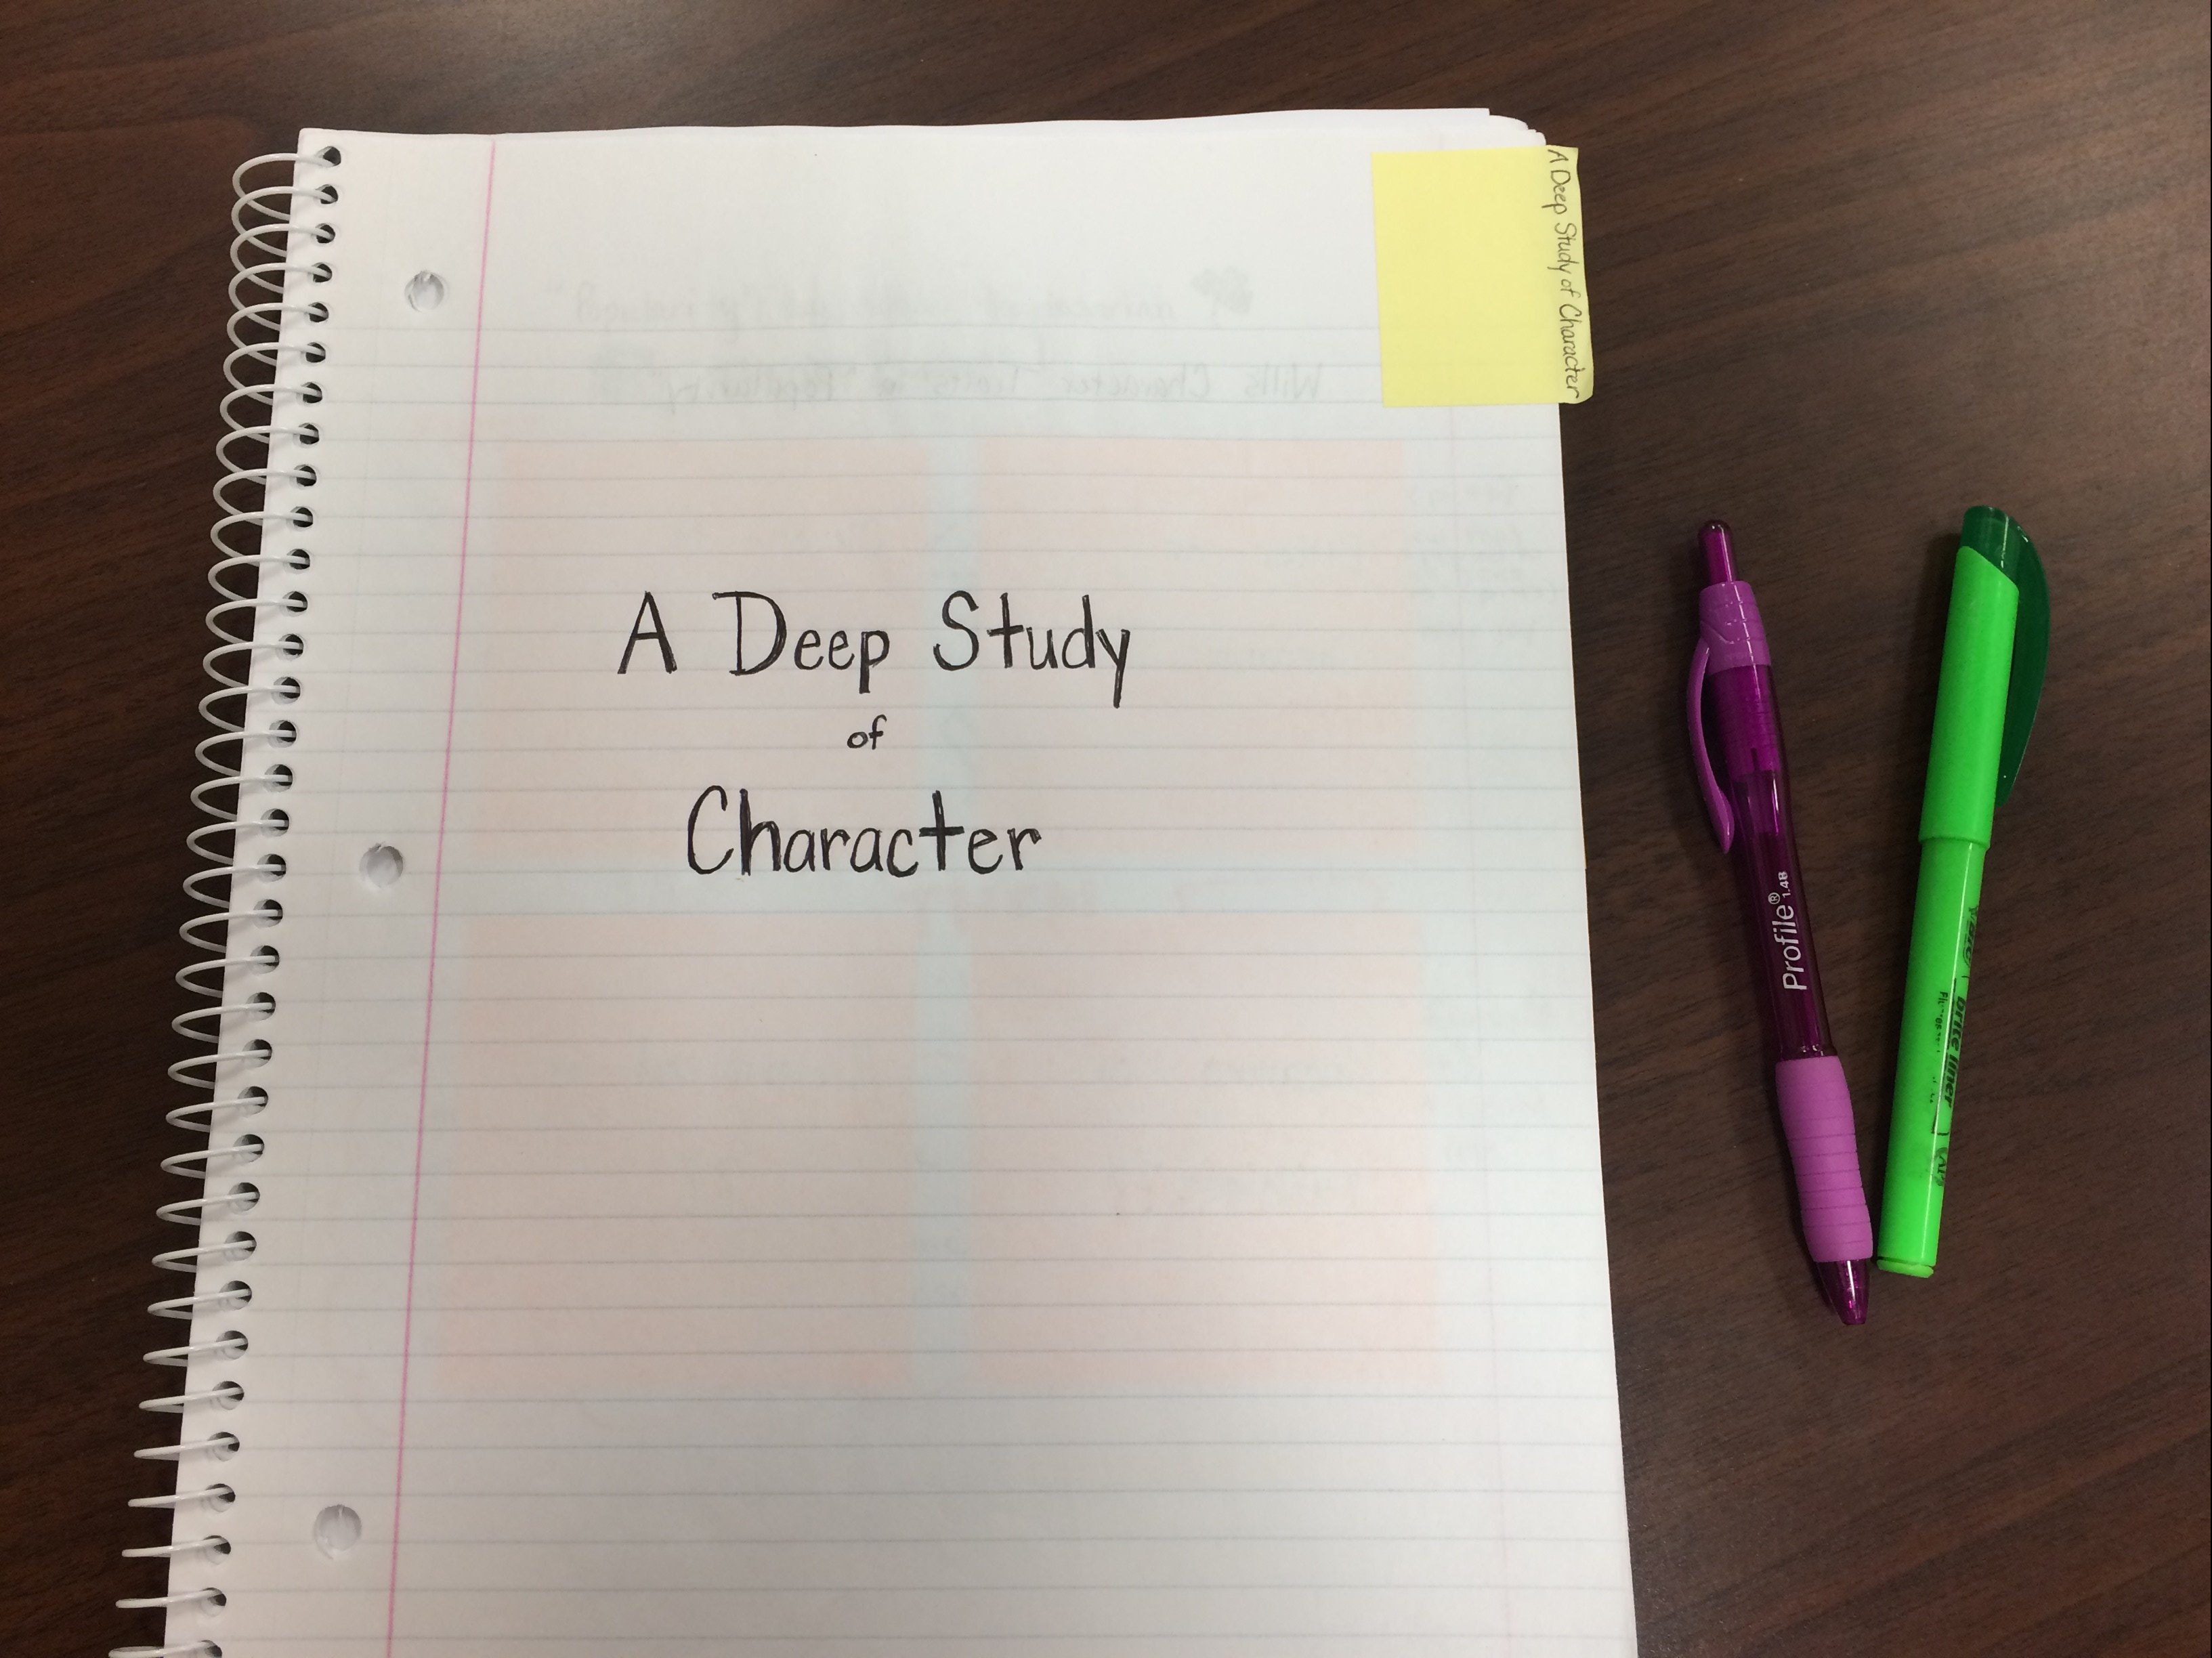
My last post (which you can view here) detailed how I first familiarized myself with the Teachers College A Deep Study of Character middle school reading unit by Lucy Calkins and colleagues. After creating my demonstration notebook, my mind began to drift toward a tool that teachers could use while conducting small groups and conferences. Since all of the teaching session are so clearly laid out for teachers, I knew they needed minimal scaffolding and would easily be brought to life in the classroom. Our district focus this year has been small groups and conferring, so I wanted something that teachers could keep at their fingertips to make the teaching of the unit more clear during this segment of their workshop.
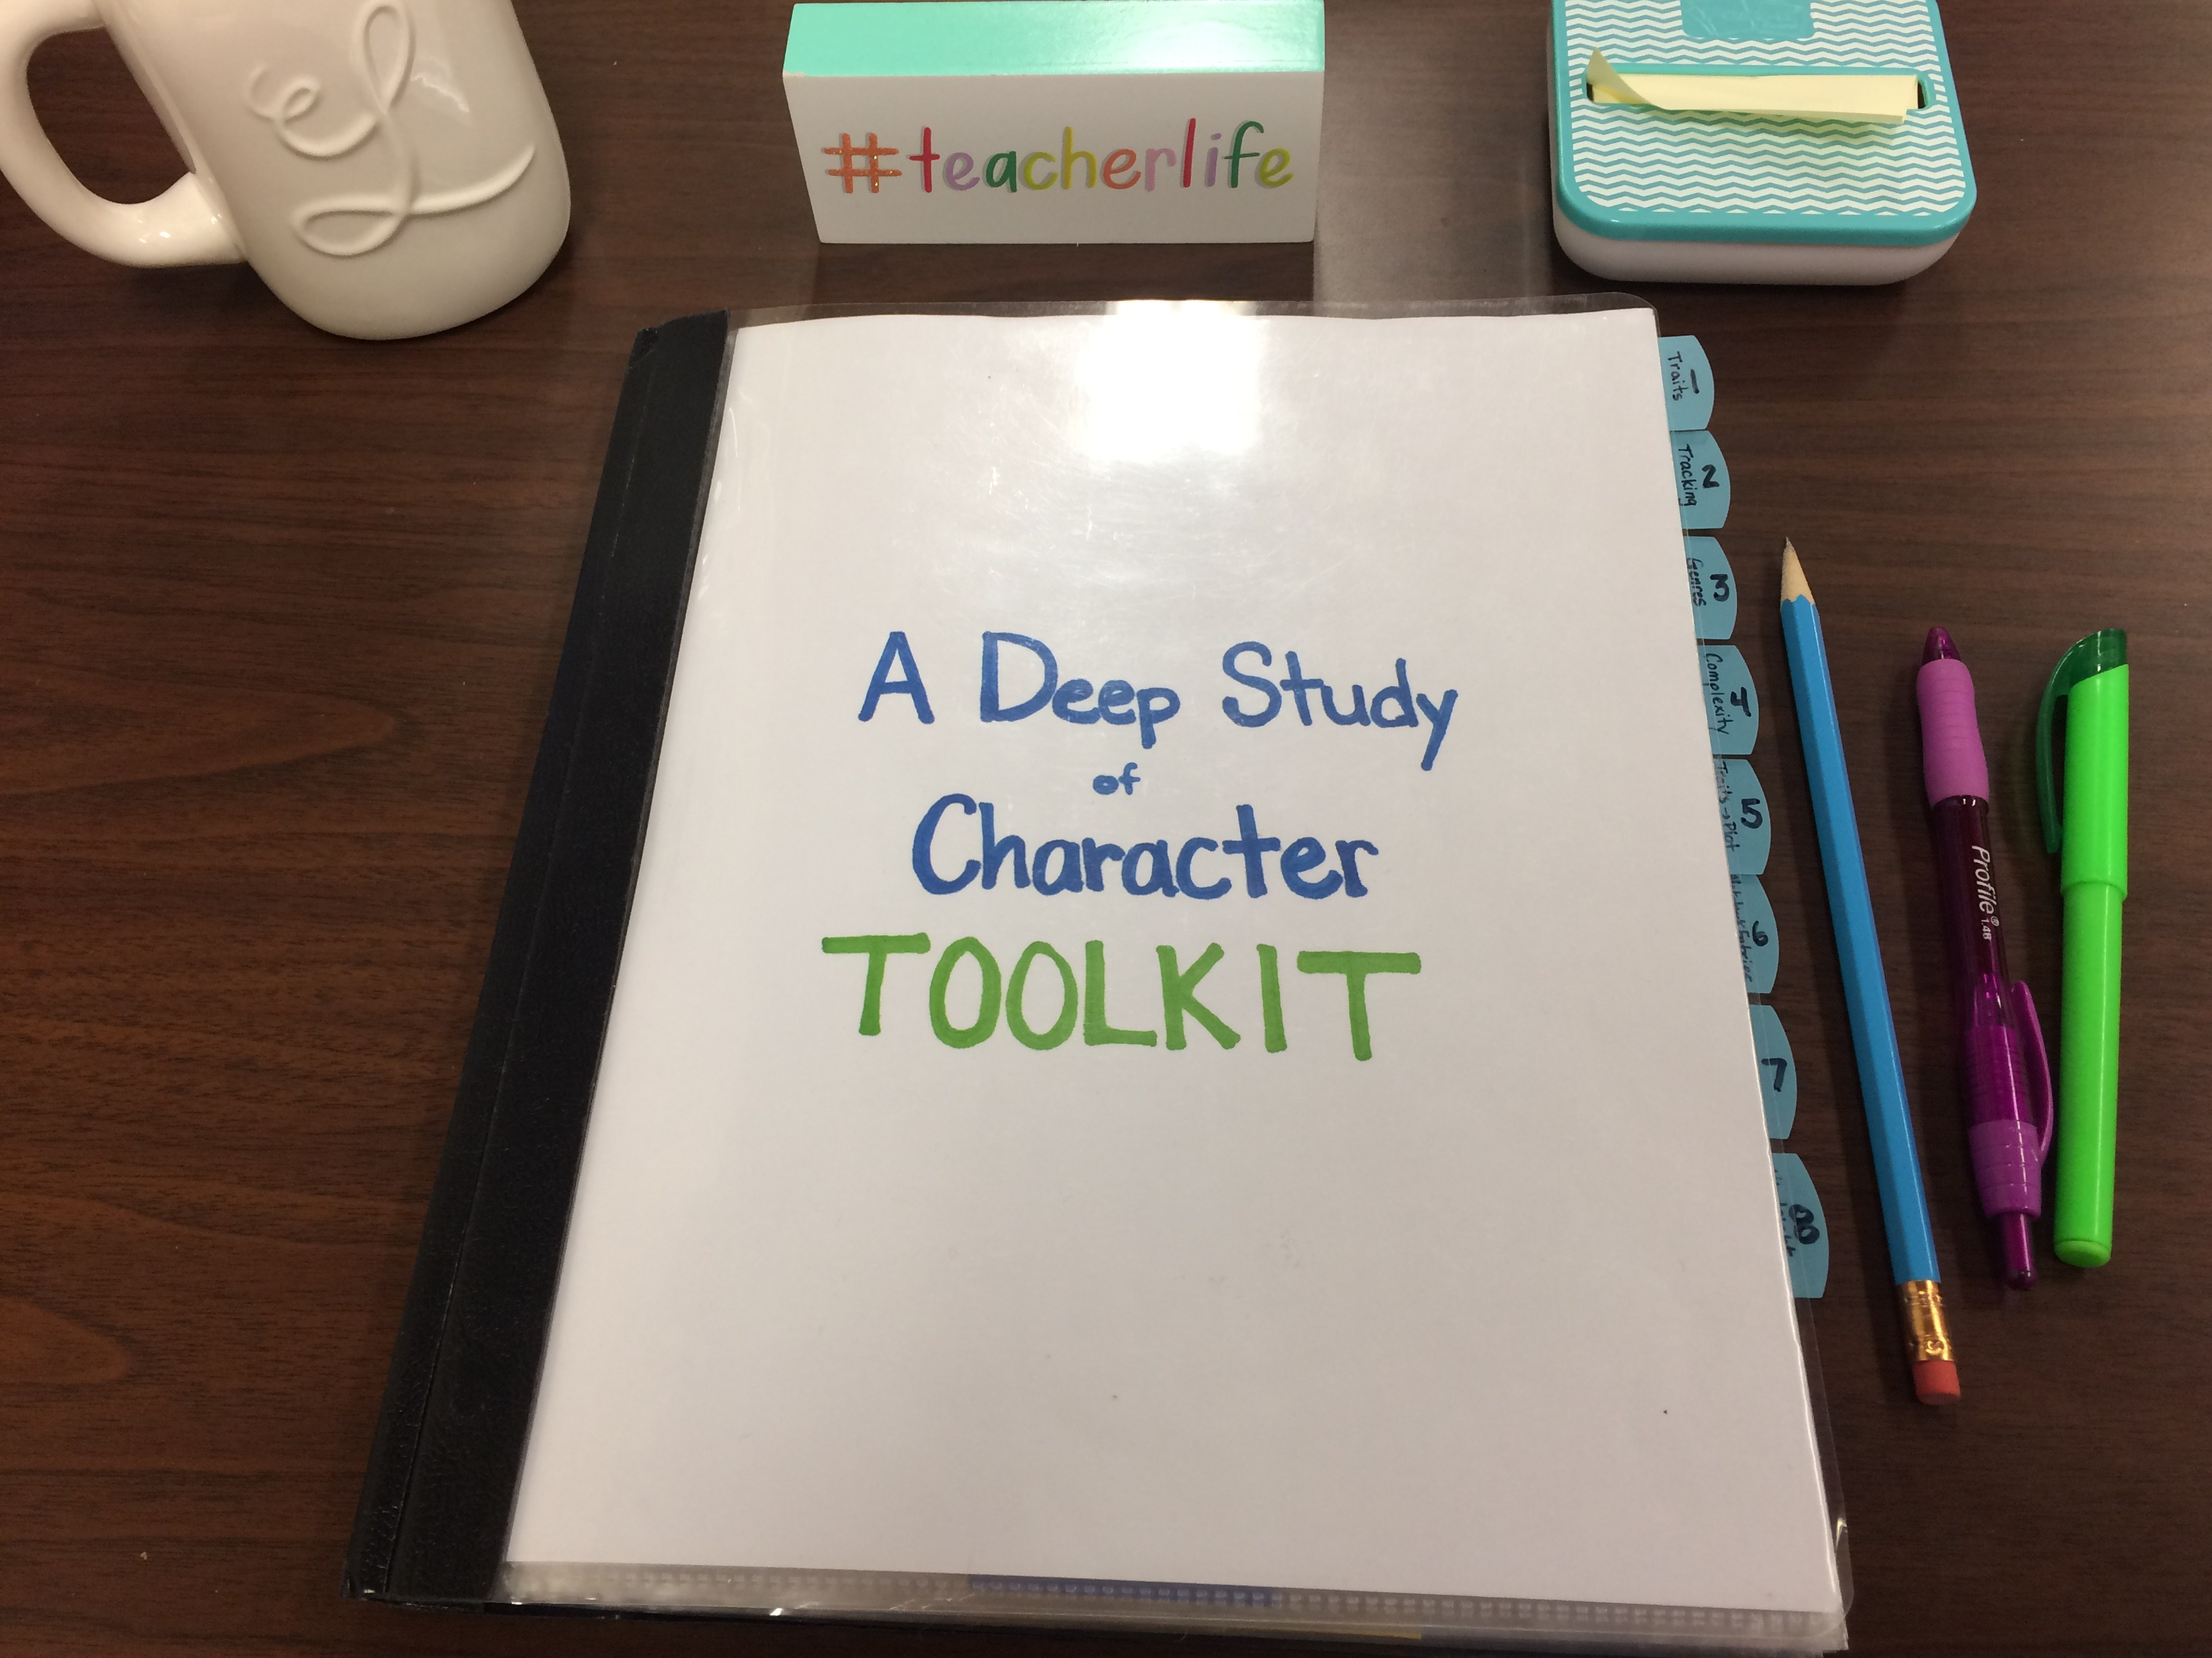
And so my A Deep Study of Character Toolkit was born!
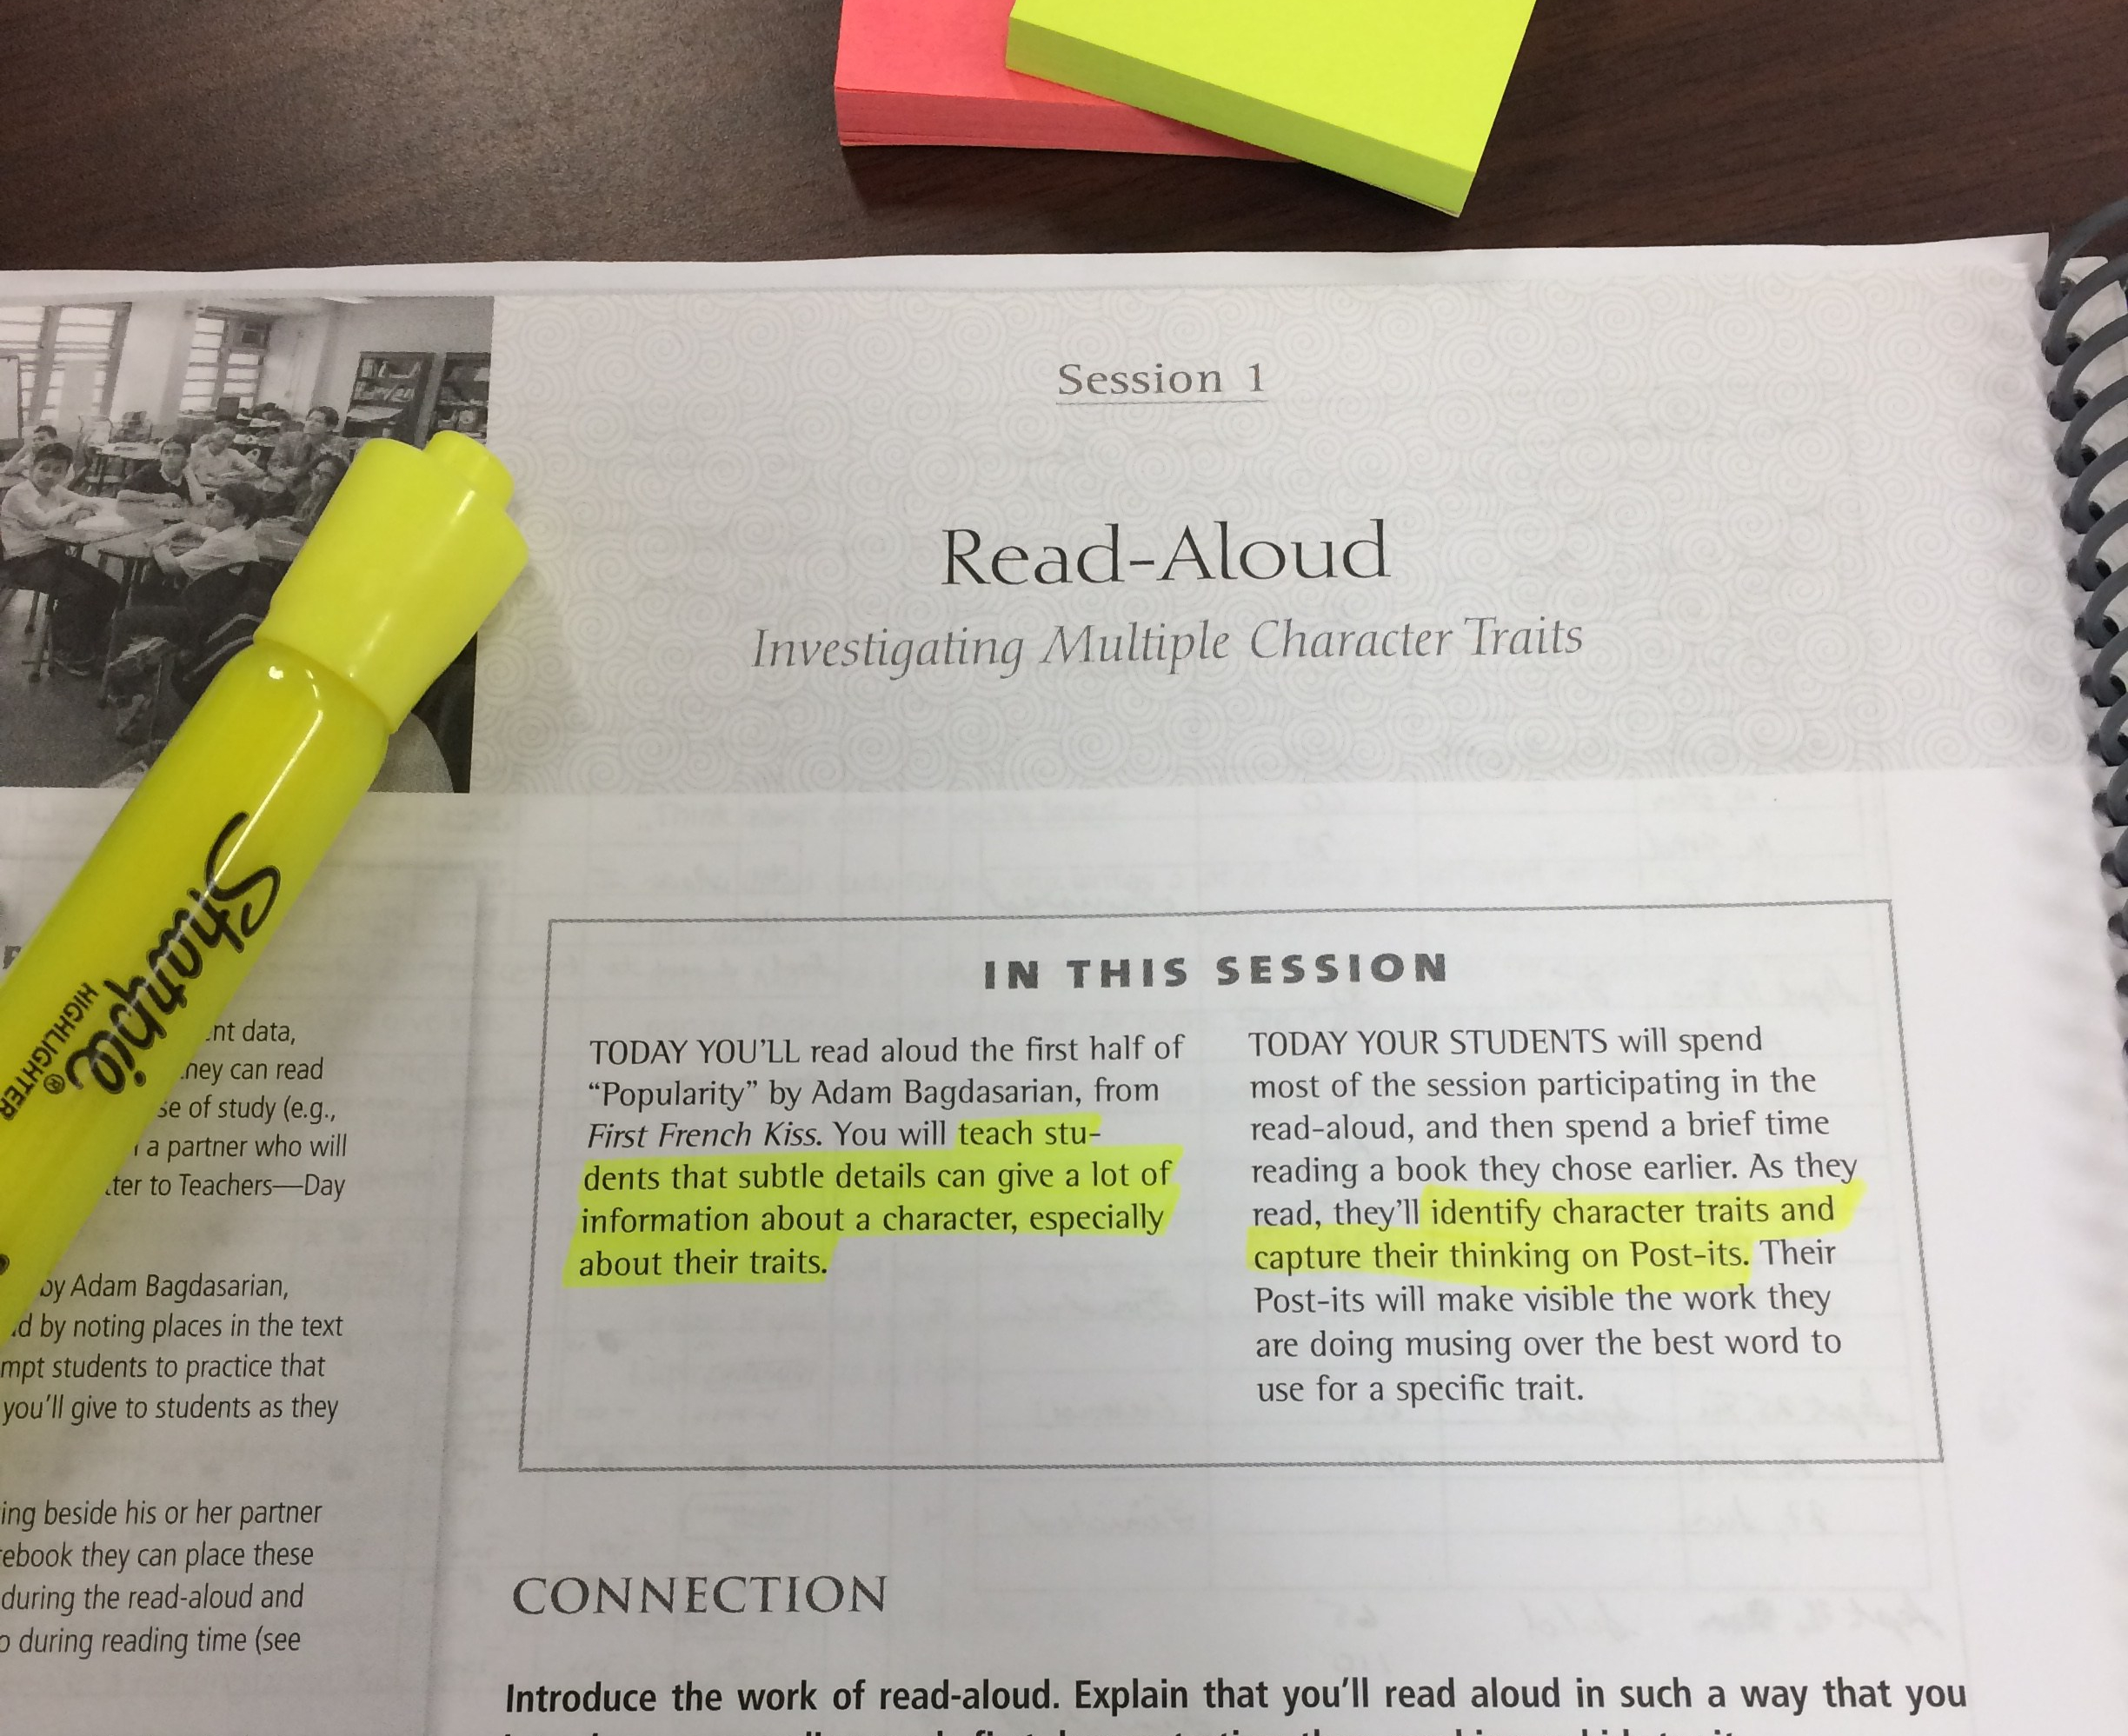
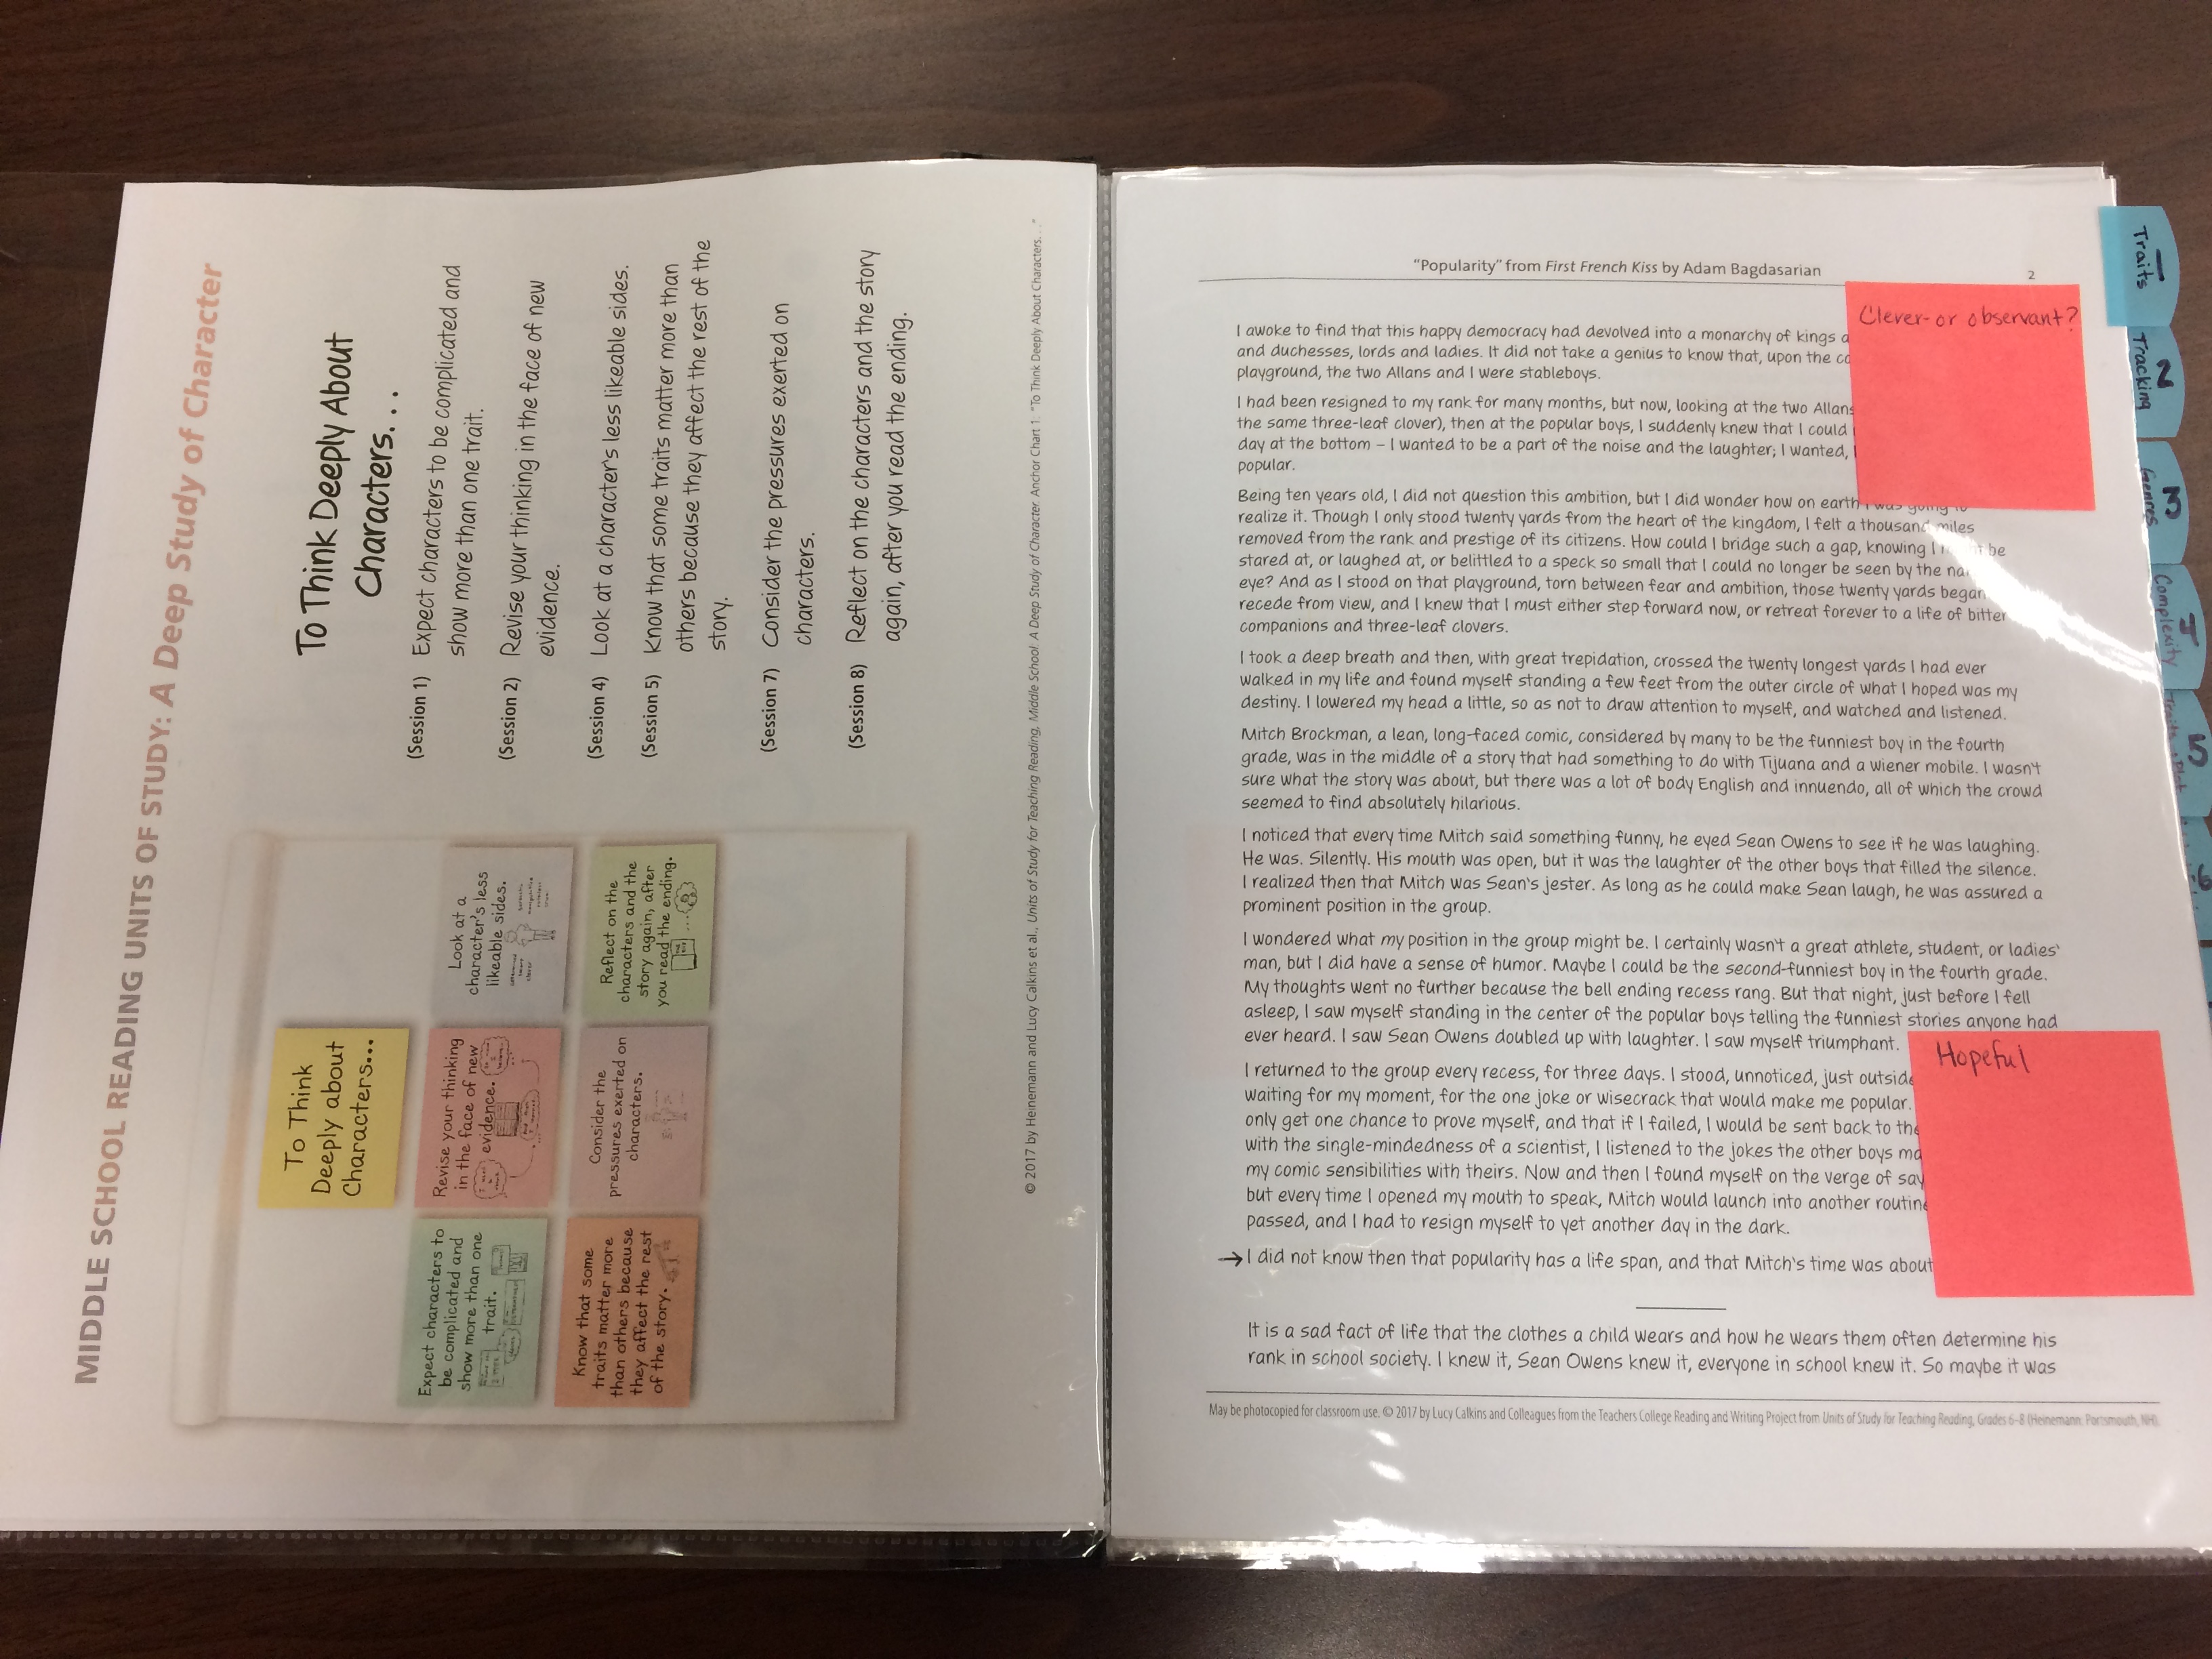
I decided to do a separate kit for each bend. This way the final product would not get too cumbersome. Remember, I want to be able to walk around with this easily, while students are independently reading. At the front of the kit I put a copy of the Bend I anchor chart, To Think Deeply About Characters…, as well as the anchor text, “Popularity” by Adam Bagdasarian.
For each session, I included the same three things:
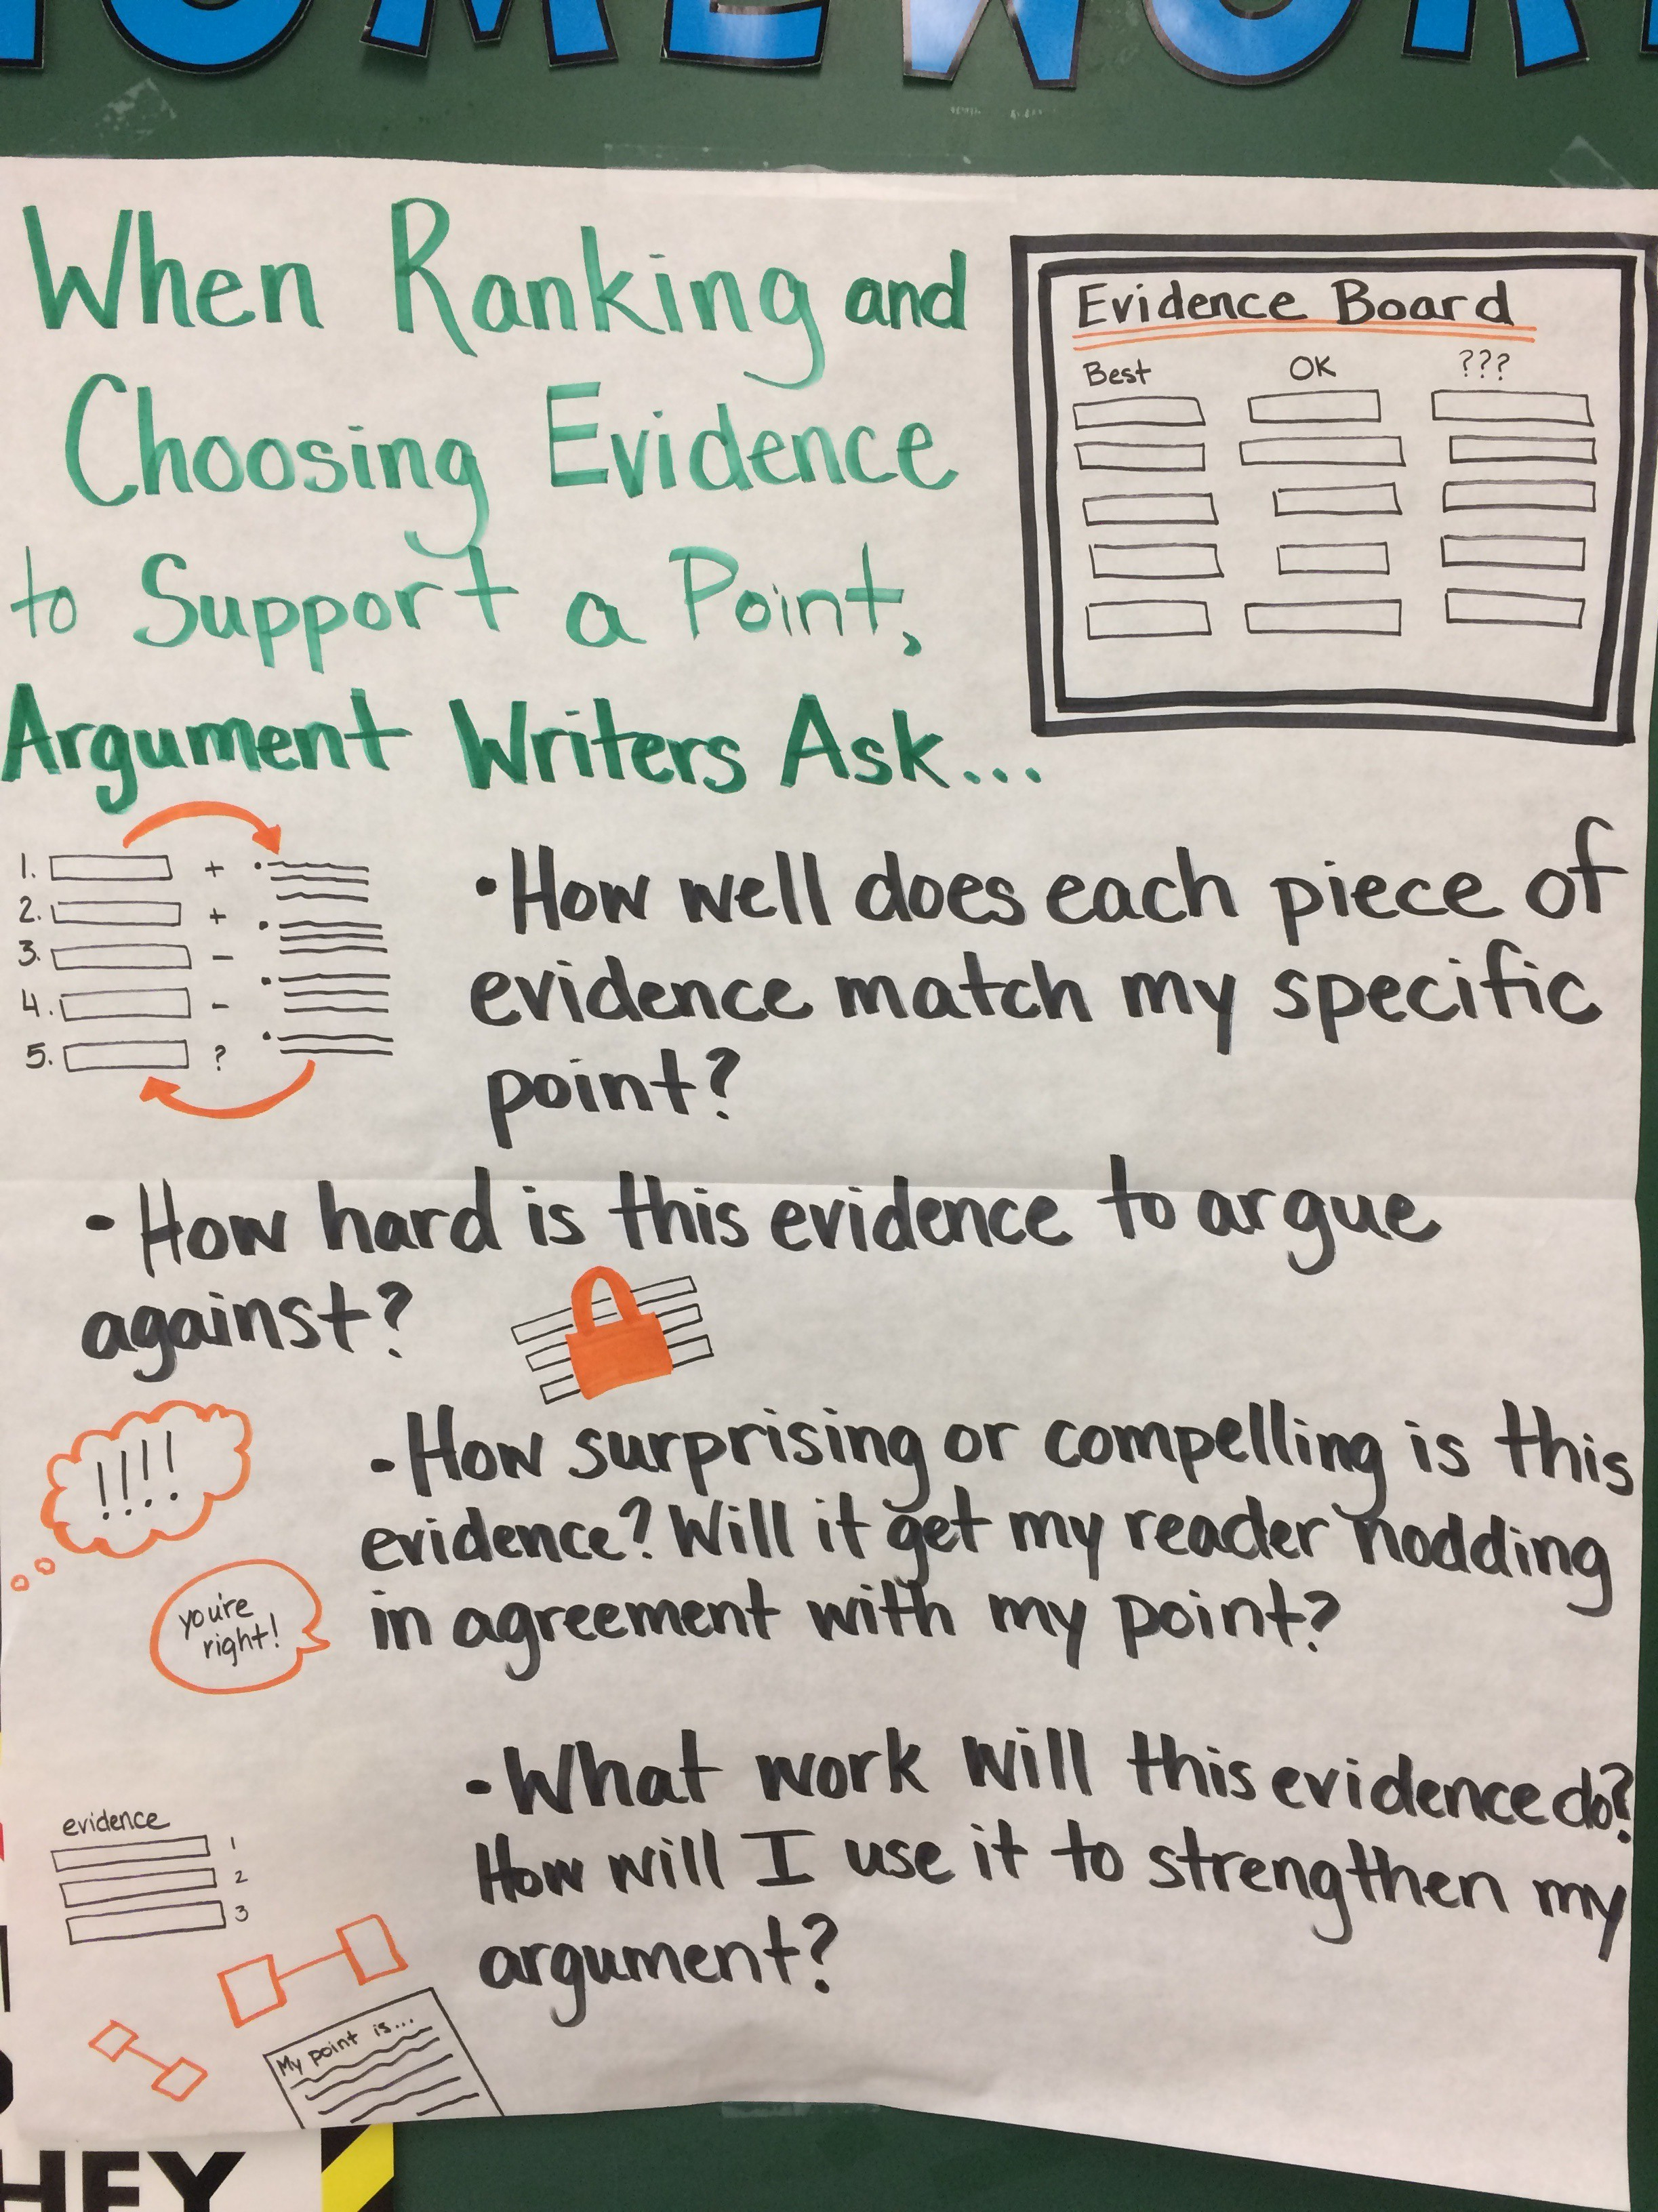
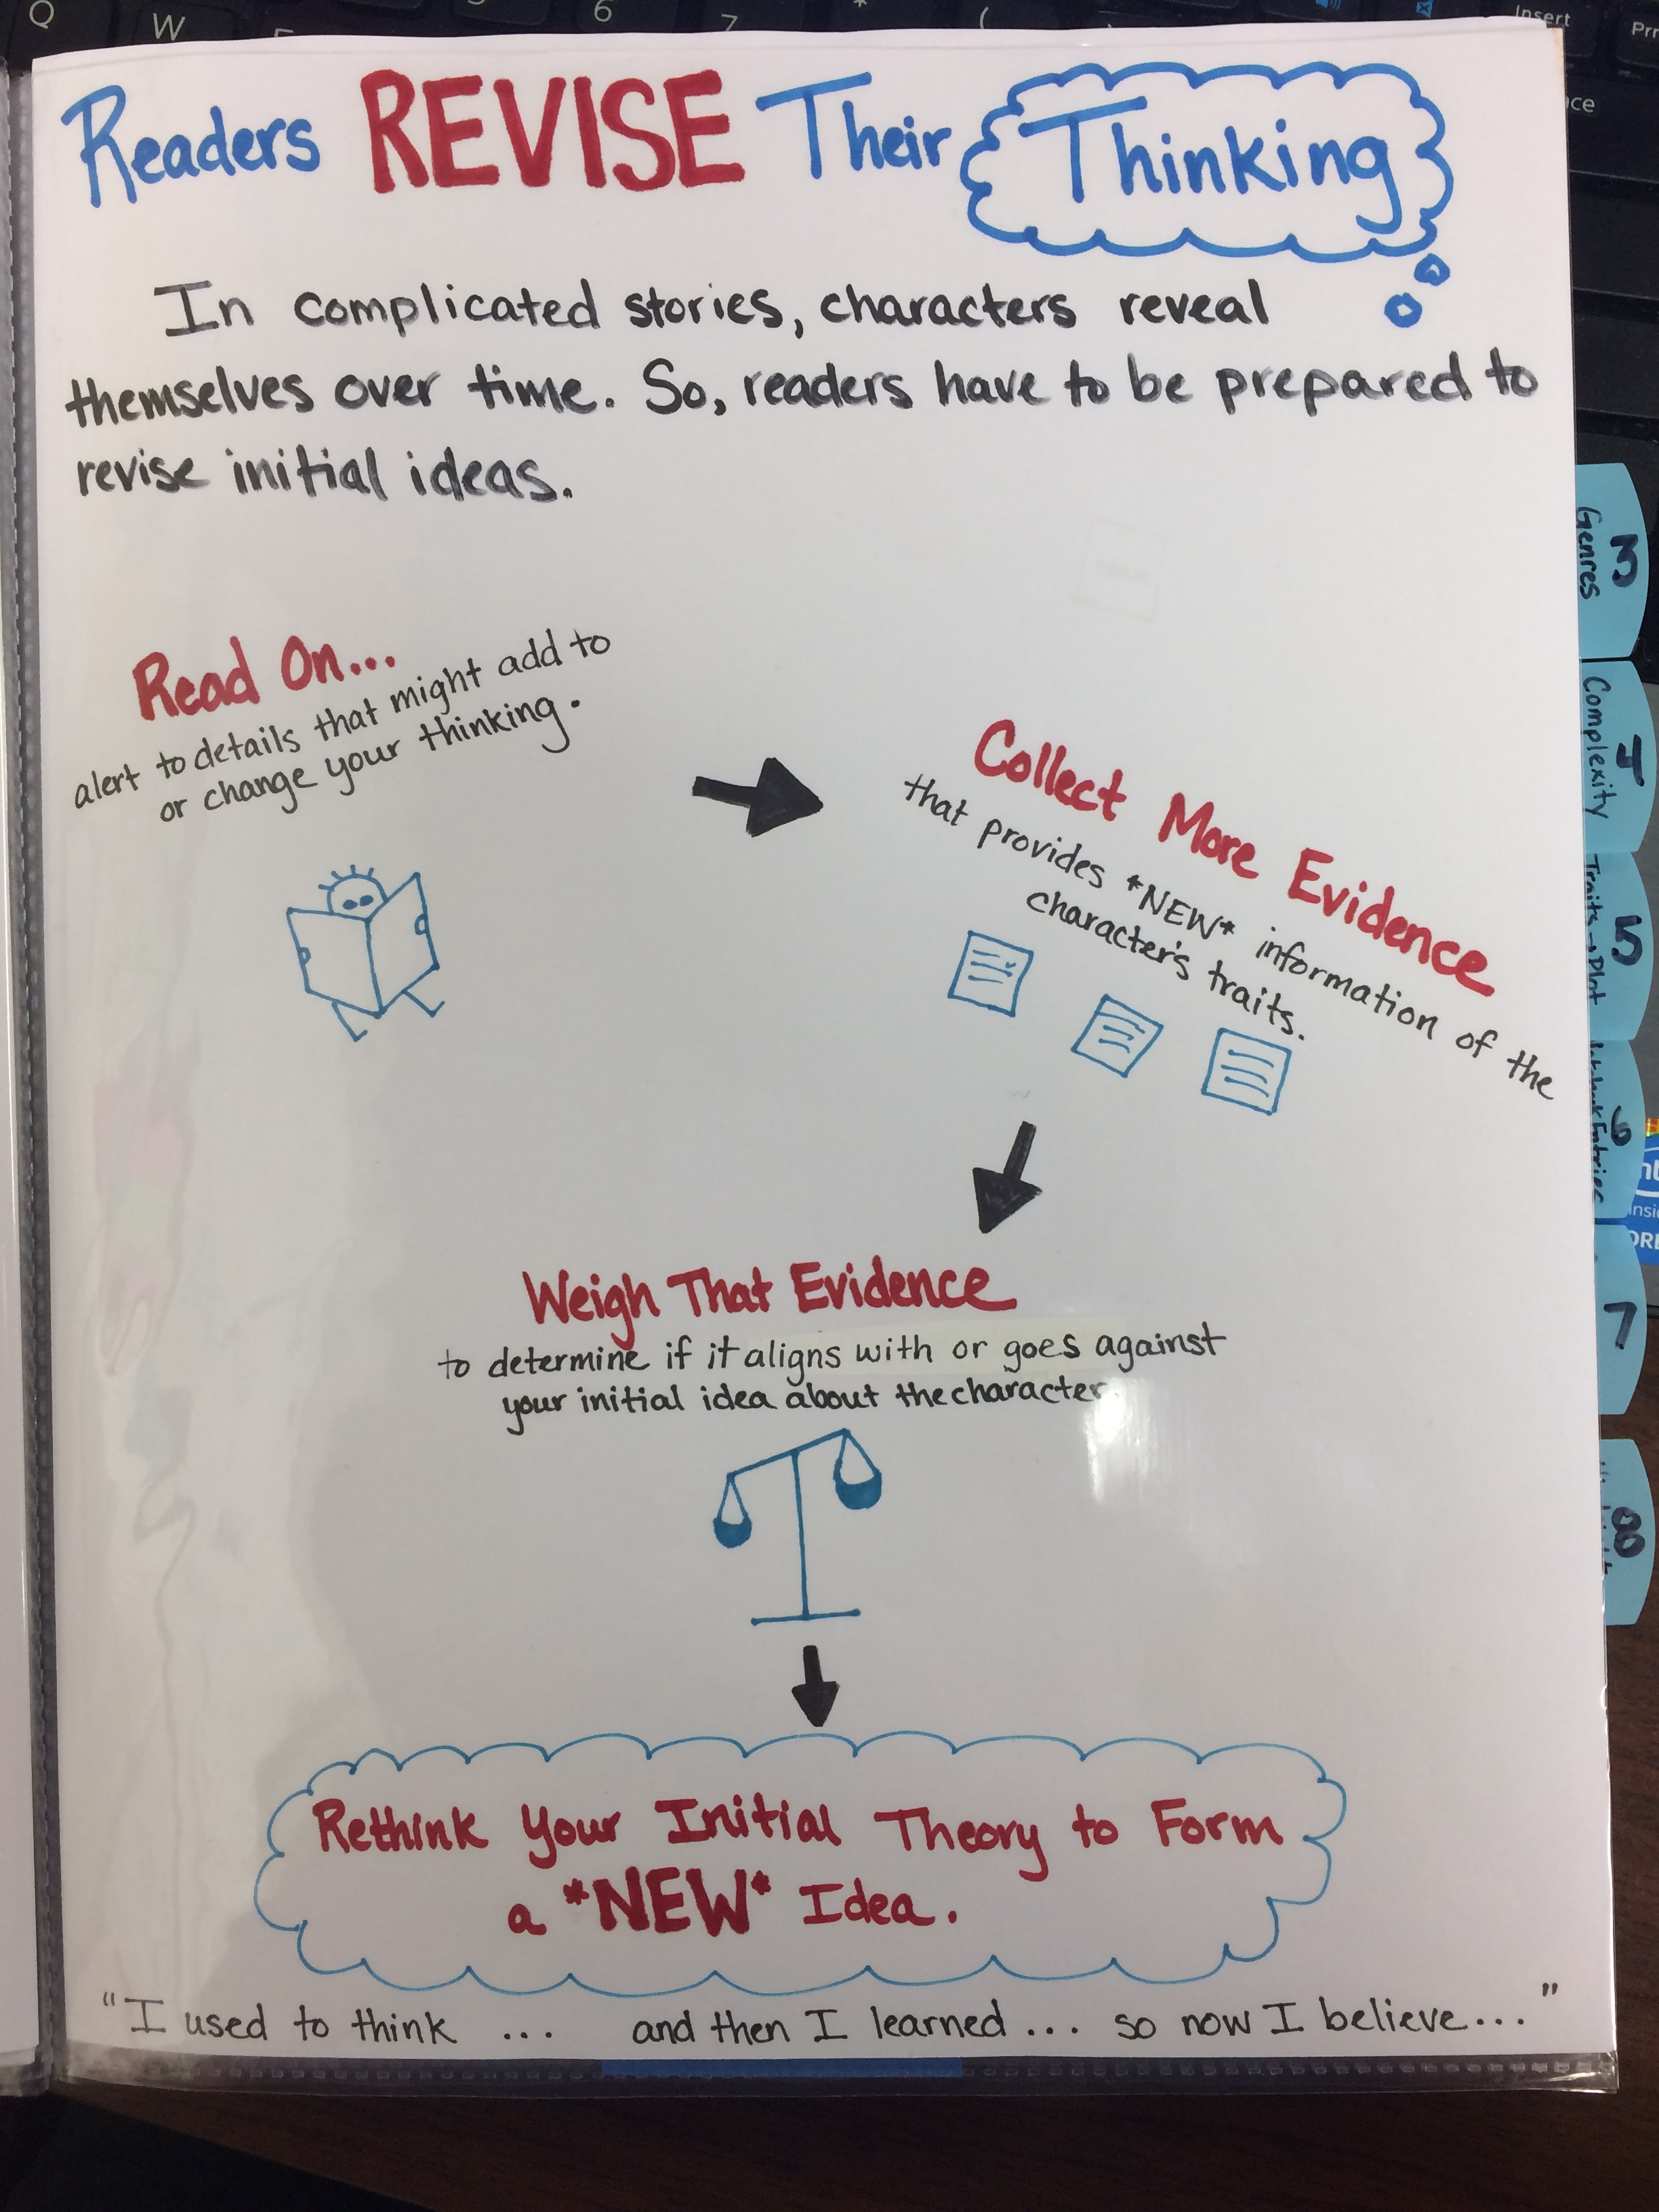
- The anchor chart component
- A strategy chart
- These are charts that I’ve created based on the work of individual sessions. Usually, they break the work taught in each minilesson into easy-to-follow steps.
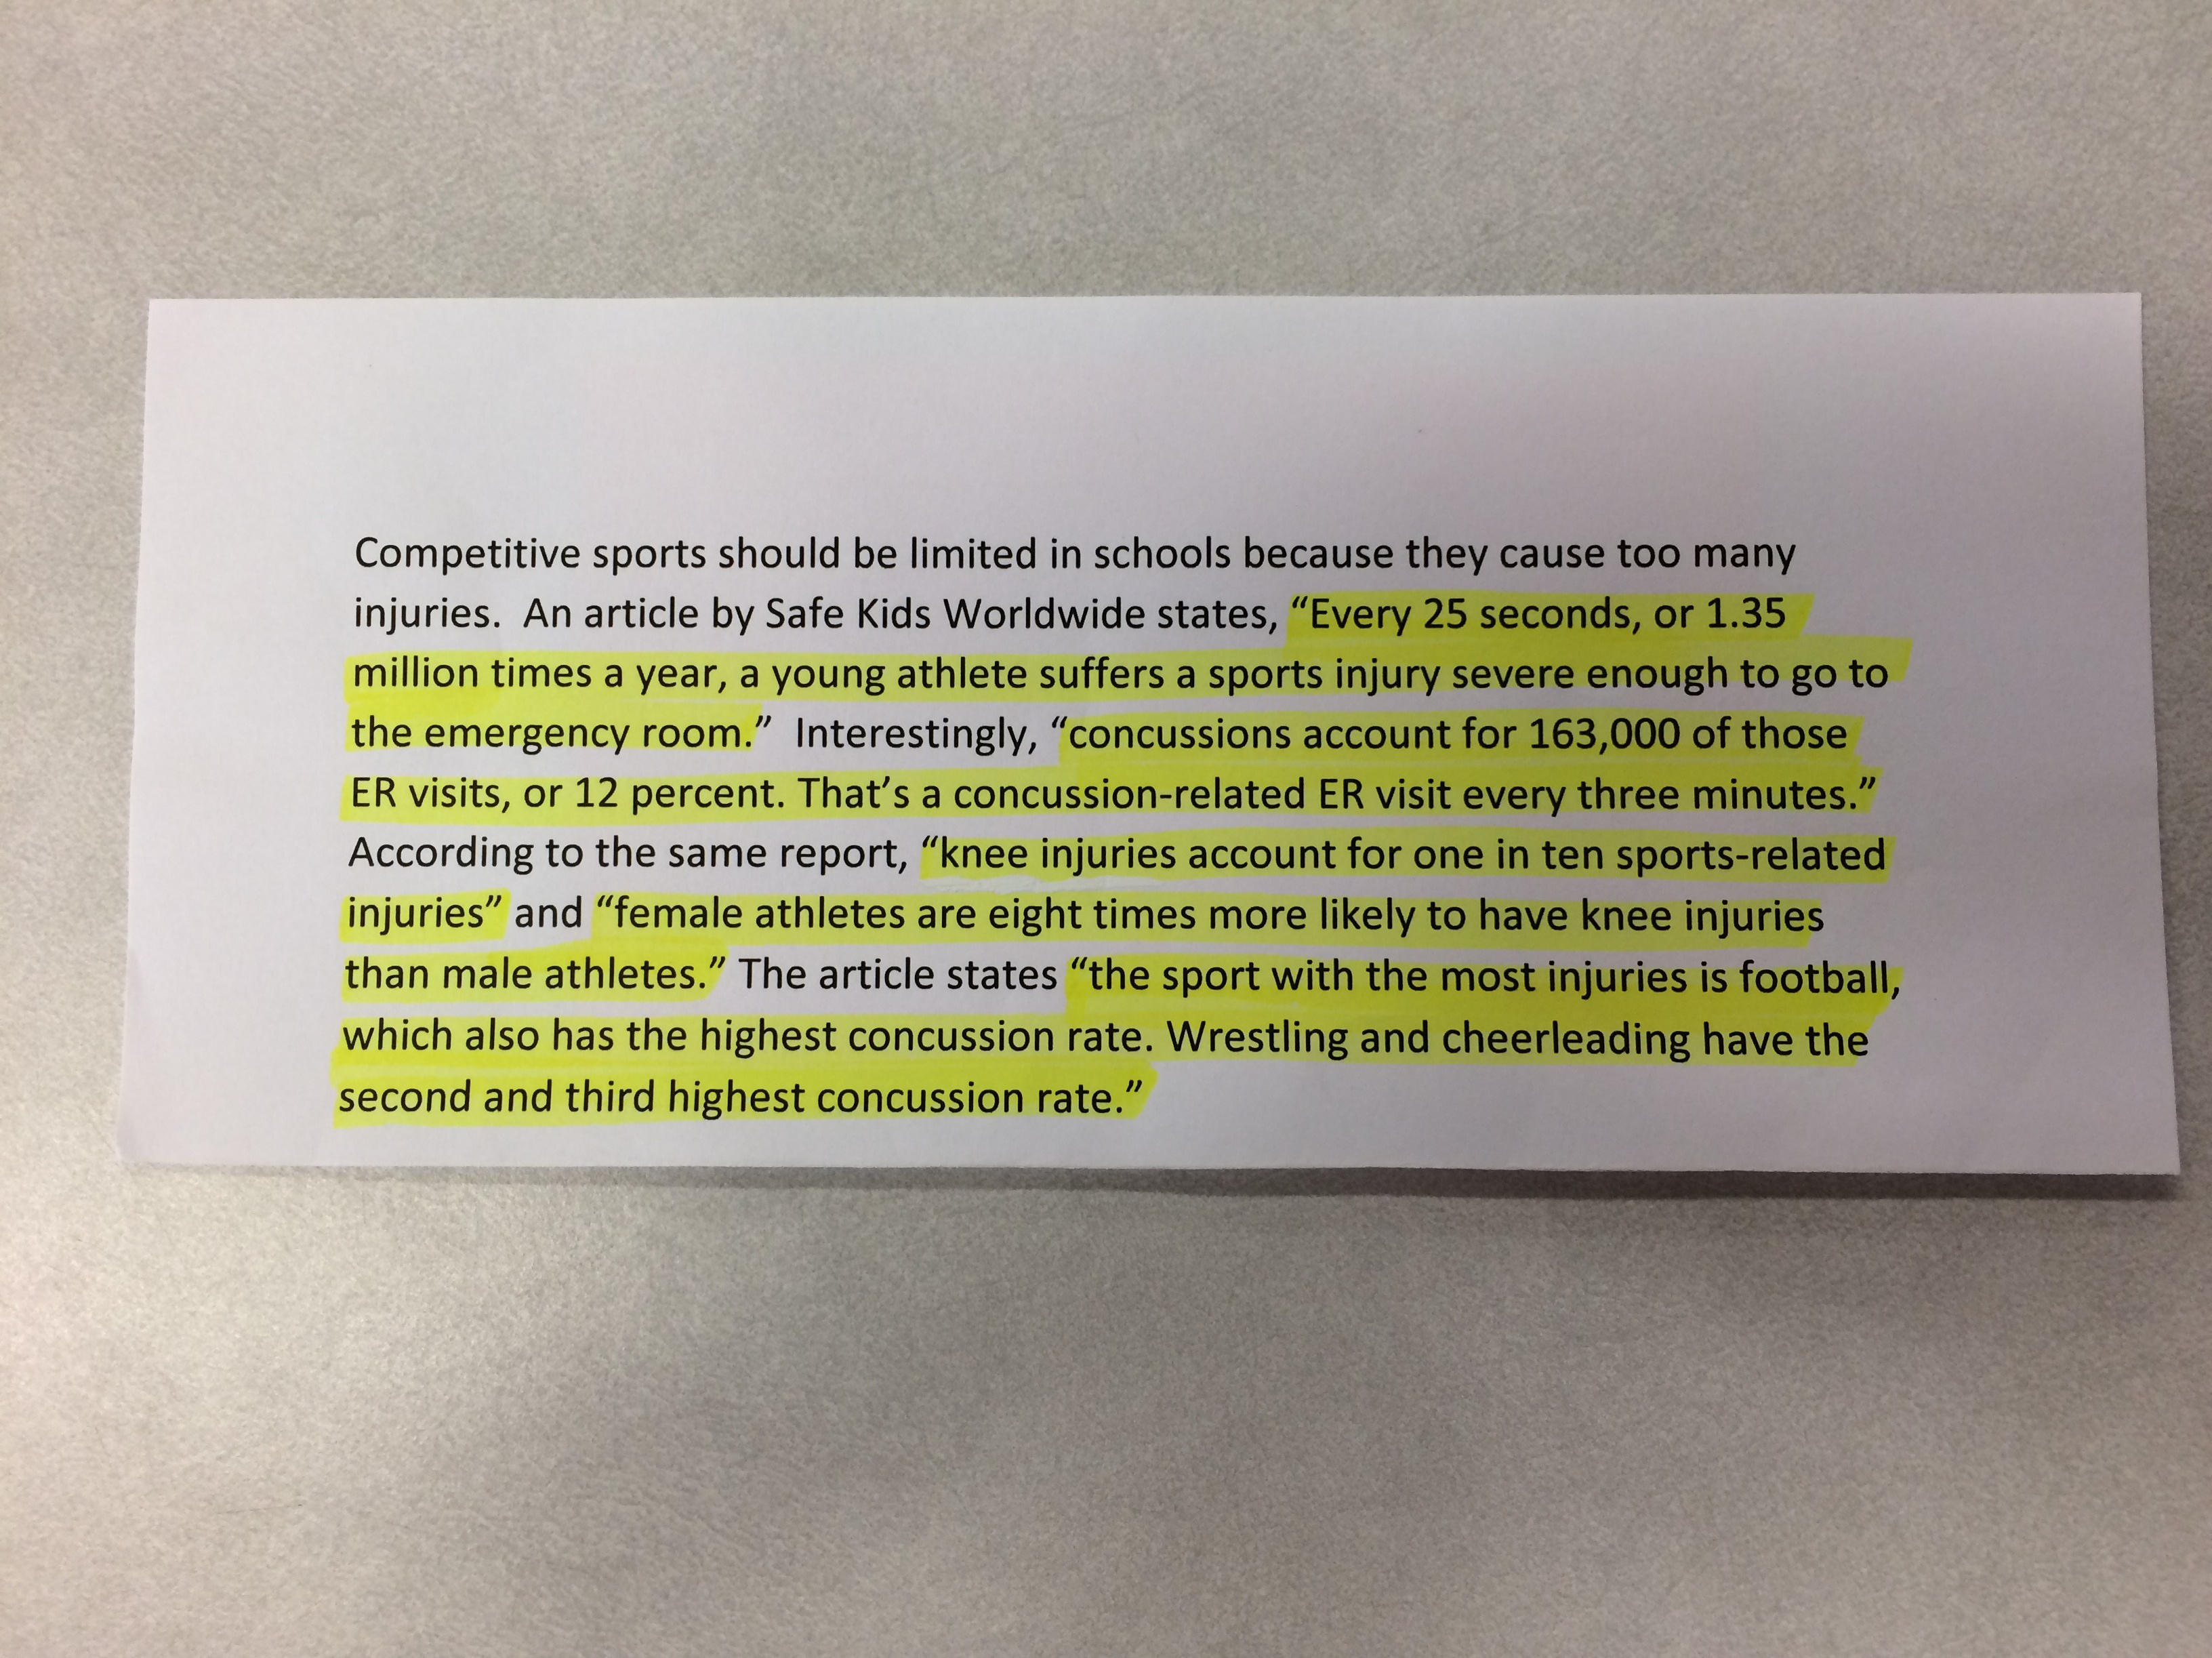
- Any materials needed to teach the recommended small groups and/or conferences.
Here are images of the anchor component and strategy chart for session one and the small group and conferring materials for session two.

The anchor chart component is pictured at left, and the self-created strategy chart is on the right.

Examples of materials needed to conduct small groups and conferences.
So, now that you have an understanding of what the toolkit entails, here is my process for making it…
Pulling Resources
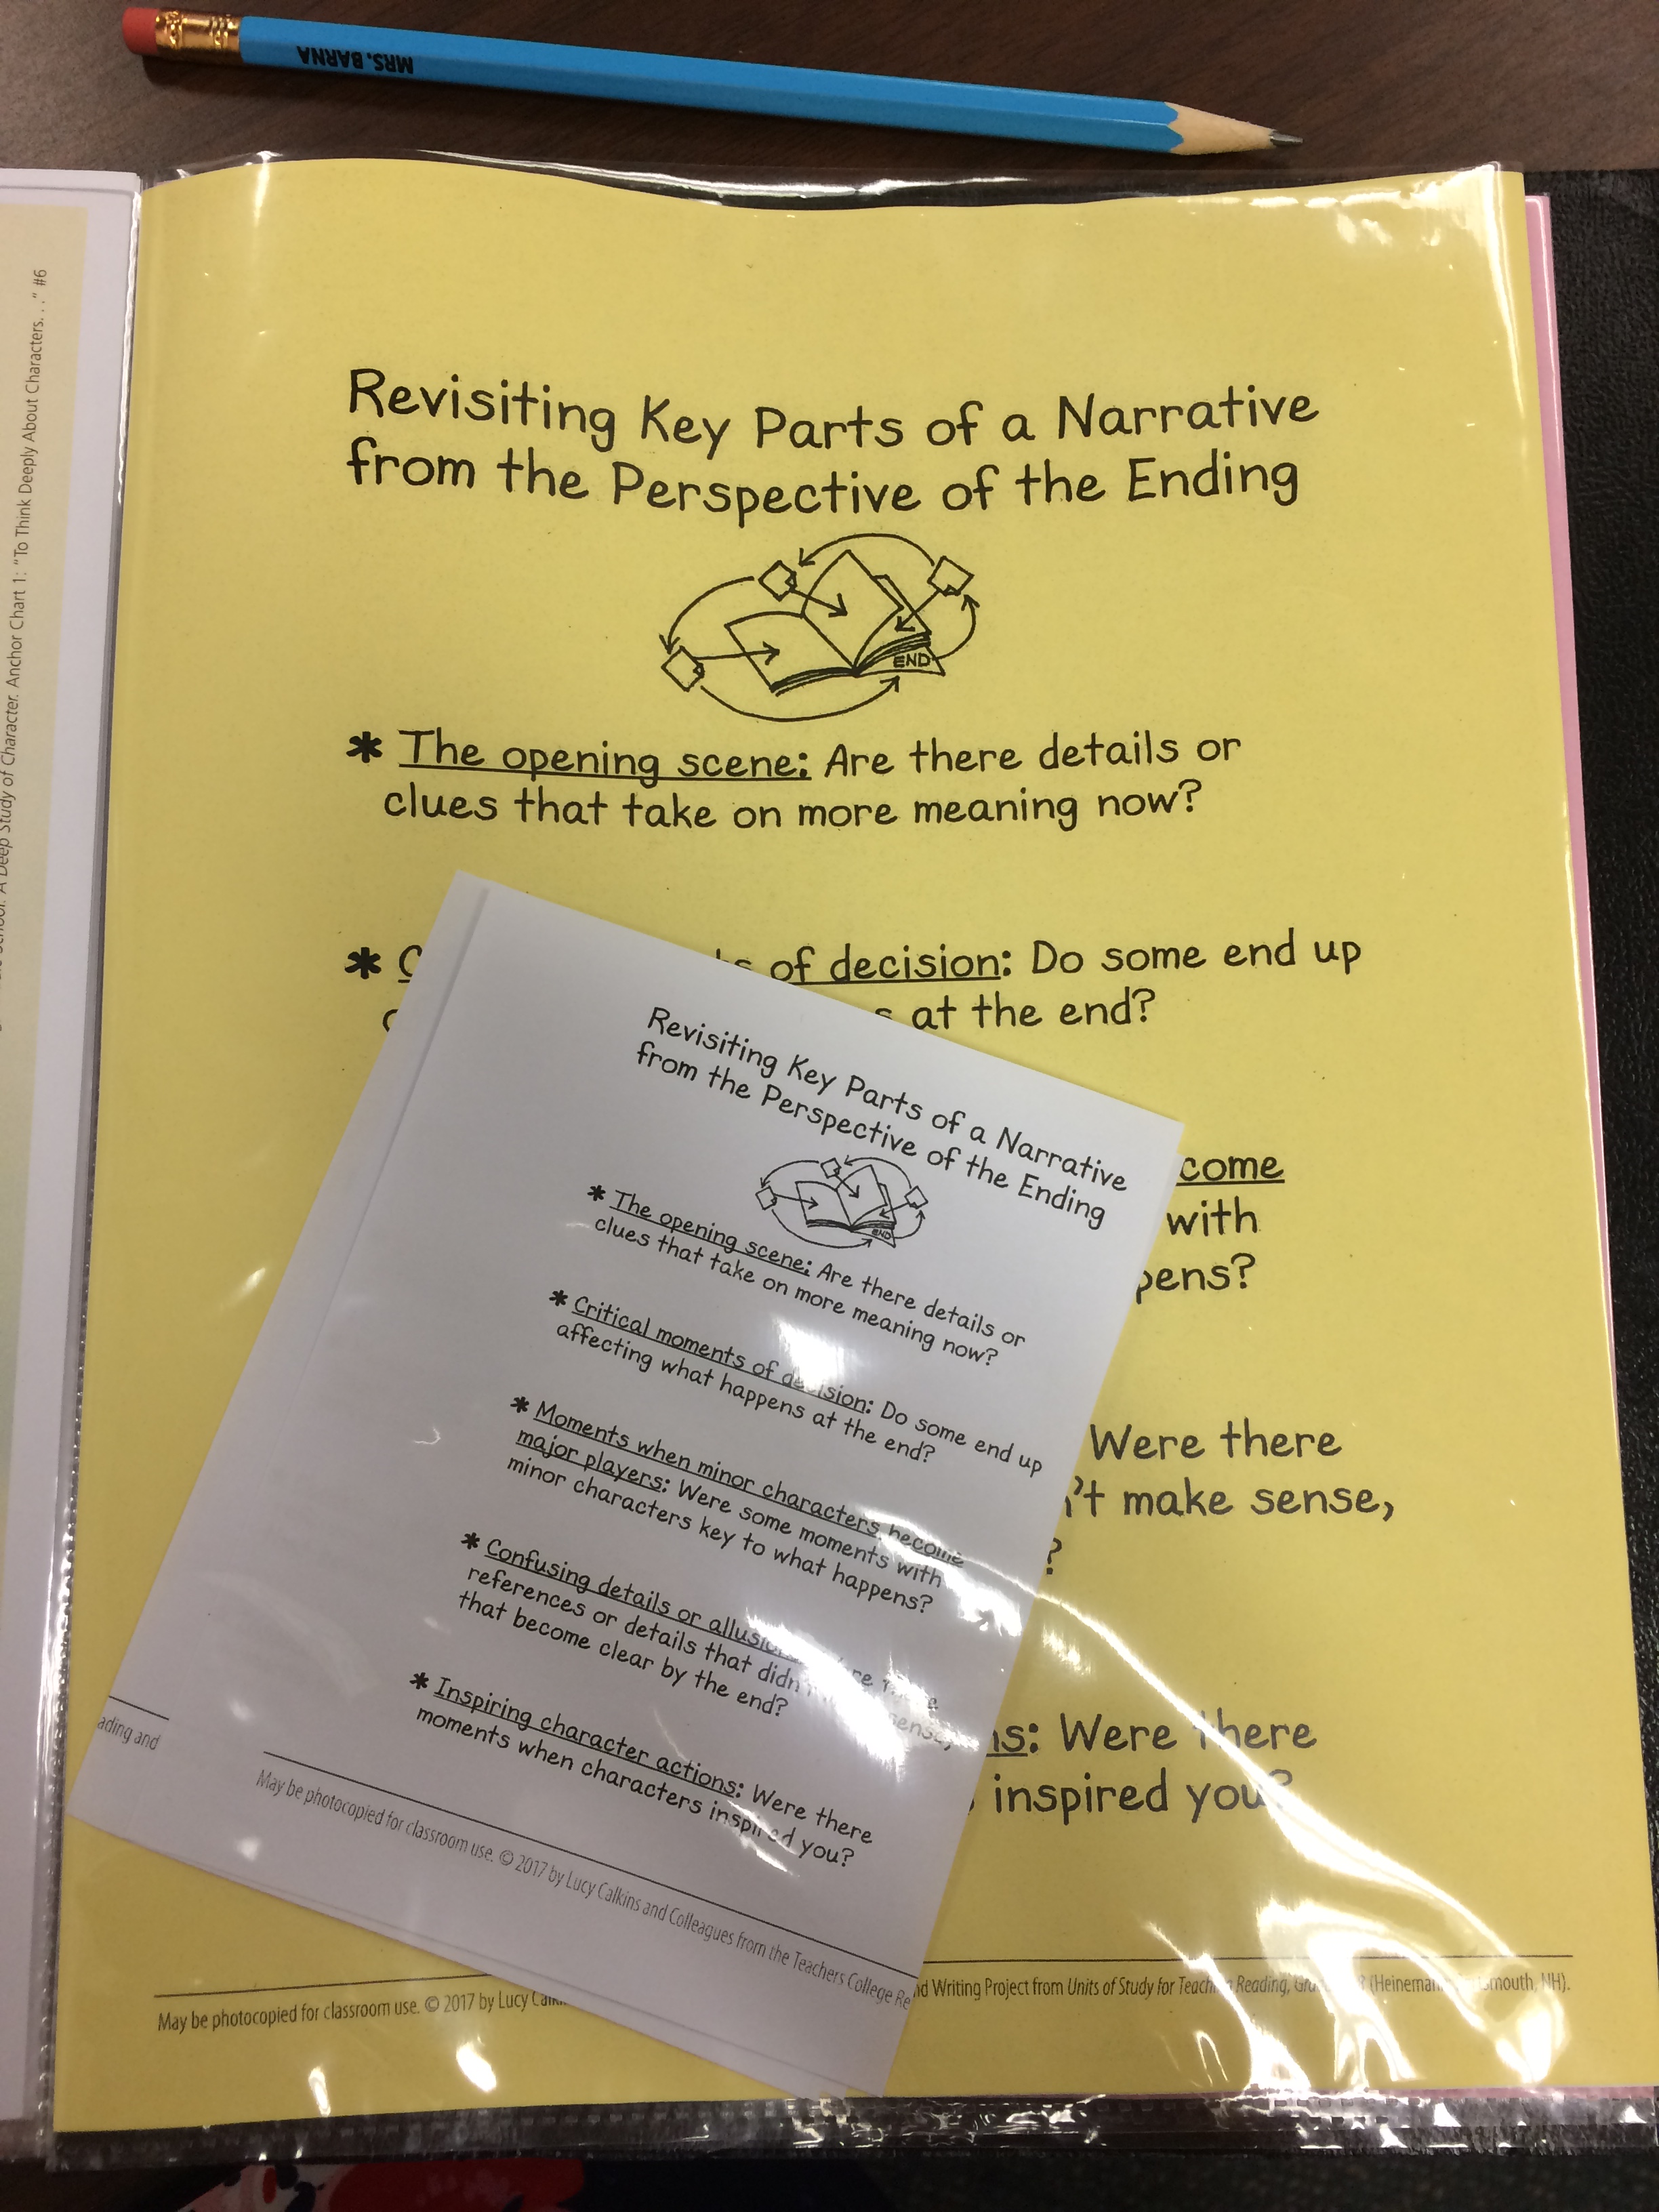
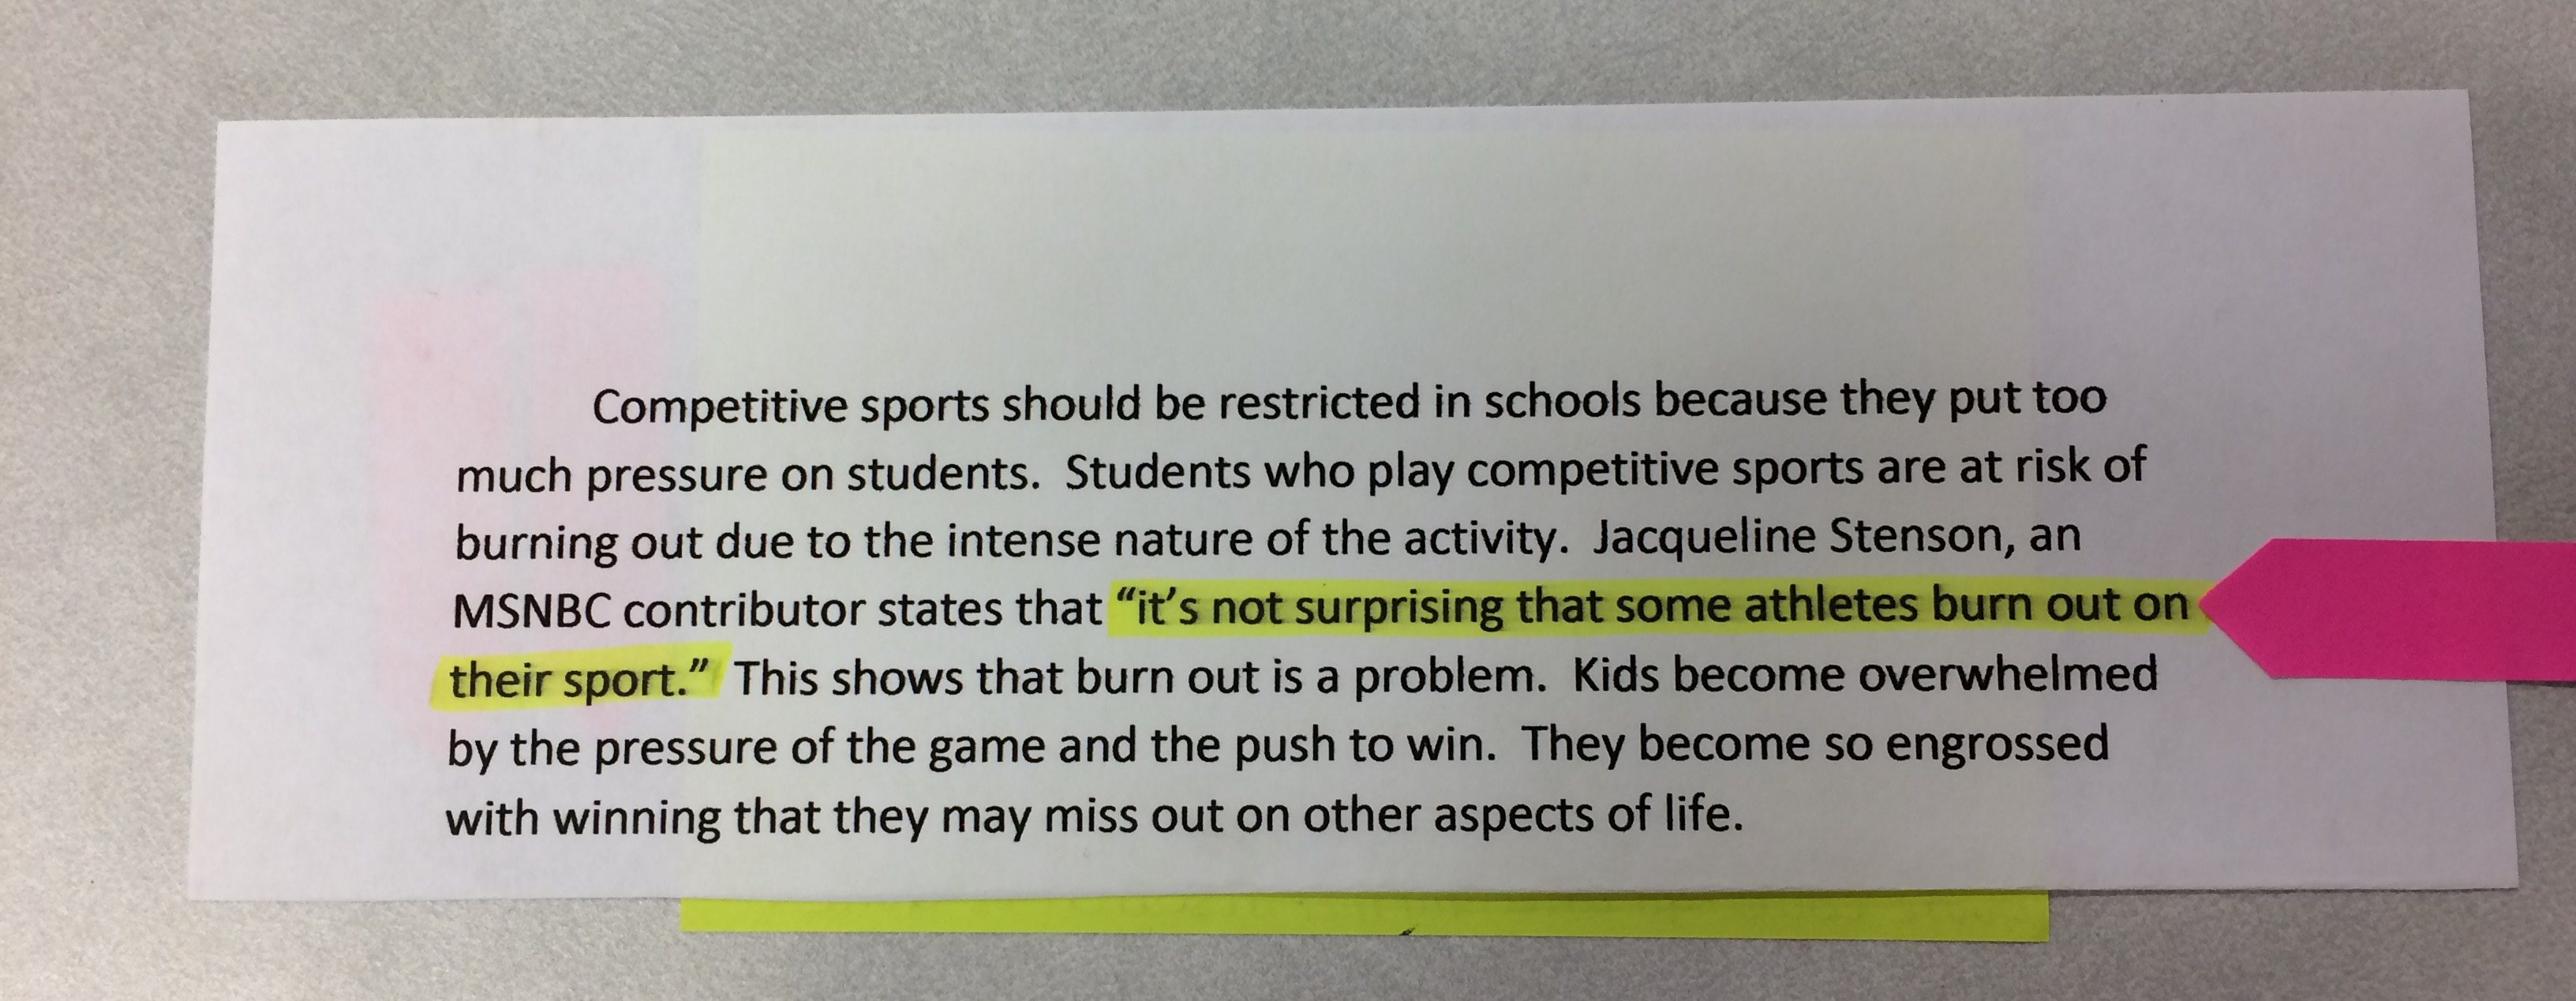
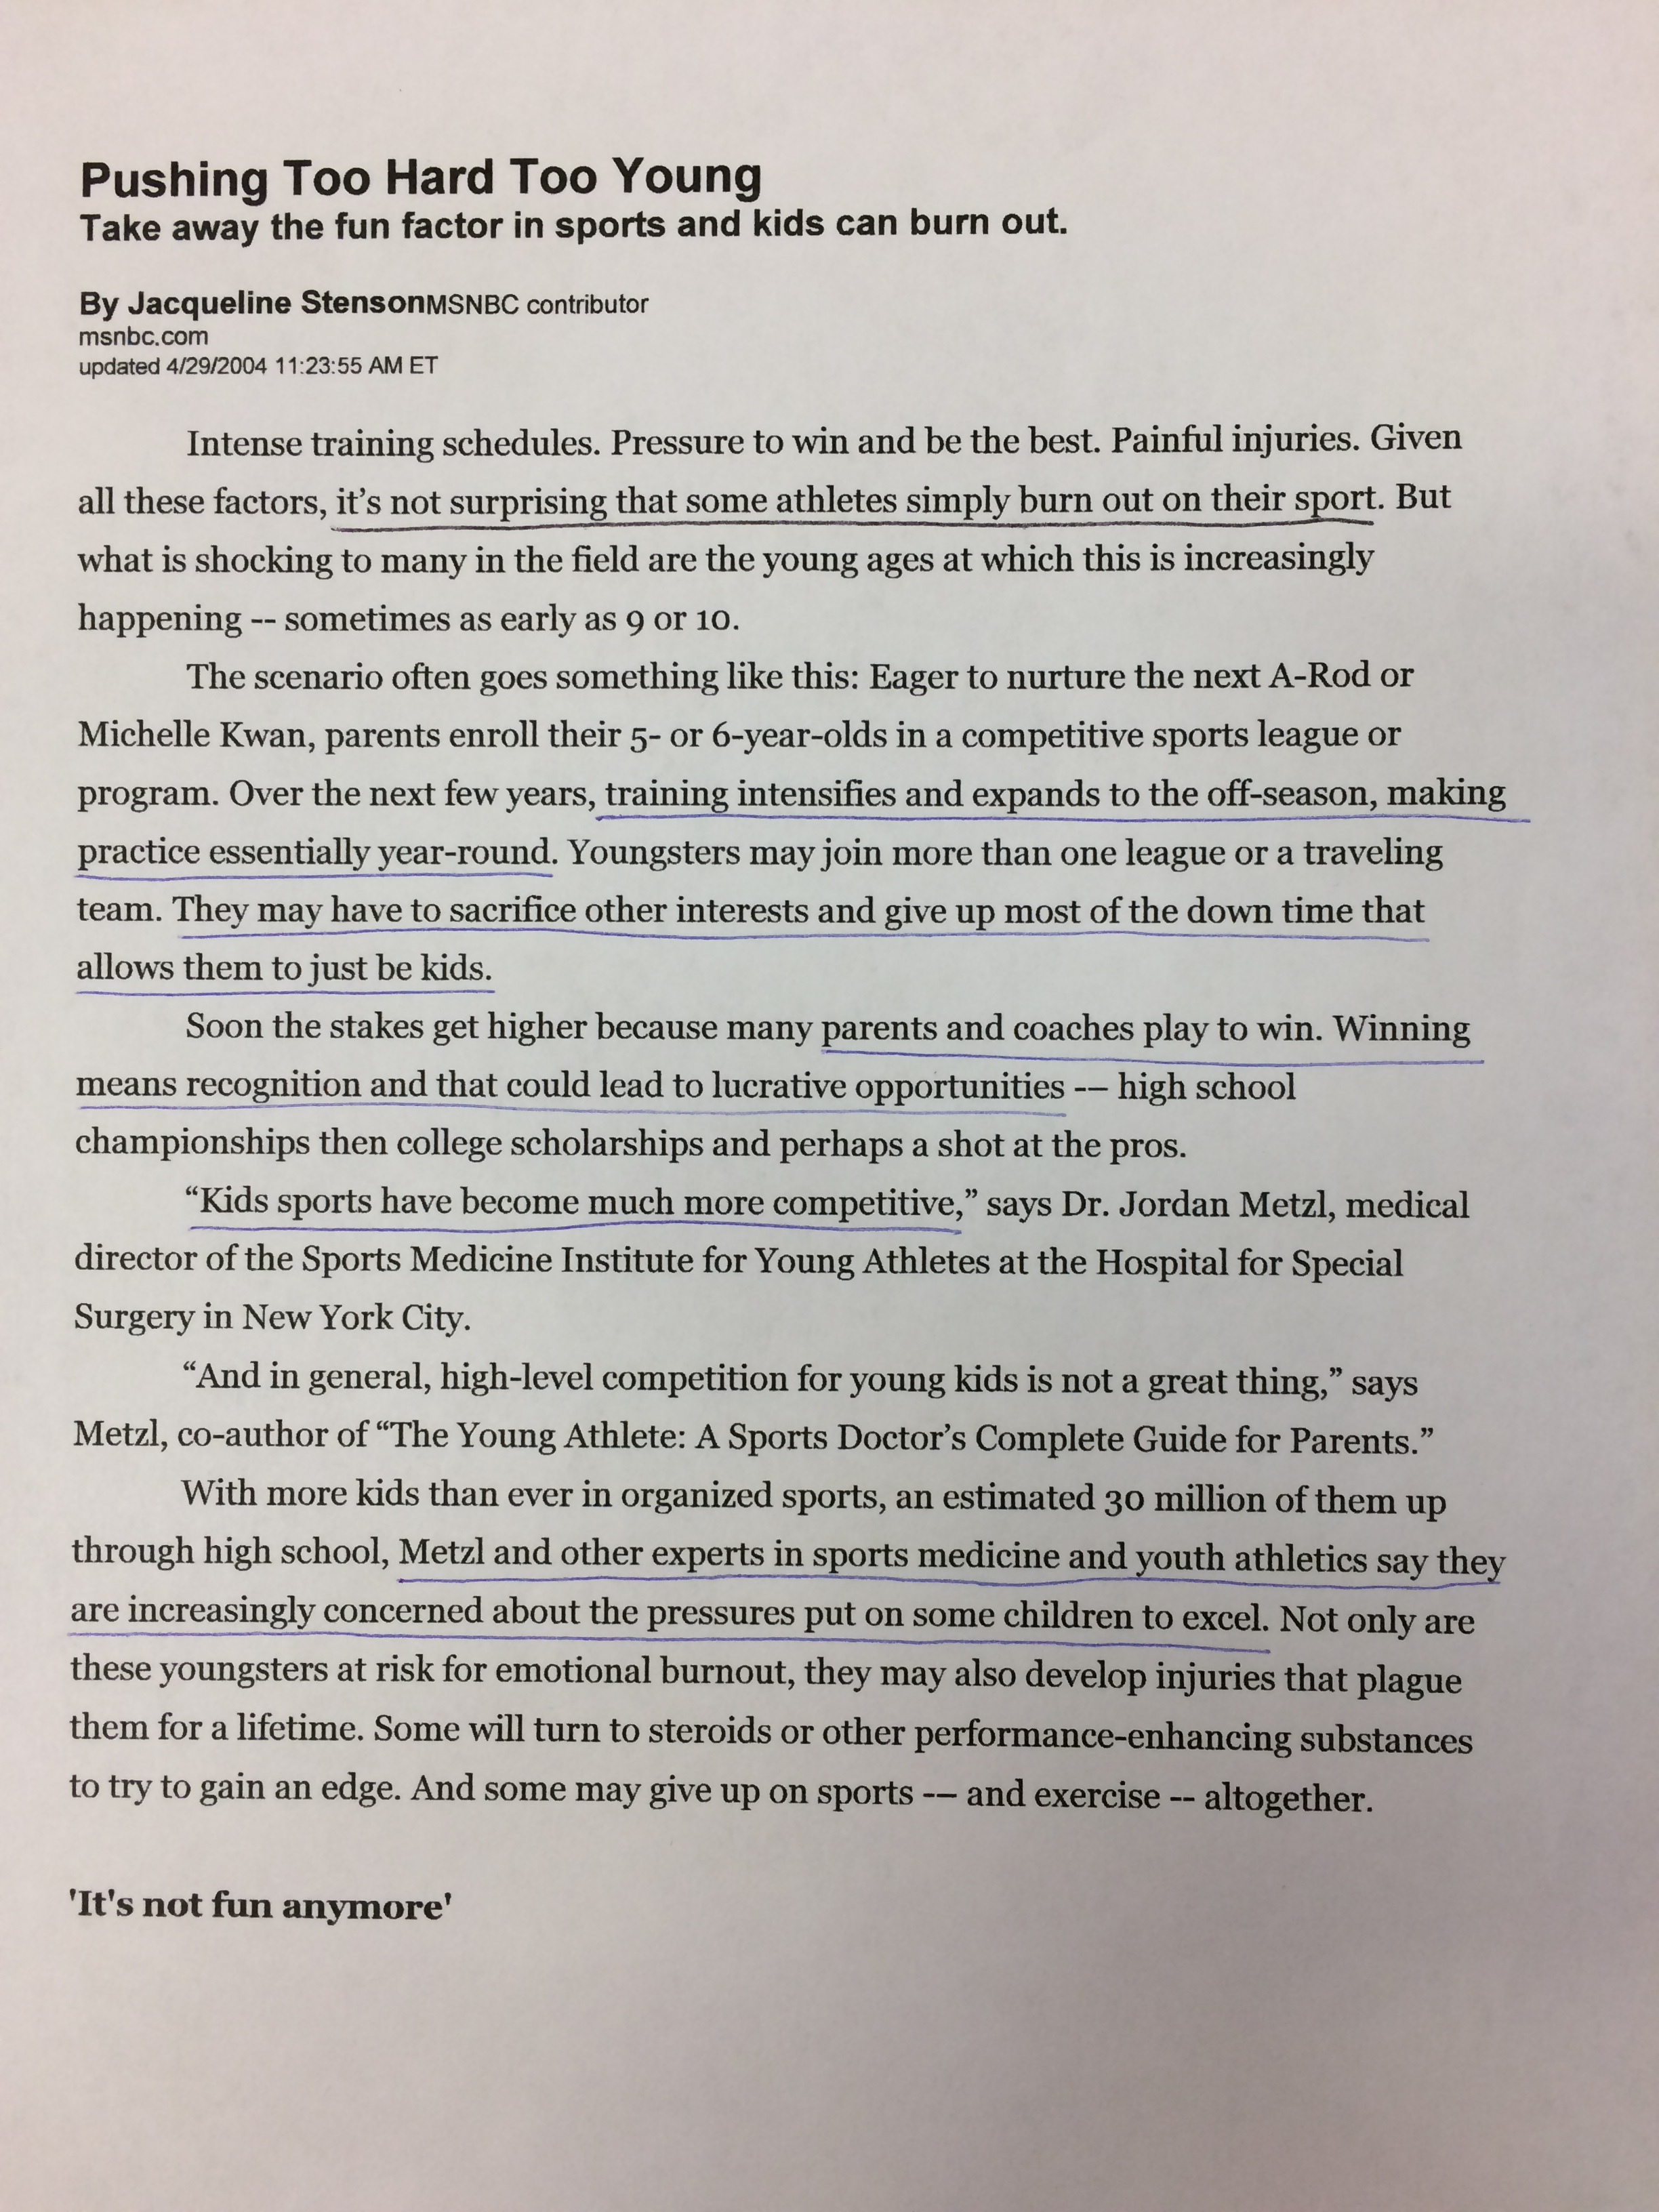
For some of your materials, you can access the unit’s online resources available through the Heinemann website. These resources are included with the purchase of your unit book. This is where I pulled the anchor chart, anchor text, and various other teaching charts included for each session (including mini-versions to hand out to students after a small group or conference- see image at right).
Creating Materials
Although some resources are provided in the online resources, I did make quite a few myself. While the Units of Study are GREAT at providing the necessary resources to teach each individual session (or minilesson), the material for the suggested small group and conferring work is usually not included. So, this is where I had to do a lot of creating. Please note, that all of the content for my self-created materials was inspired or born directly from the A Deep Study of Character unit book.
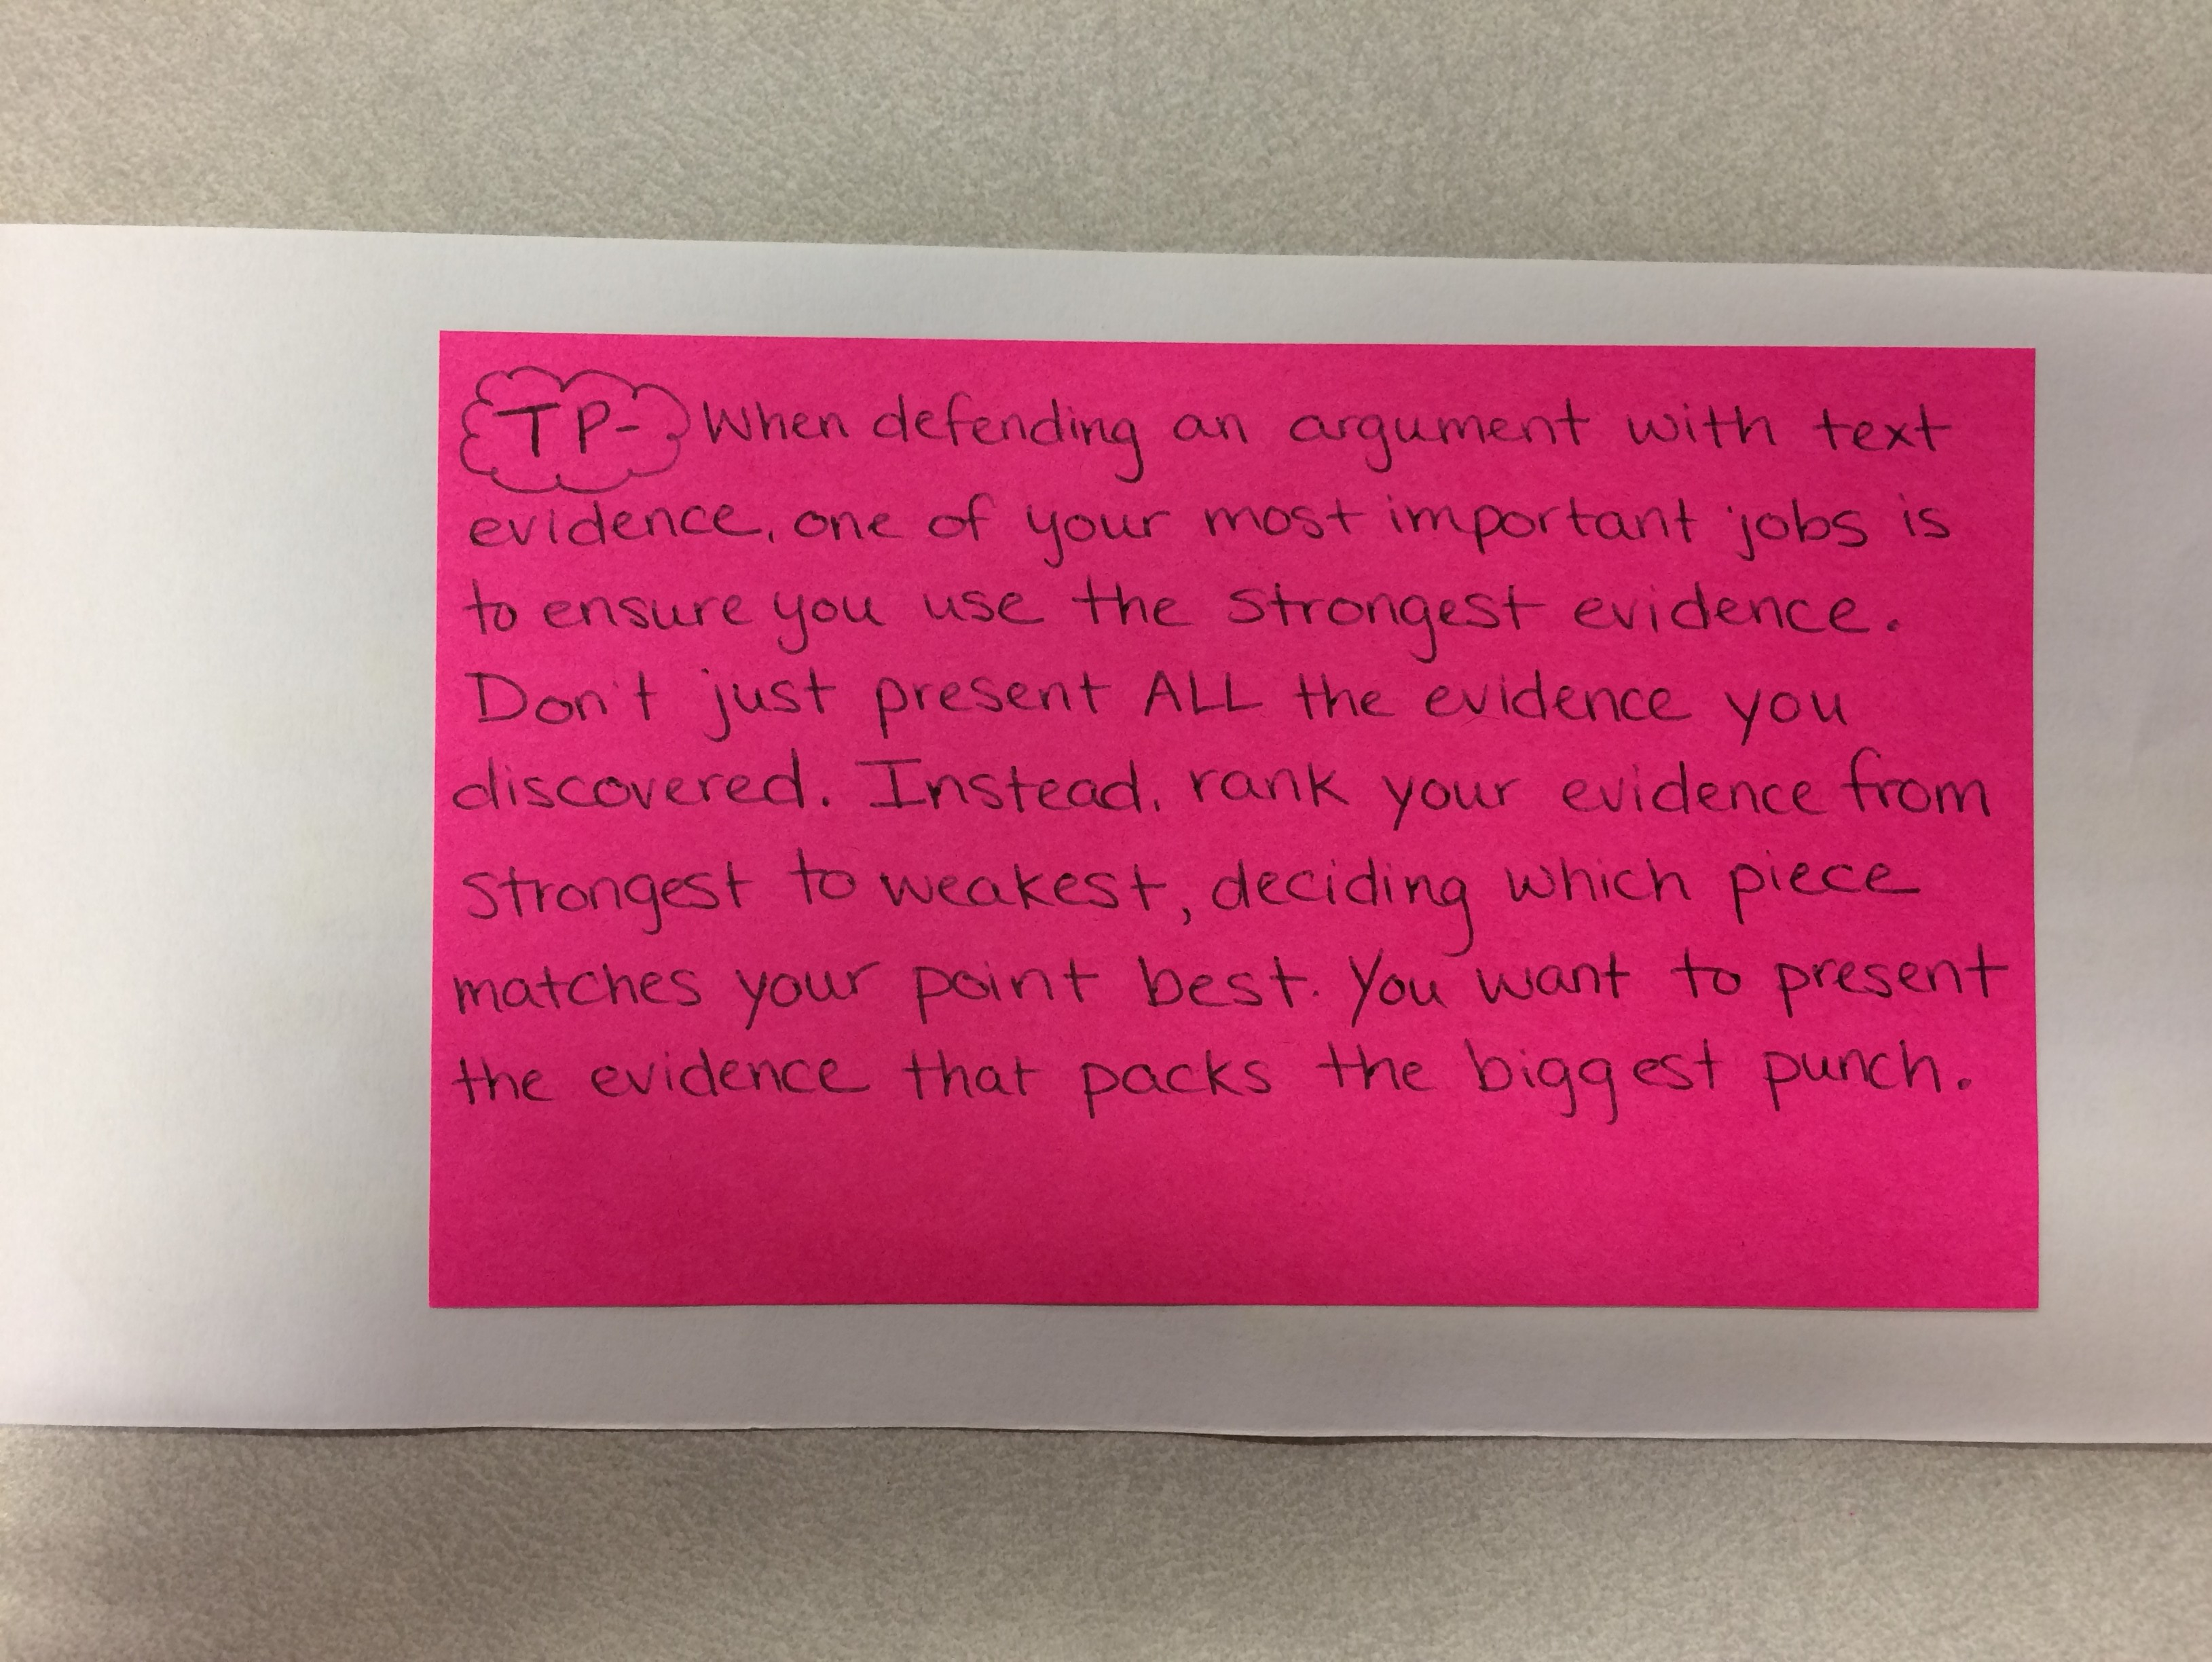
Strategy Charts
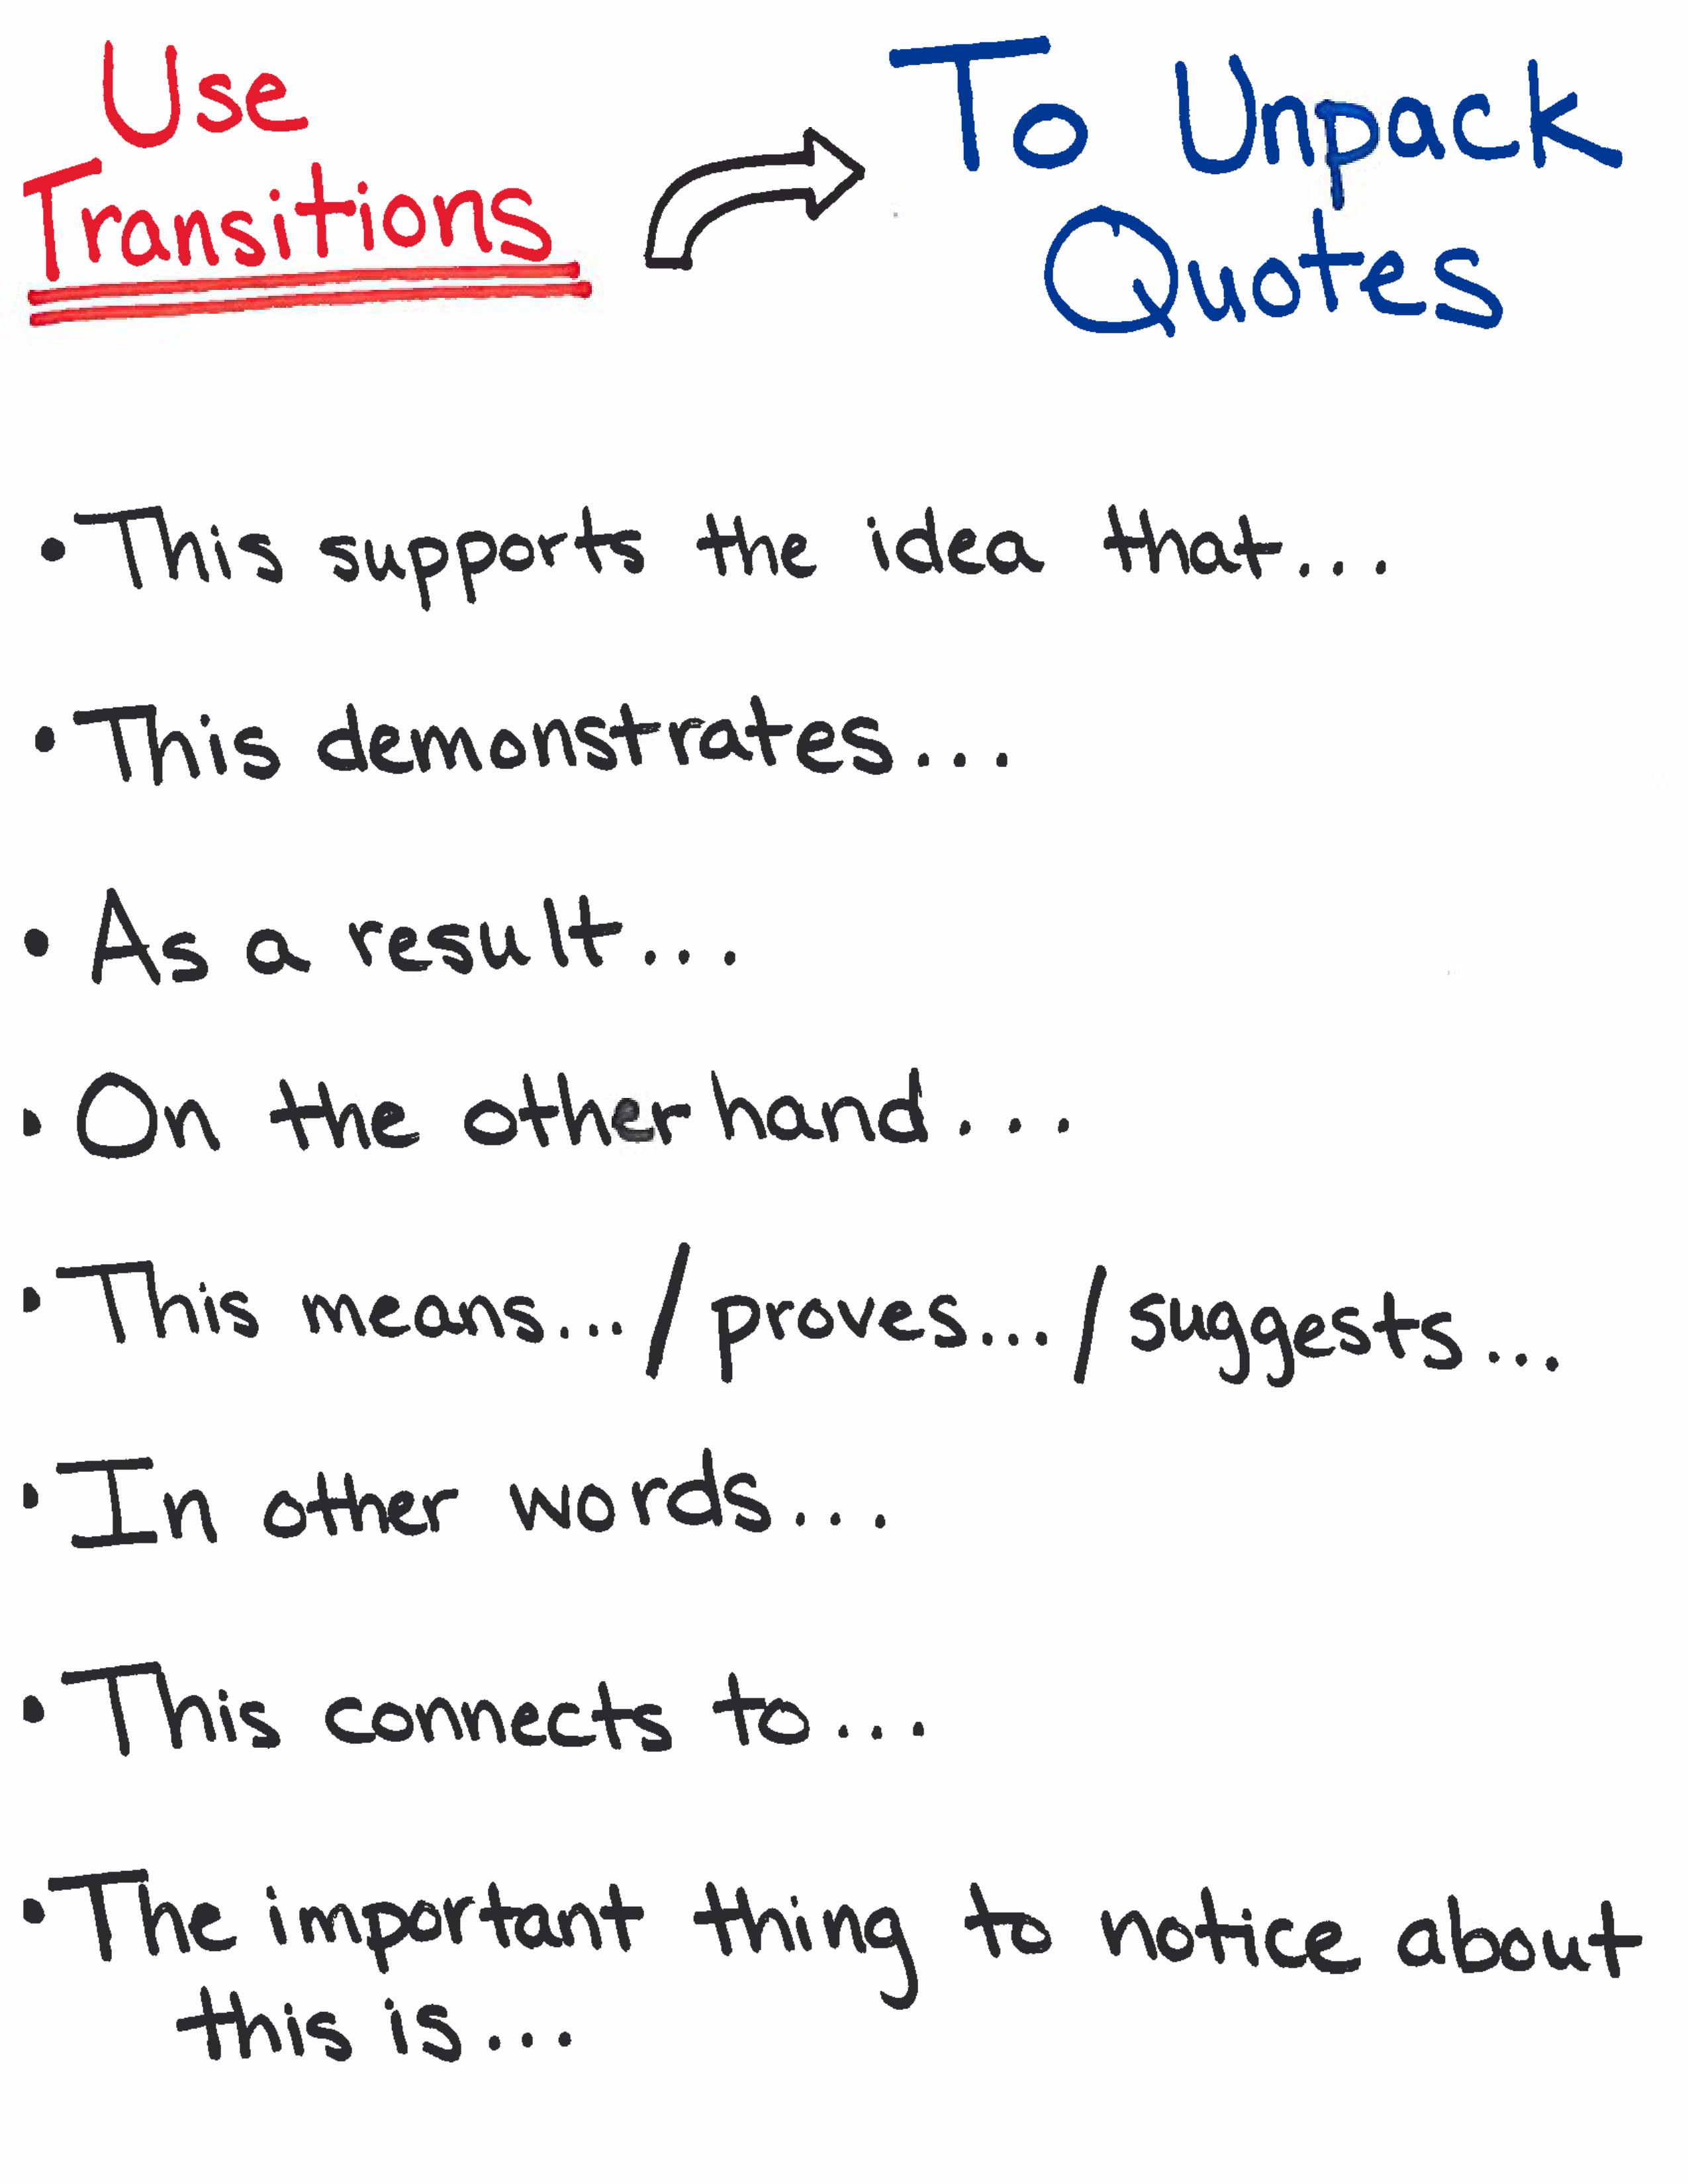
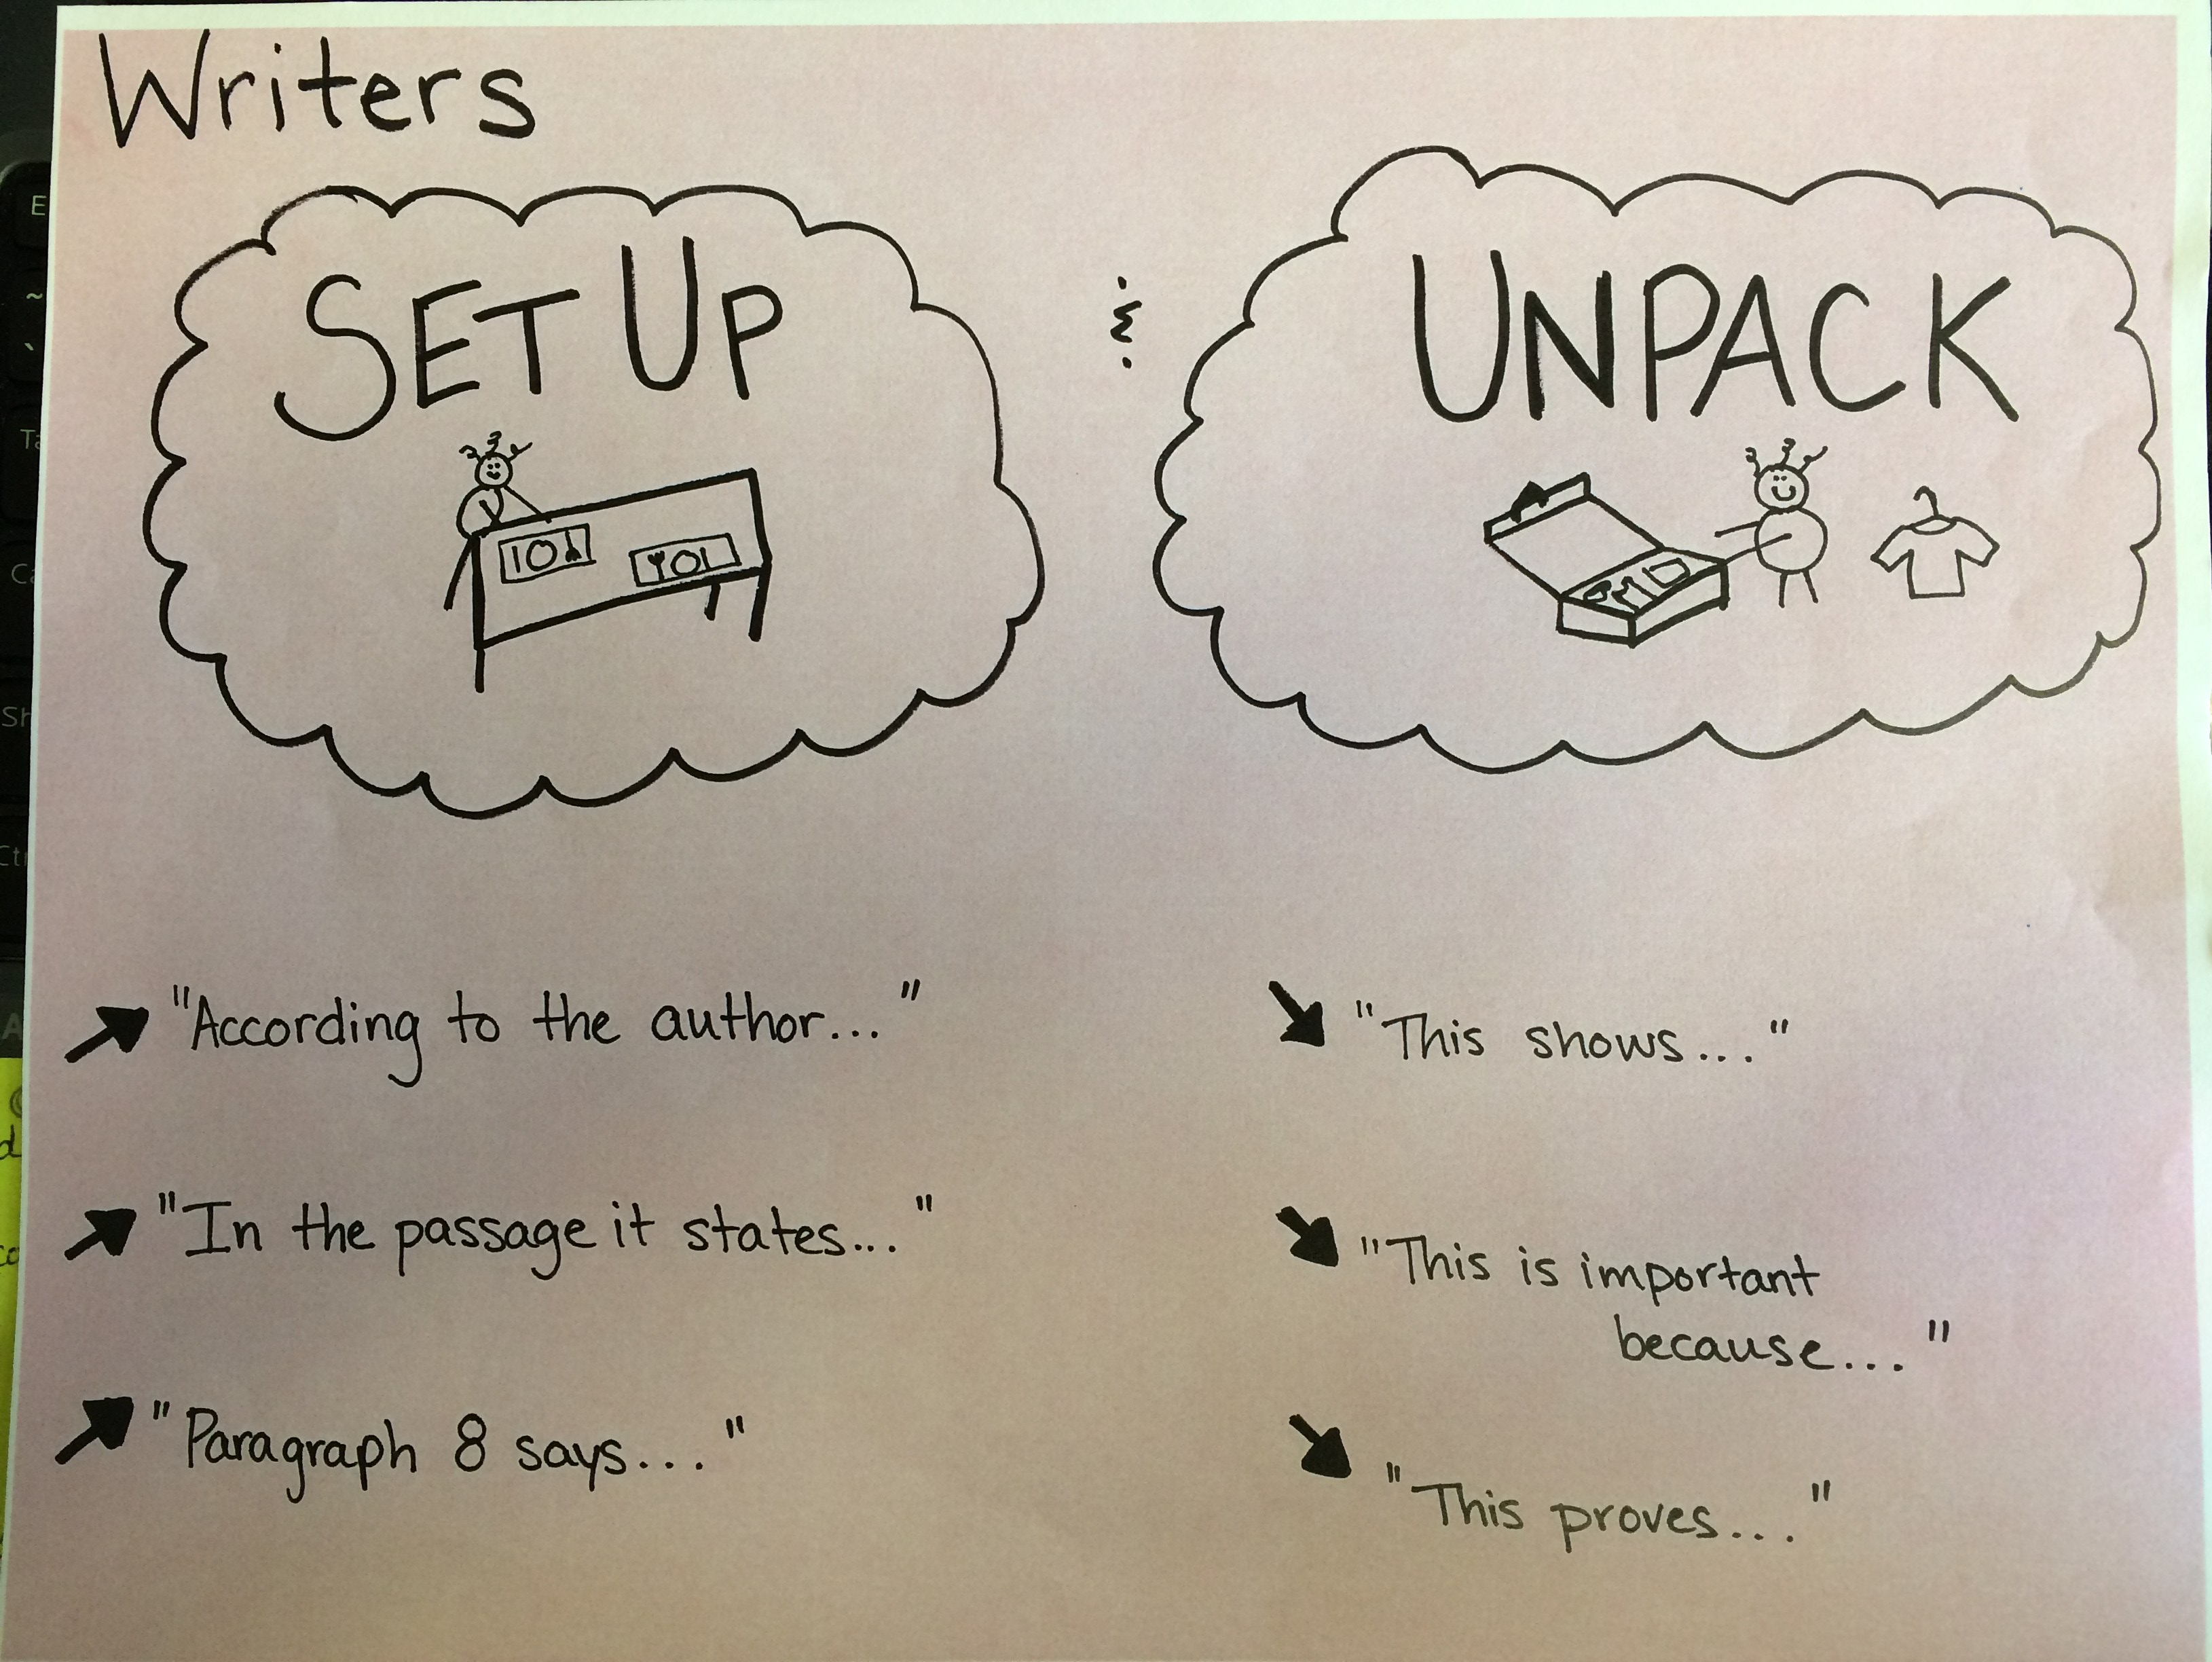
To create the individual session strategy charts, I skim the lesson for a “how-to”. Usually, at some point, it is suggested that you name out the steps you took during your demonstration. This is your money-shot for finding components of a strategy chart! Look for words like debrief, summarize, recap and review. Then read the scripted text that follows, and pull out the steps. Last, let your inner Kate and Maggie Roberts (authors of DIY Literacy and former TC developers) go and get crafty! This is my favorite part!
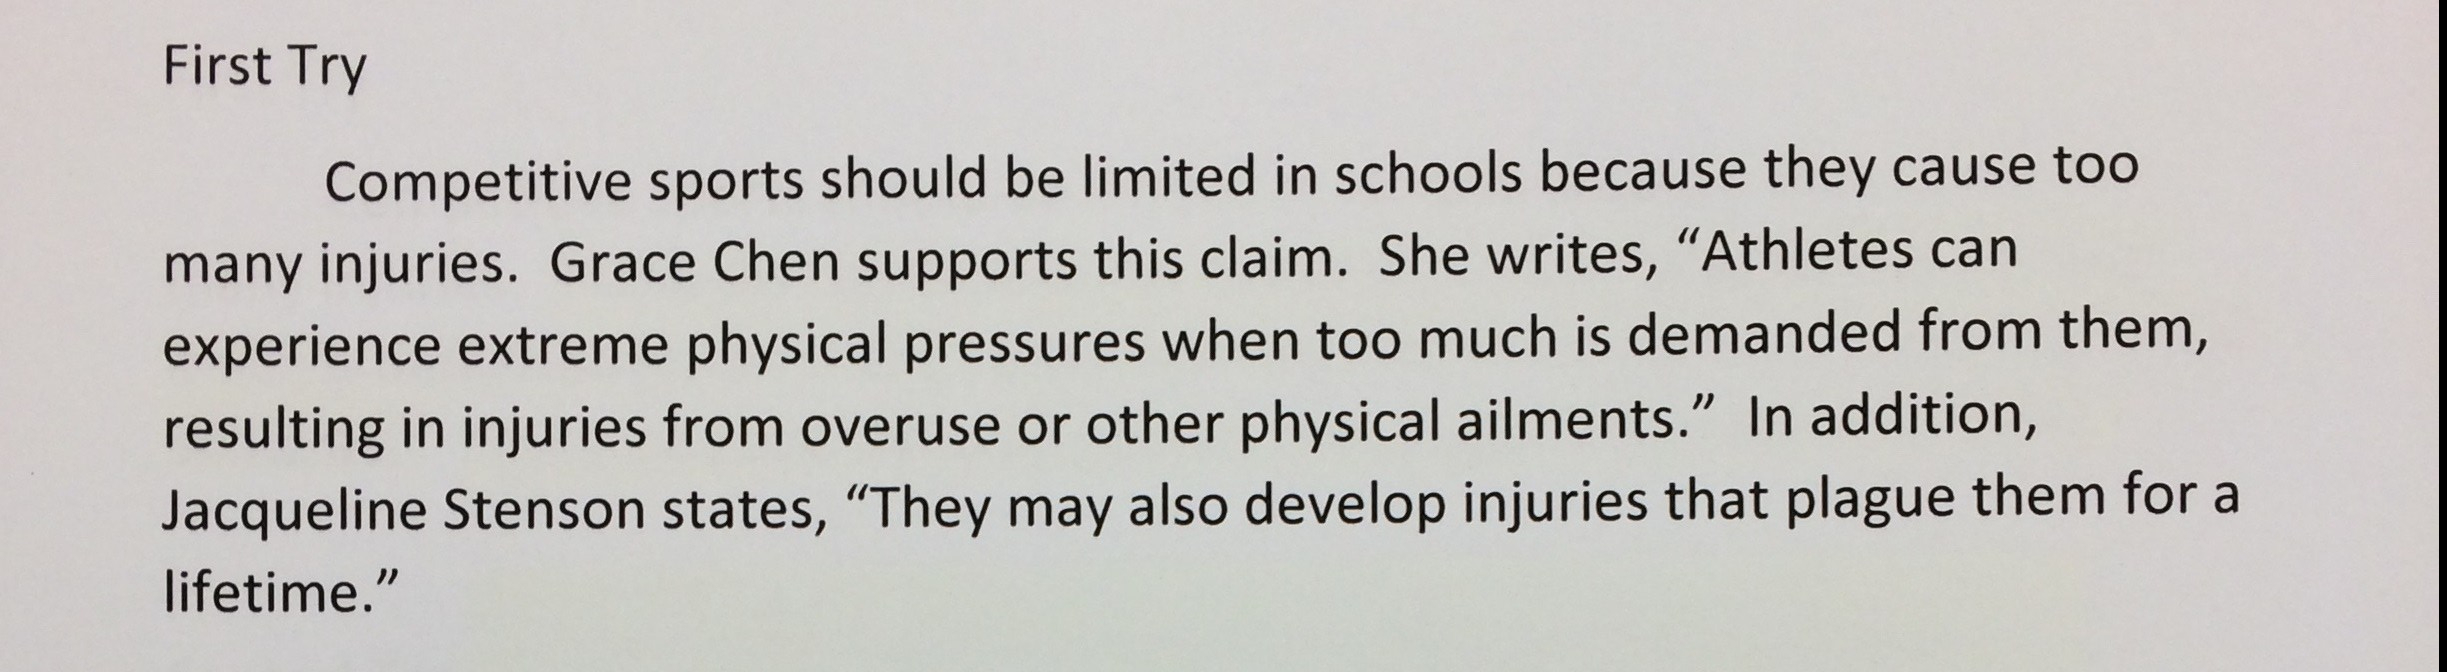
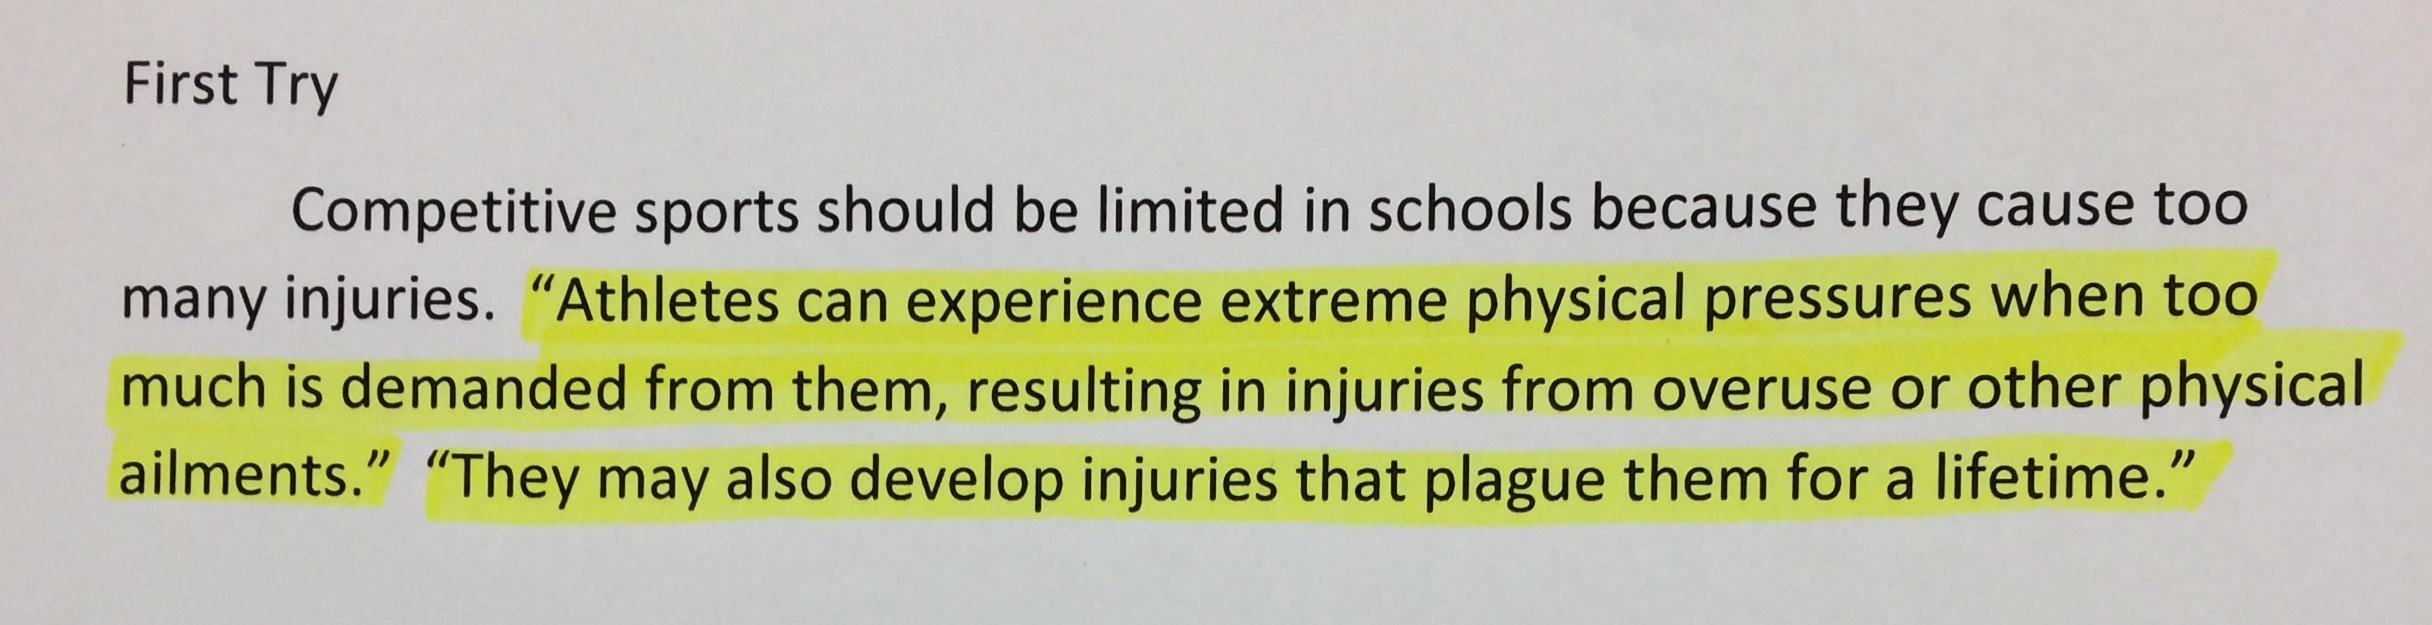
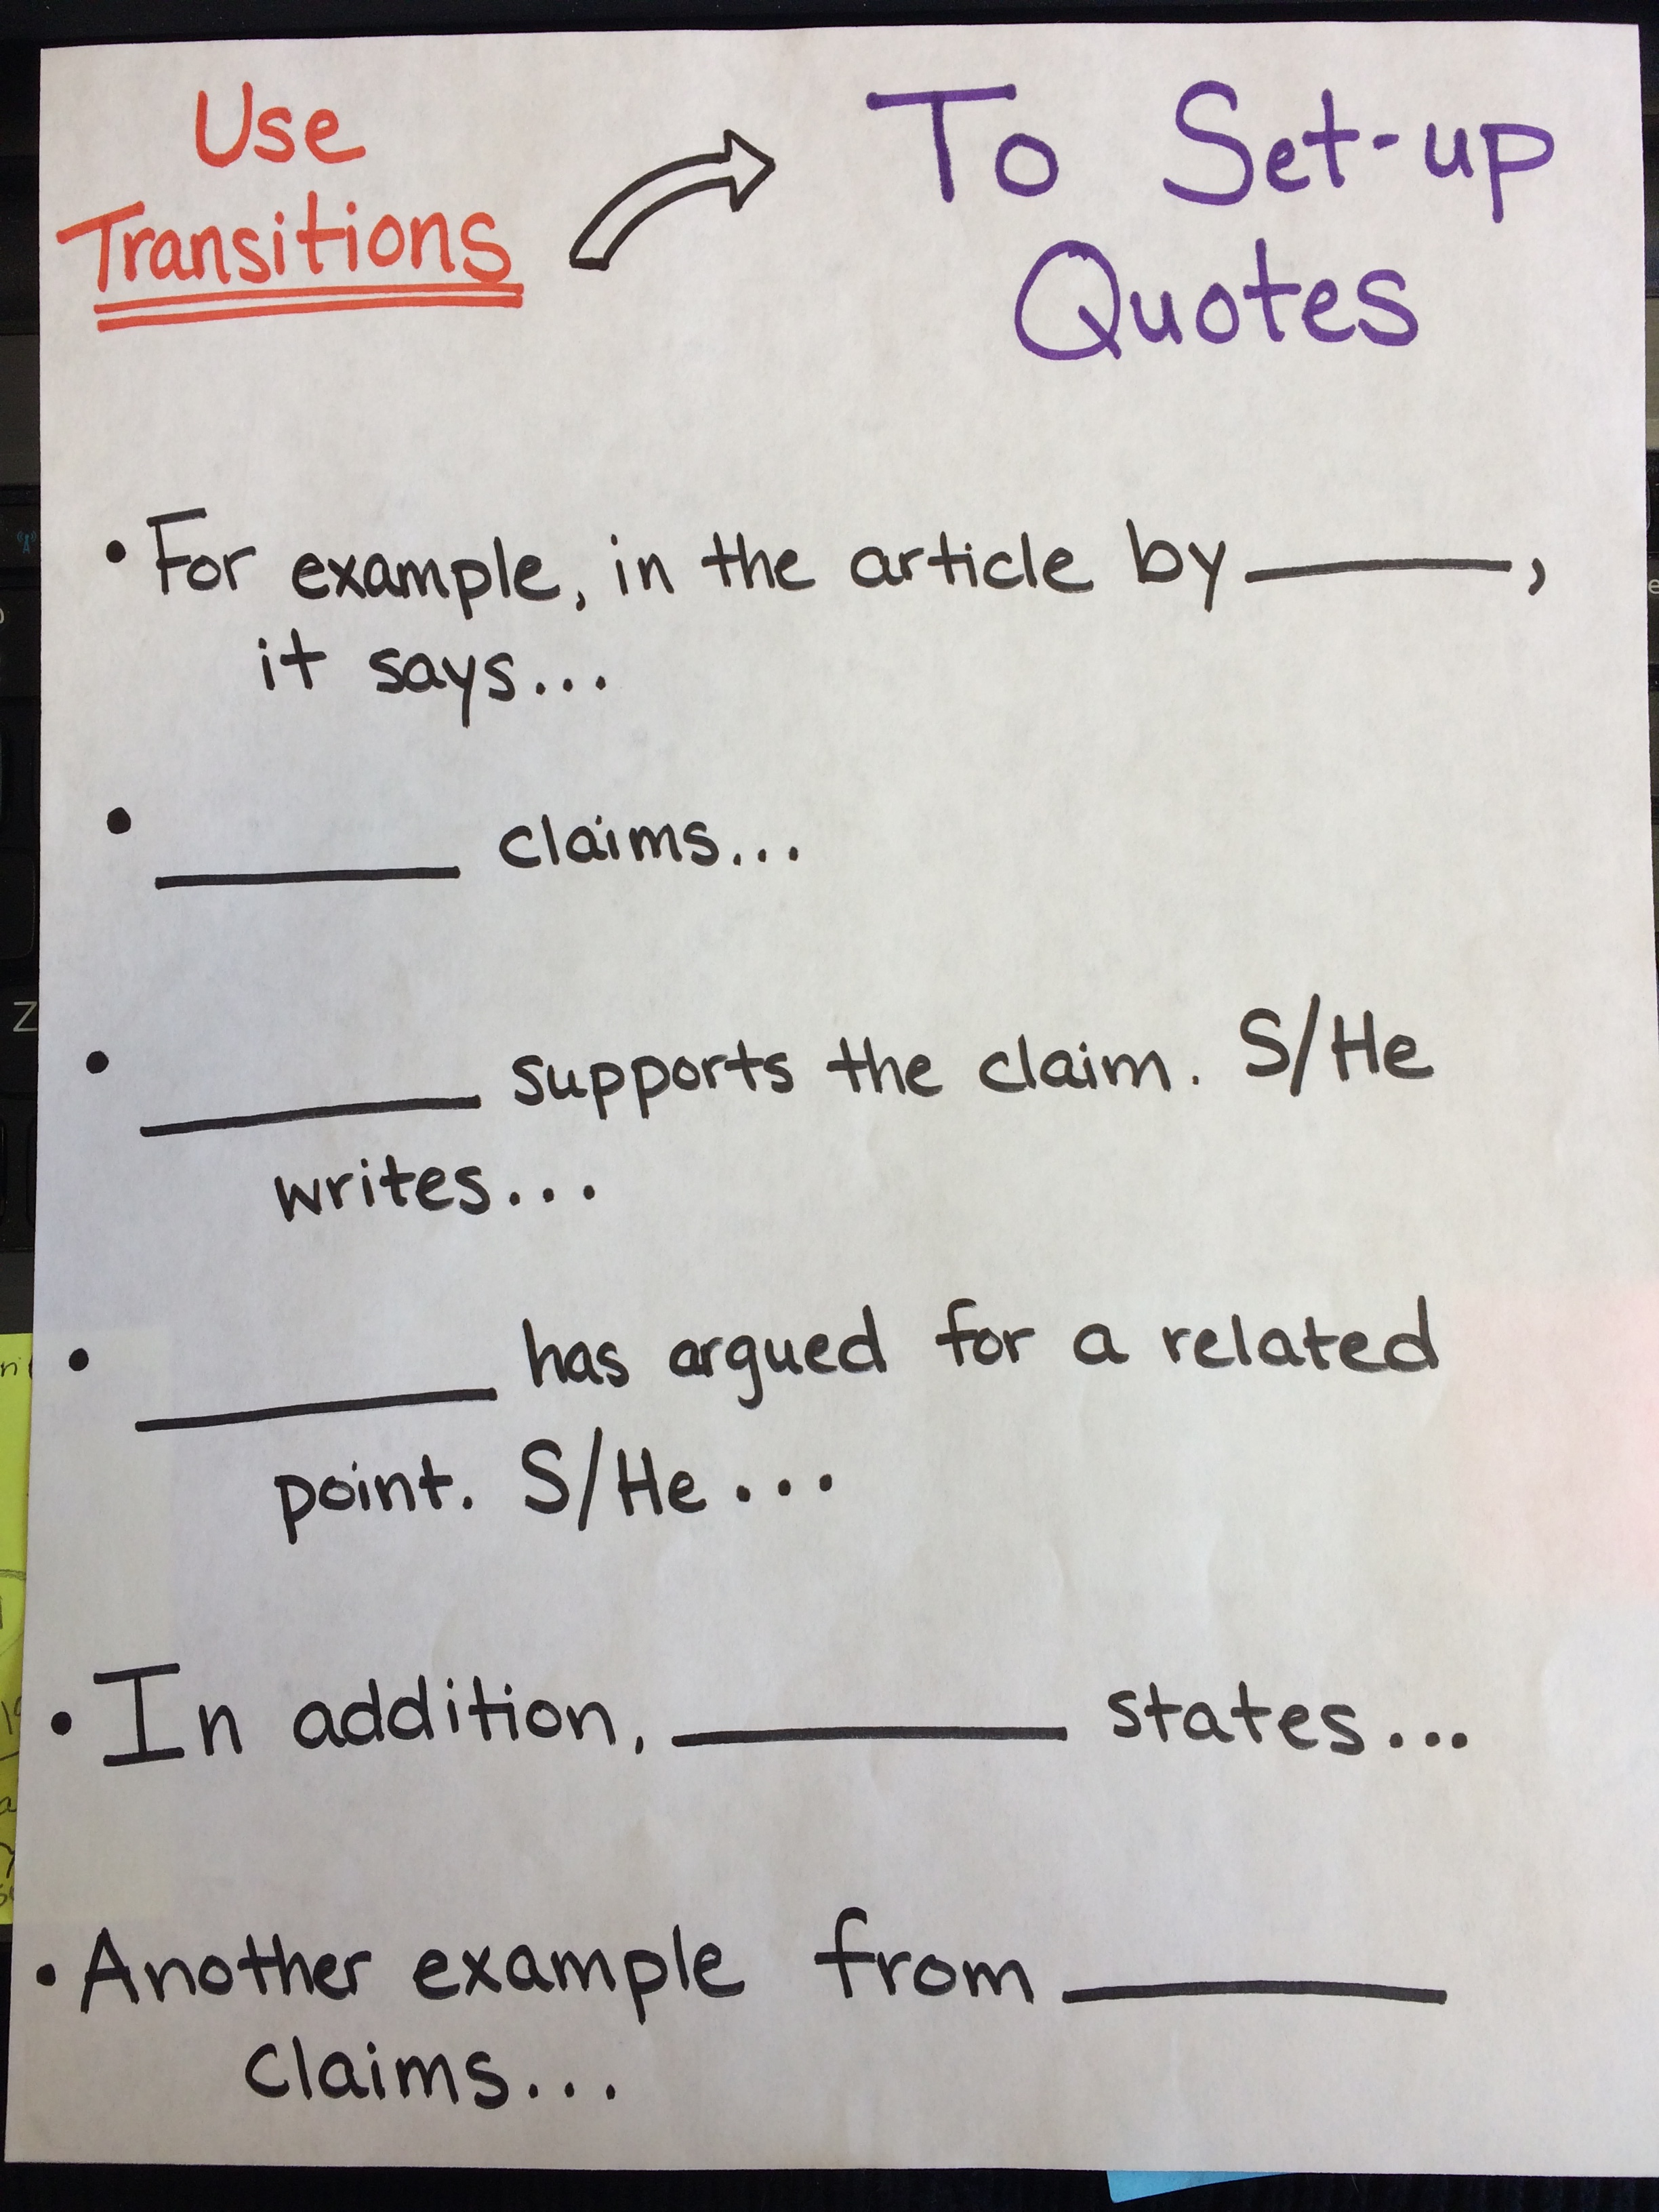
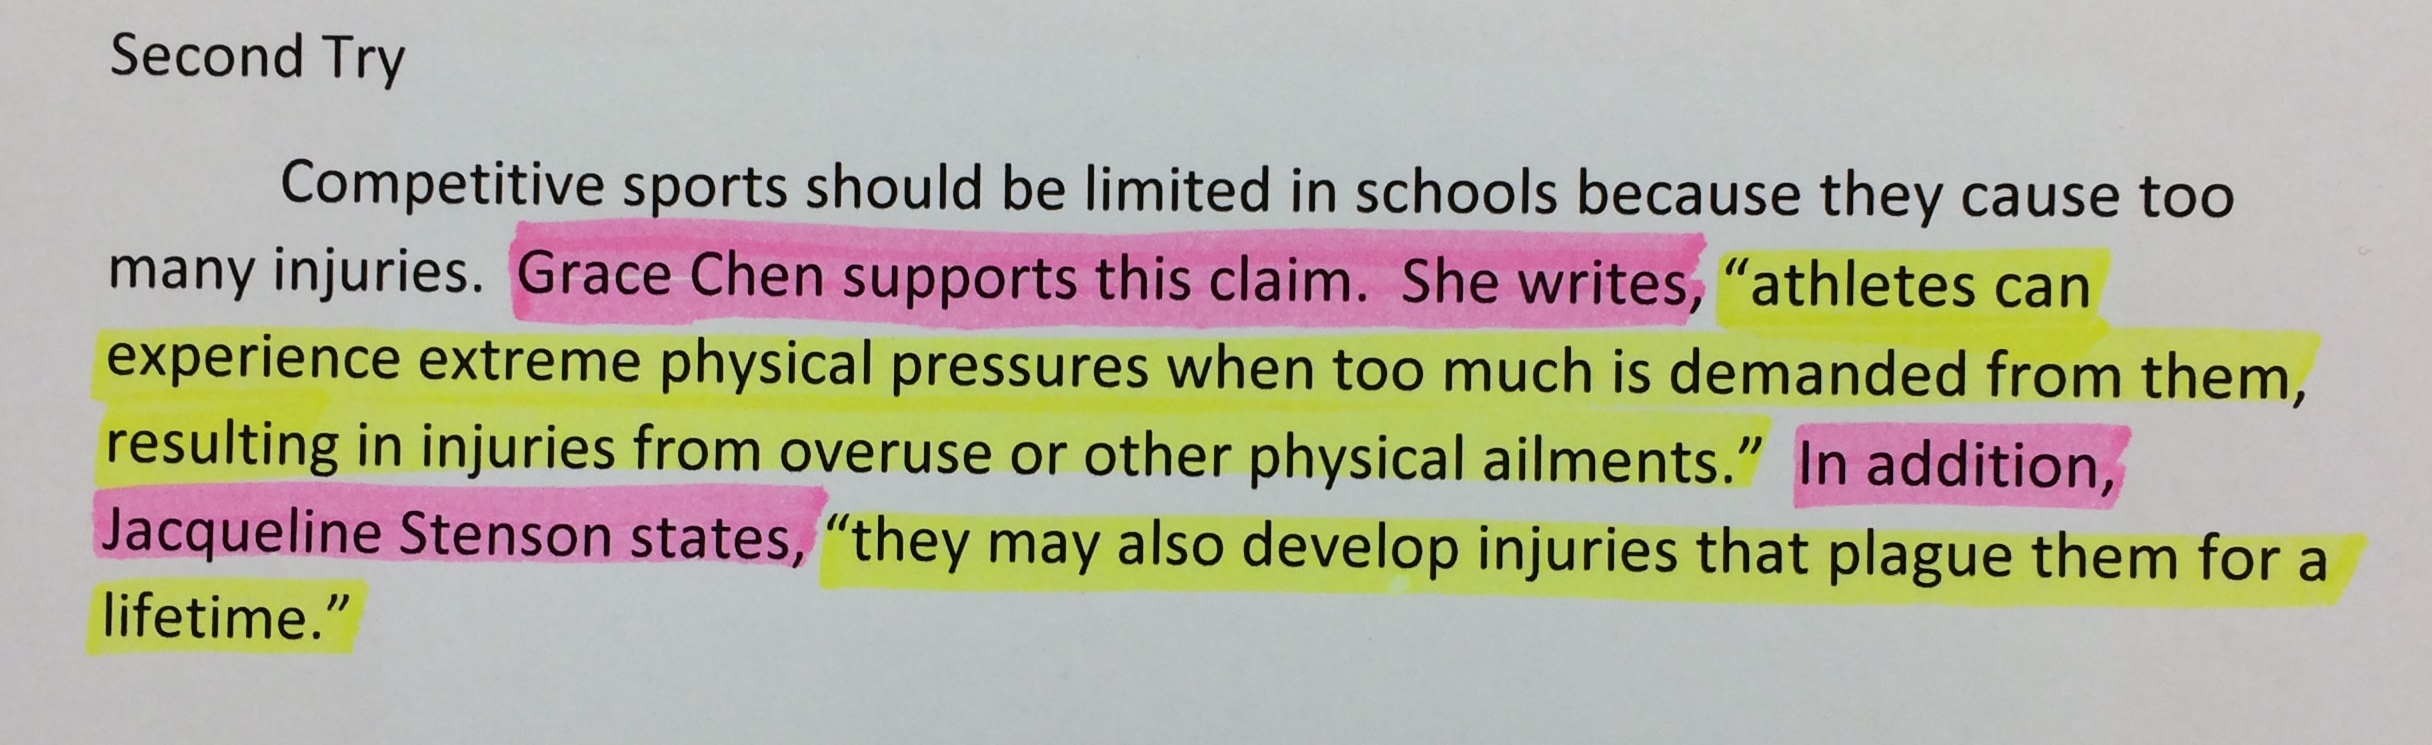
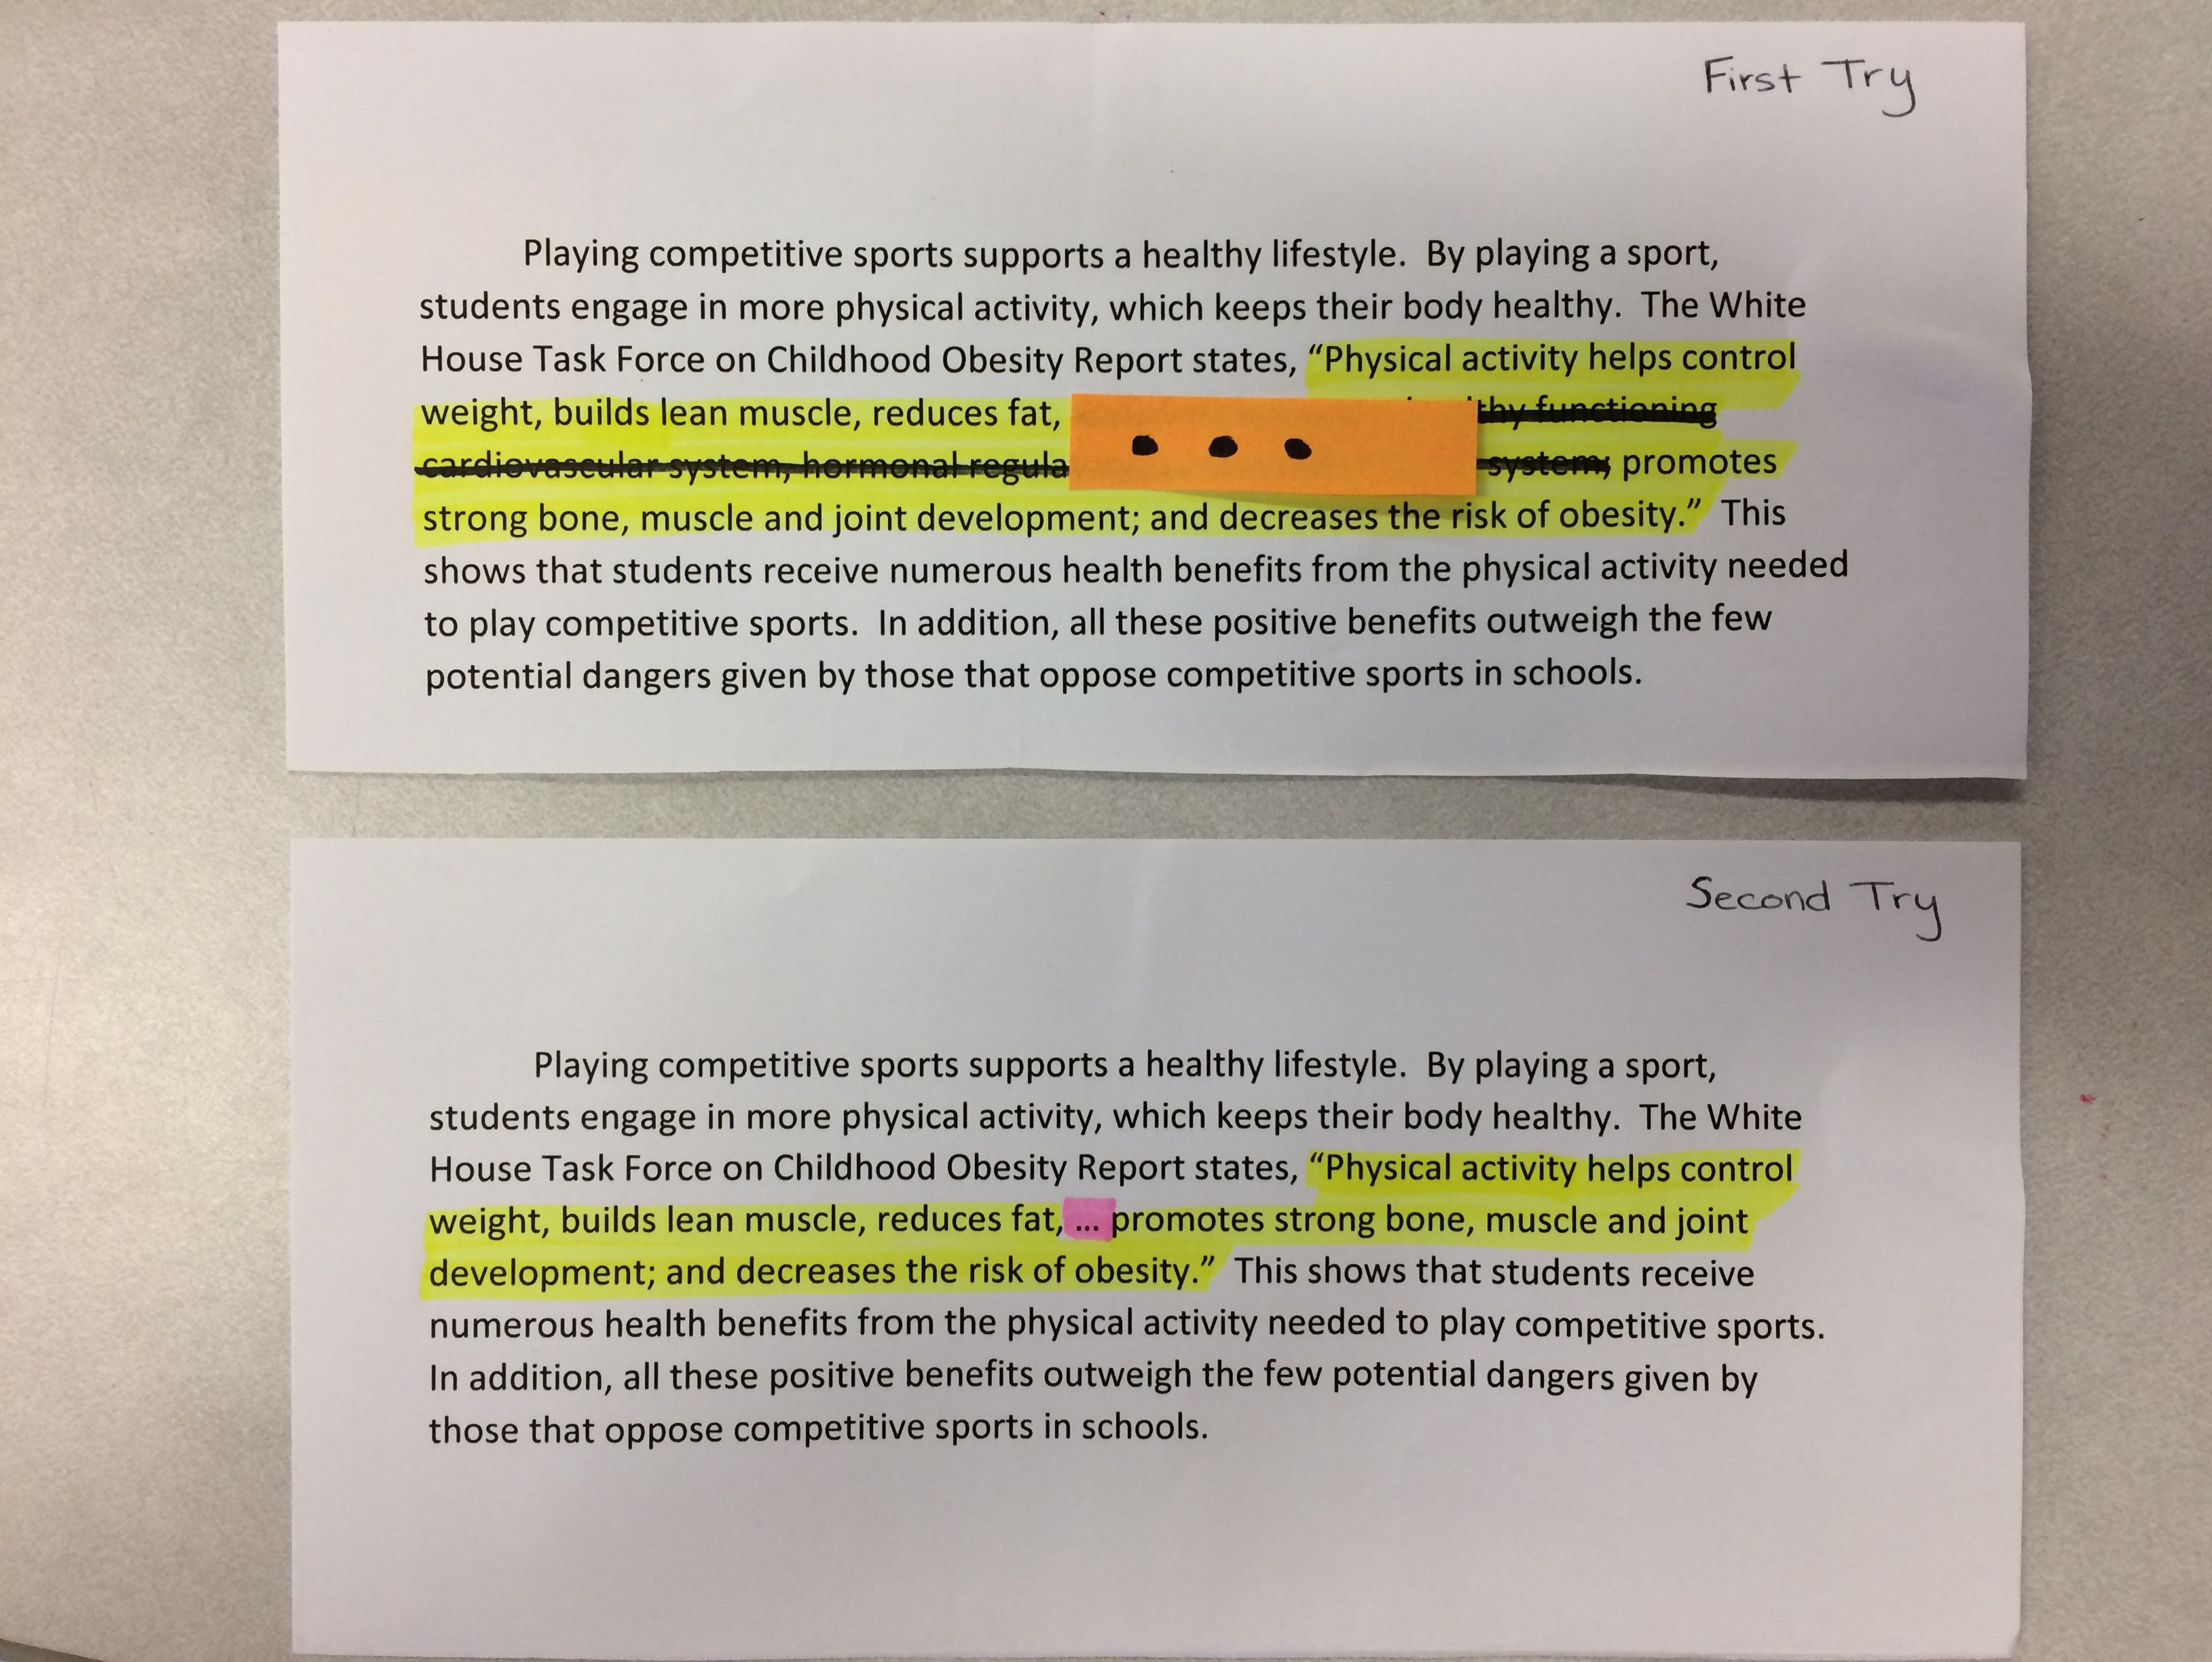
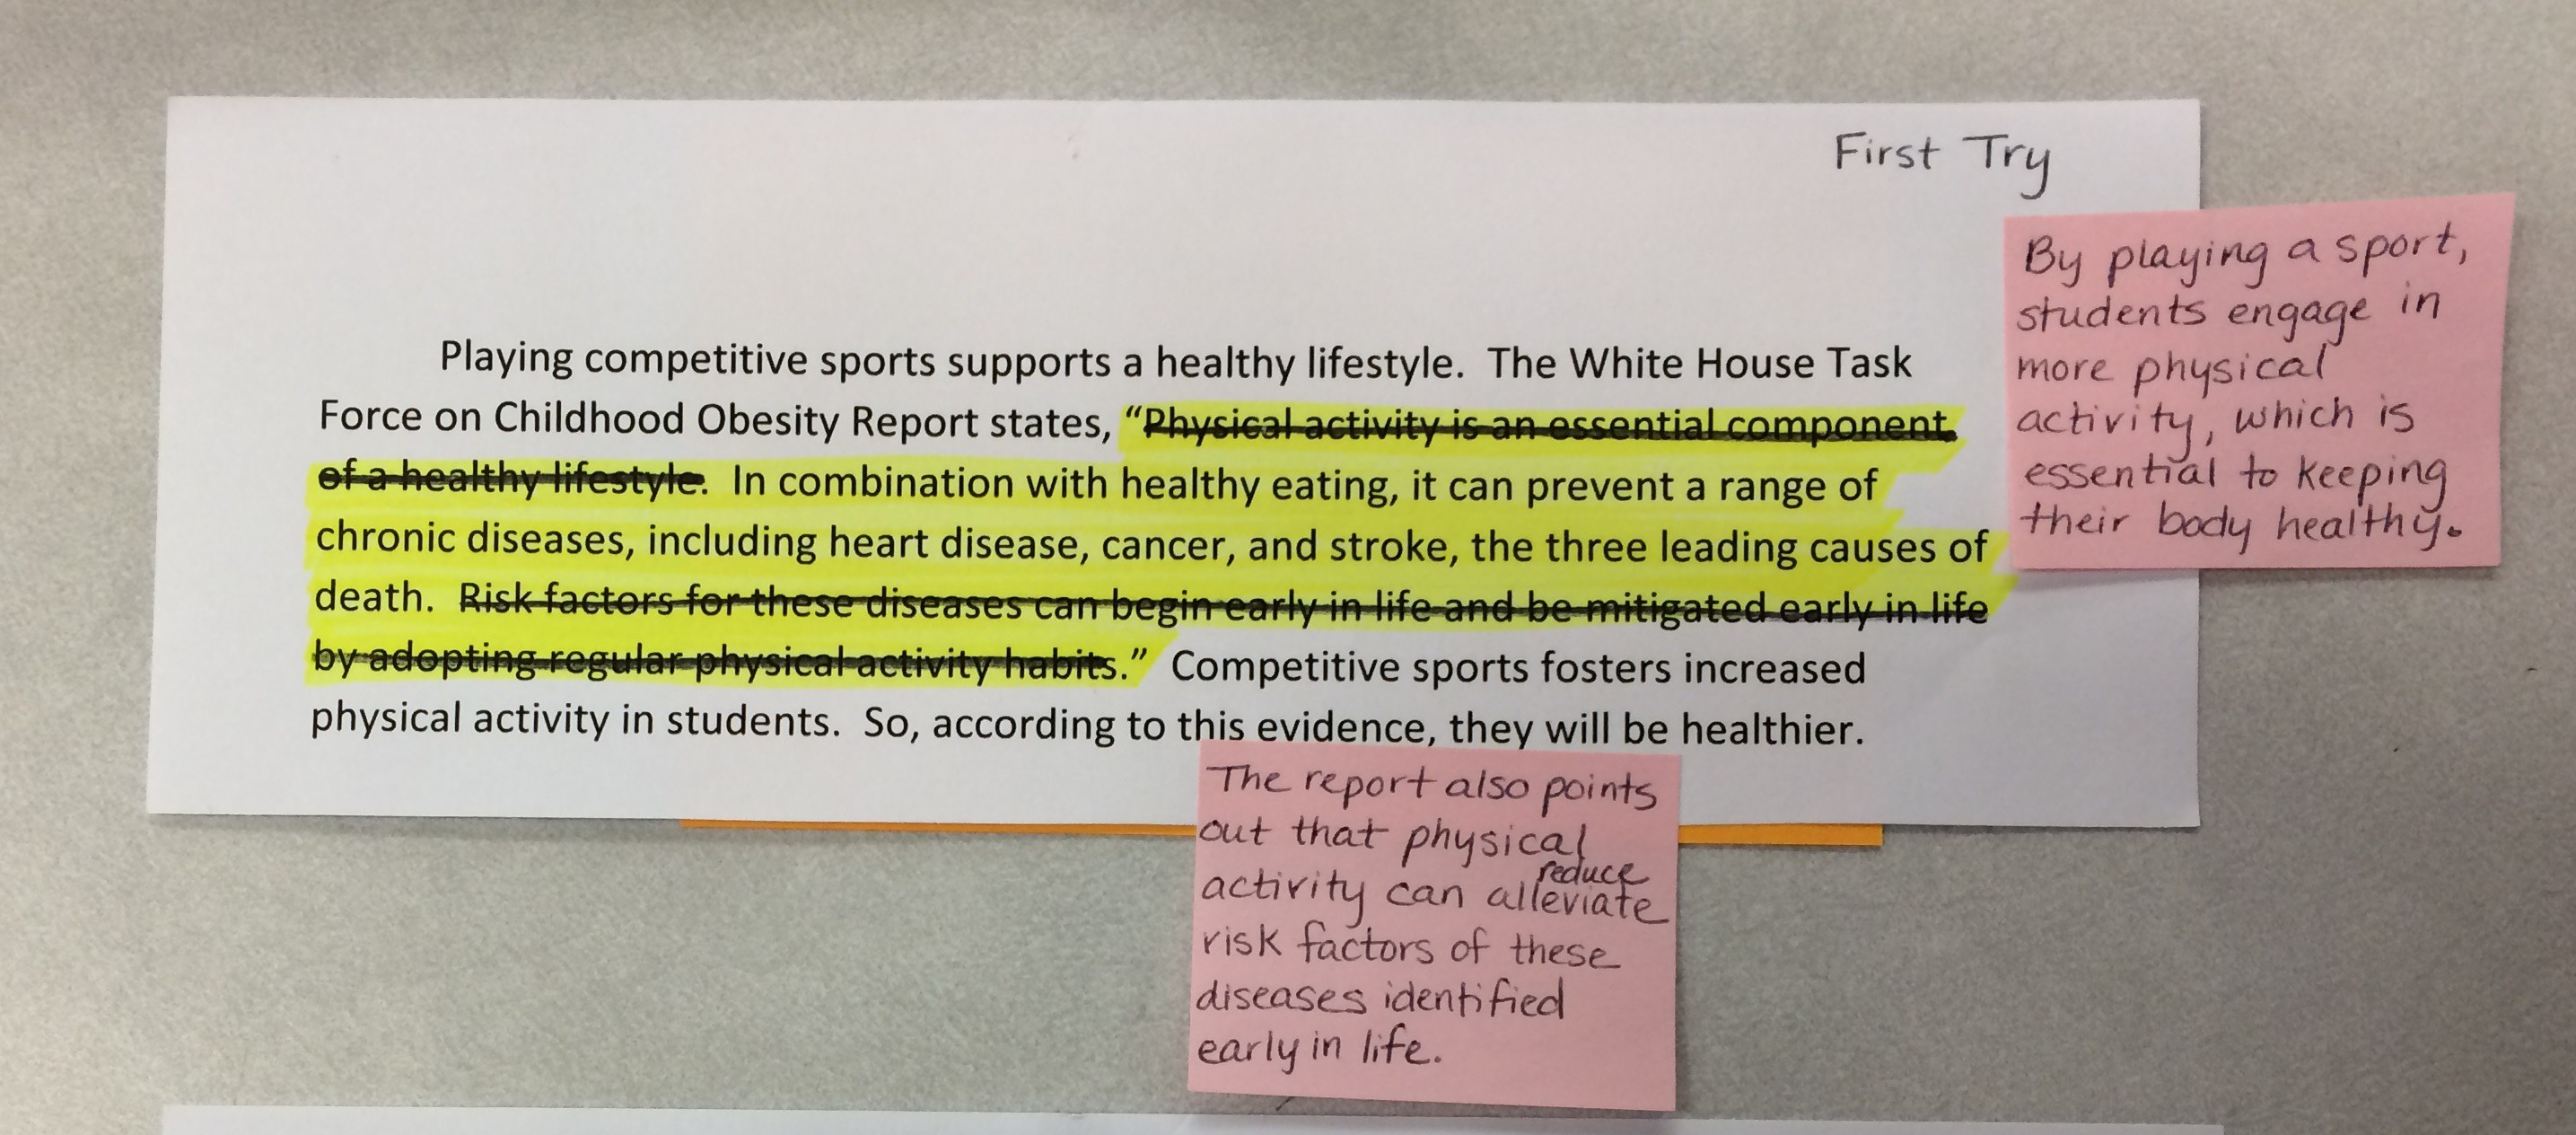
As an example, this (from Session 2)…

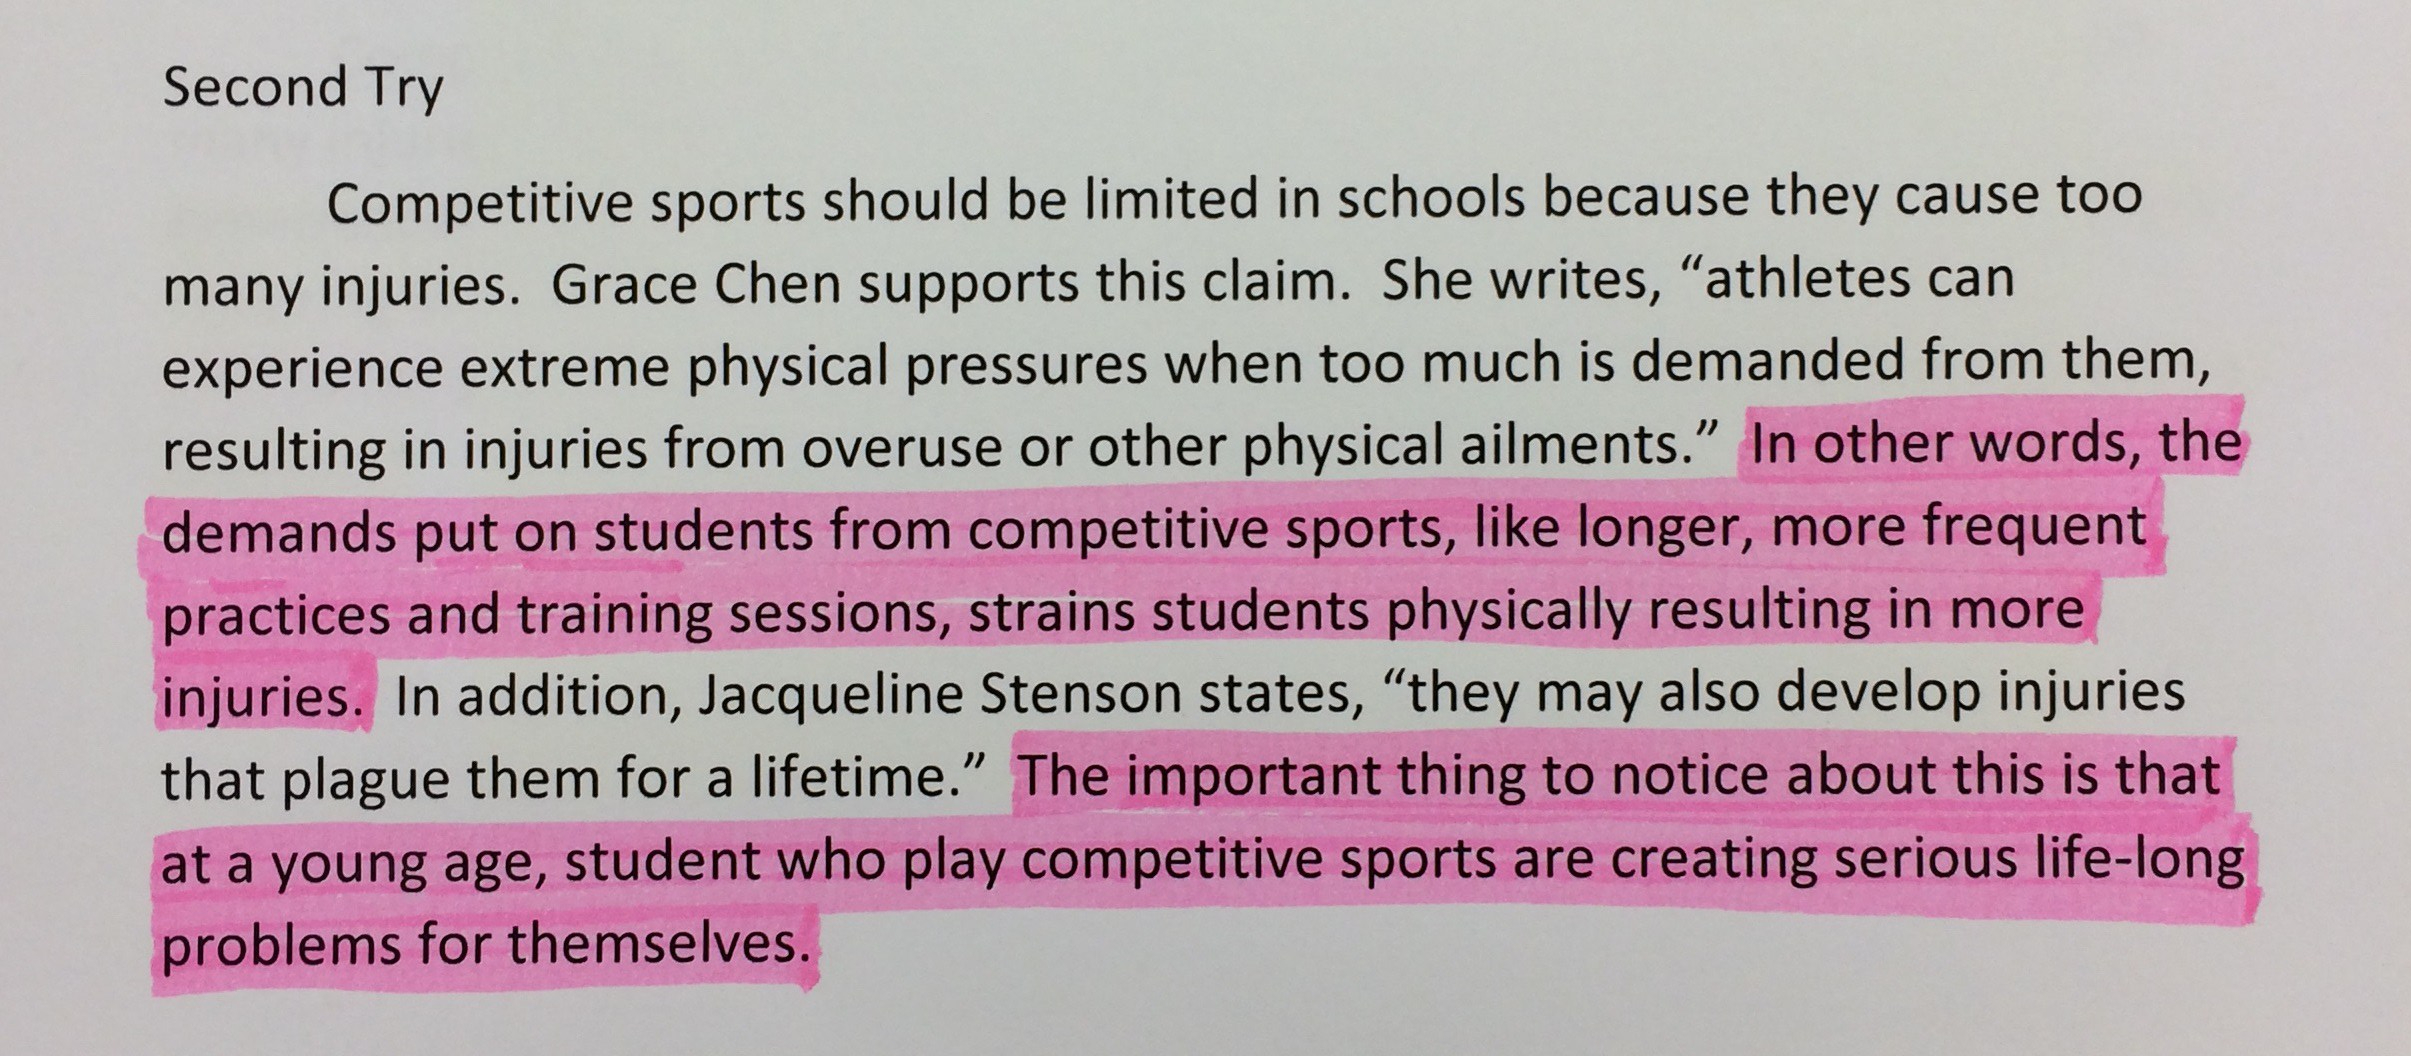
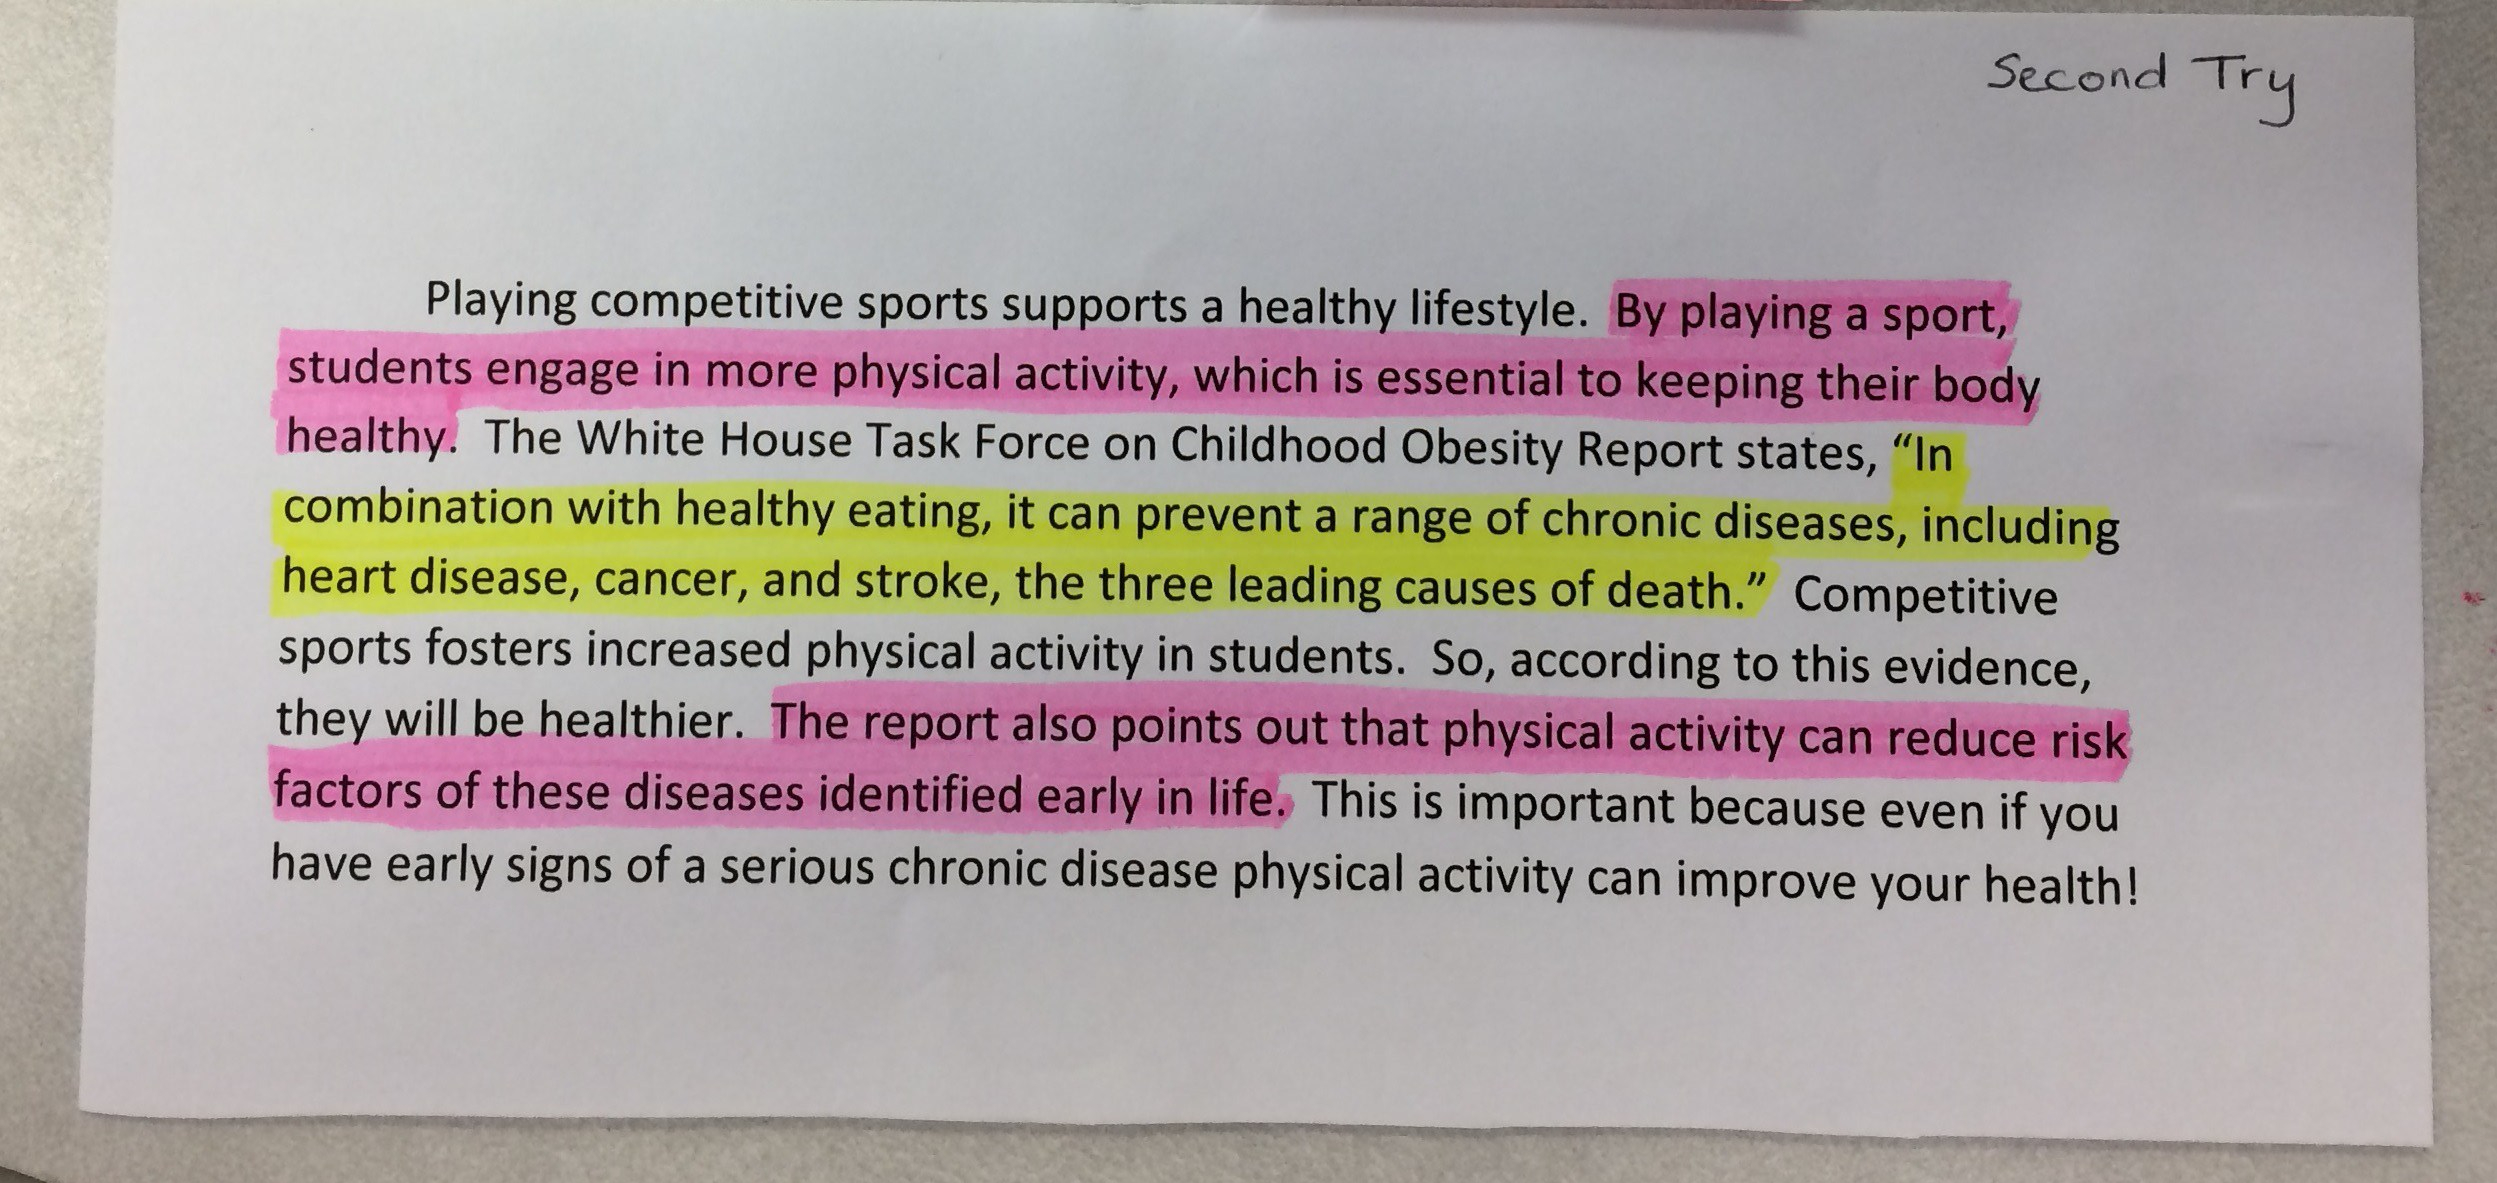
…became this…
So fun!
Small Group and Conferring Materials
I use a similar process when creating the necessary resources for the suggested small group and conferring work. I carefully read and think through each Conferring and Small-Group section of the session. Often, the unit will name out specific small groups you could plan, like this example from Session 6:
I use the information in each section to develop and write a small group lesson plan; creating or pulling strategy charts, exemplars and resources as needed.
Sometimes, the unit suggests that you do some lean-in comments to support repertoire work. Think of this as a way to guide students toward the work you are teaching as well as toward more sophisticated thinking. Often the unit will provide some examples and Session One of the online resources has a print-out as well. However, to make this resource teacher-friendly I put the suggested comments into an If/Then chart.
For session five I create the following,
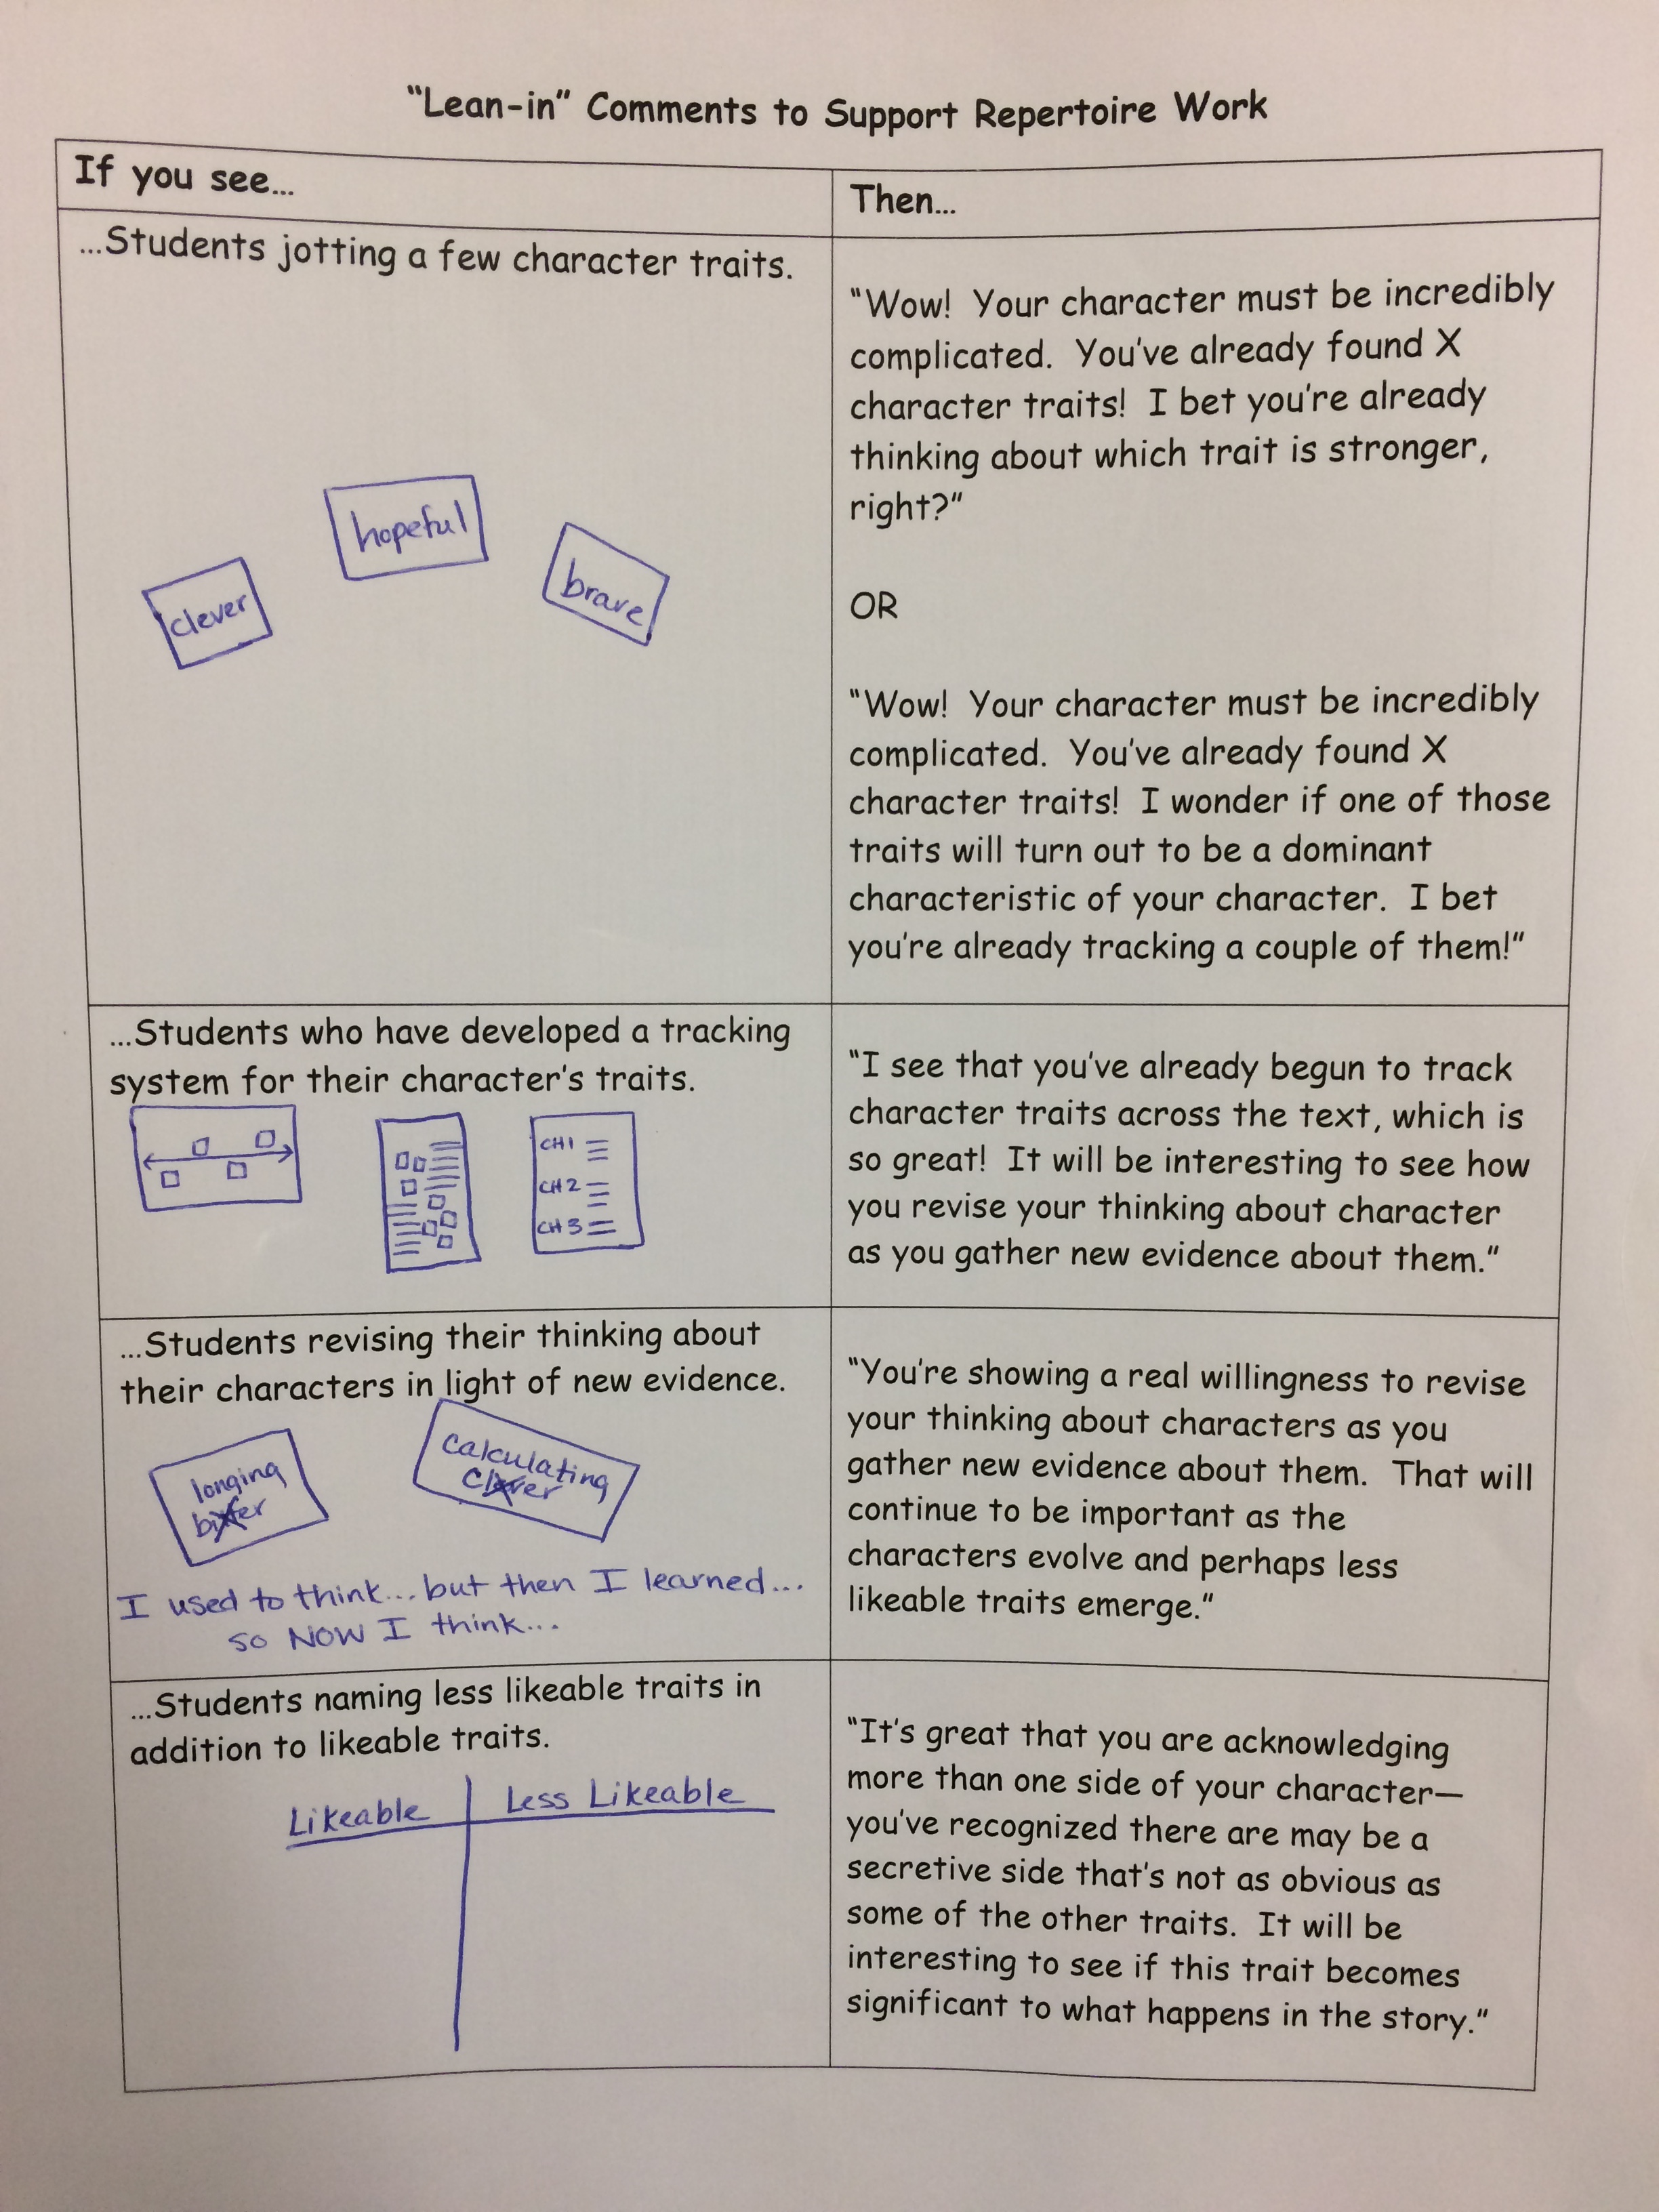
This chart includes all of the work done thus far in the unit from session one to four. With a chart like this, teachers can use the visuals to easily see what type of student work to be on the lookout for, and what to say when they see it.
Logistics
All of the pages are housed in sheet protectors. Single pages are organized back-to-back. However, to keep organized I only put one small group lesson including materials in each plastic protector. So when it is time to teach that lesson, you can easily pull out all the materials and go.

Session 1 Small Group: Lifting the Level of Literary Language (character traits)

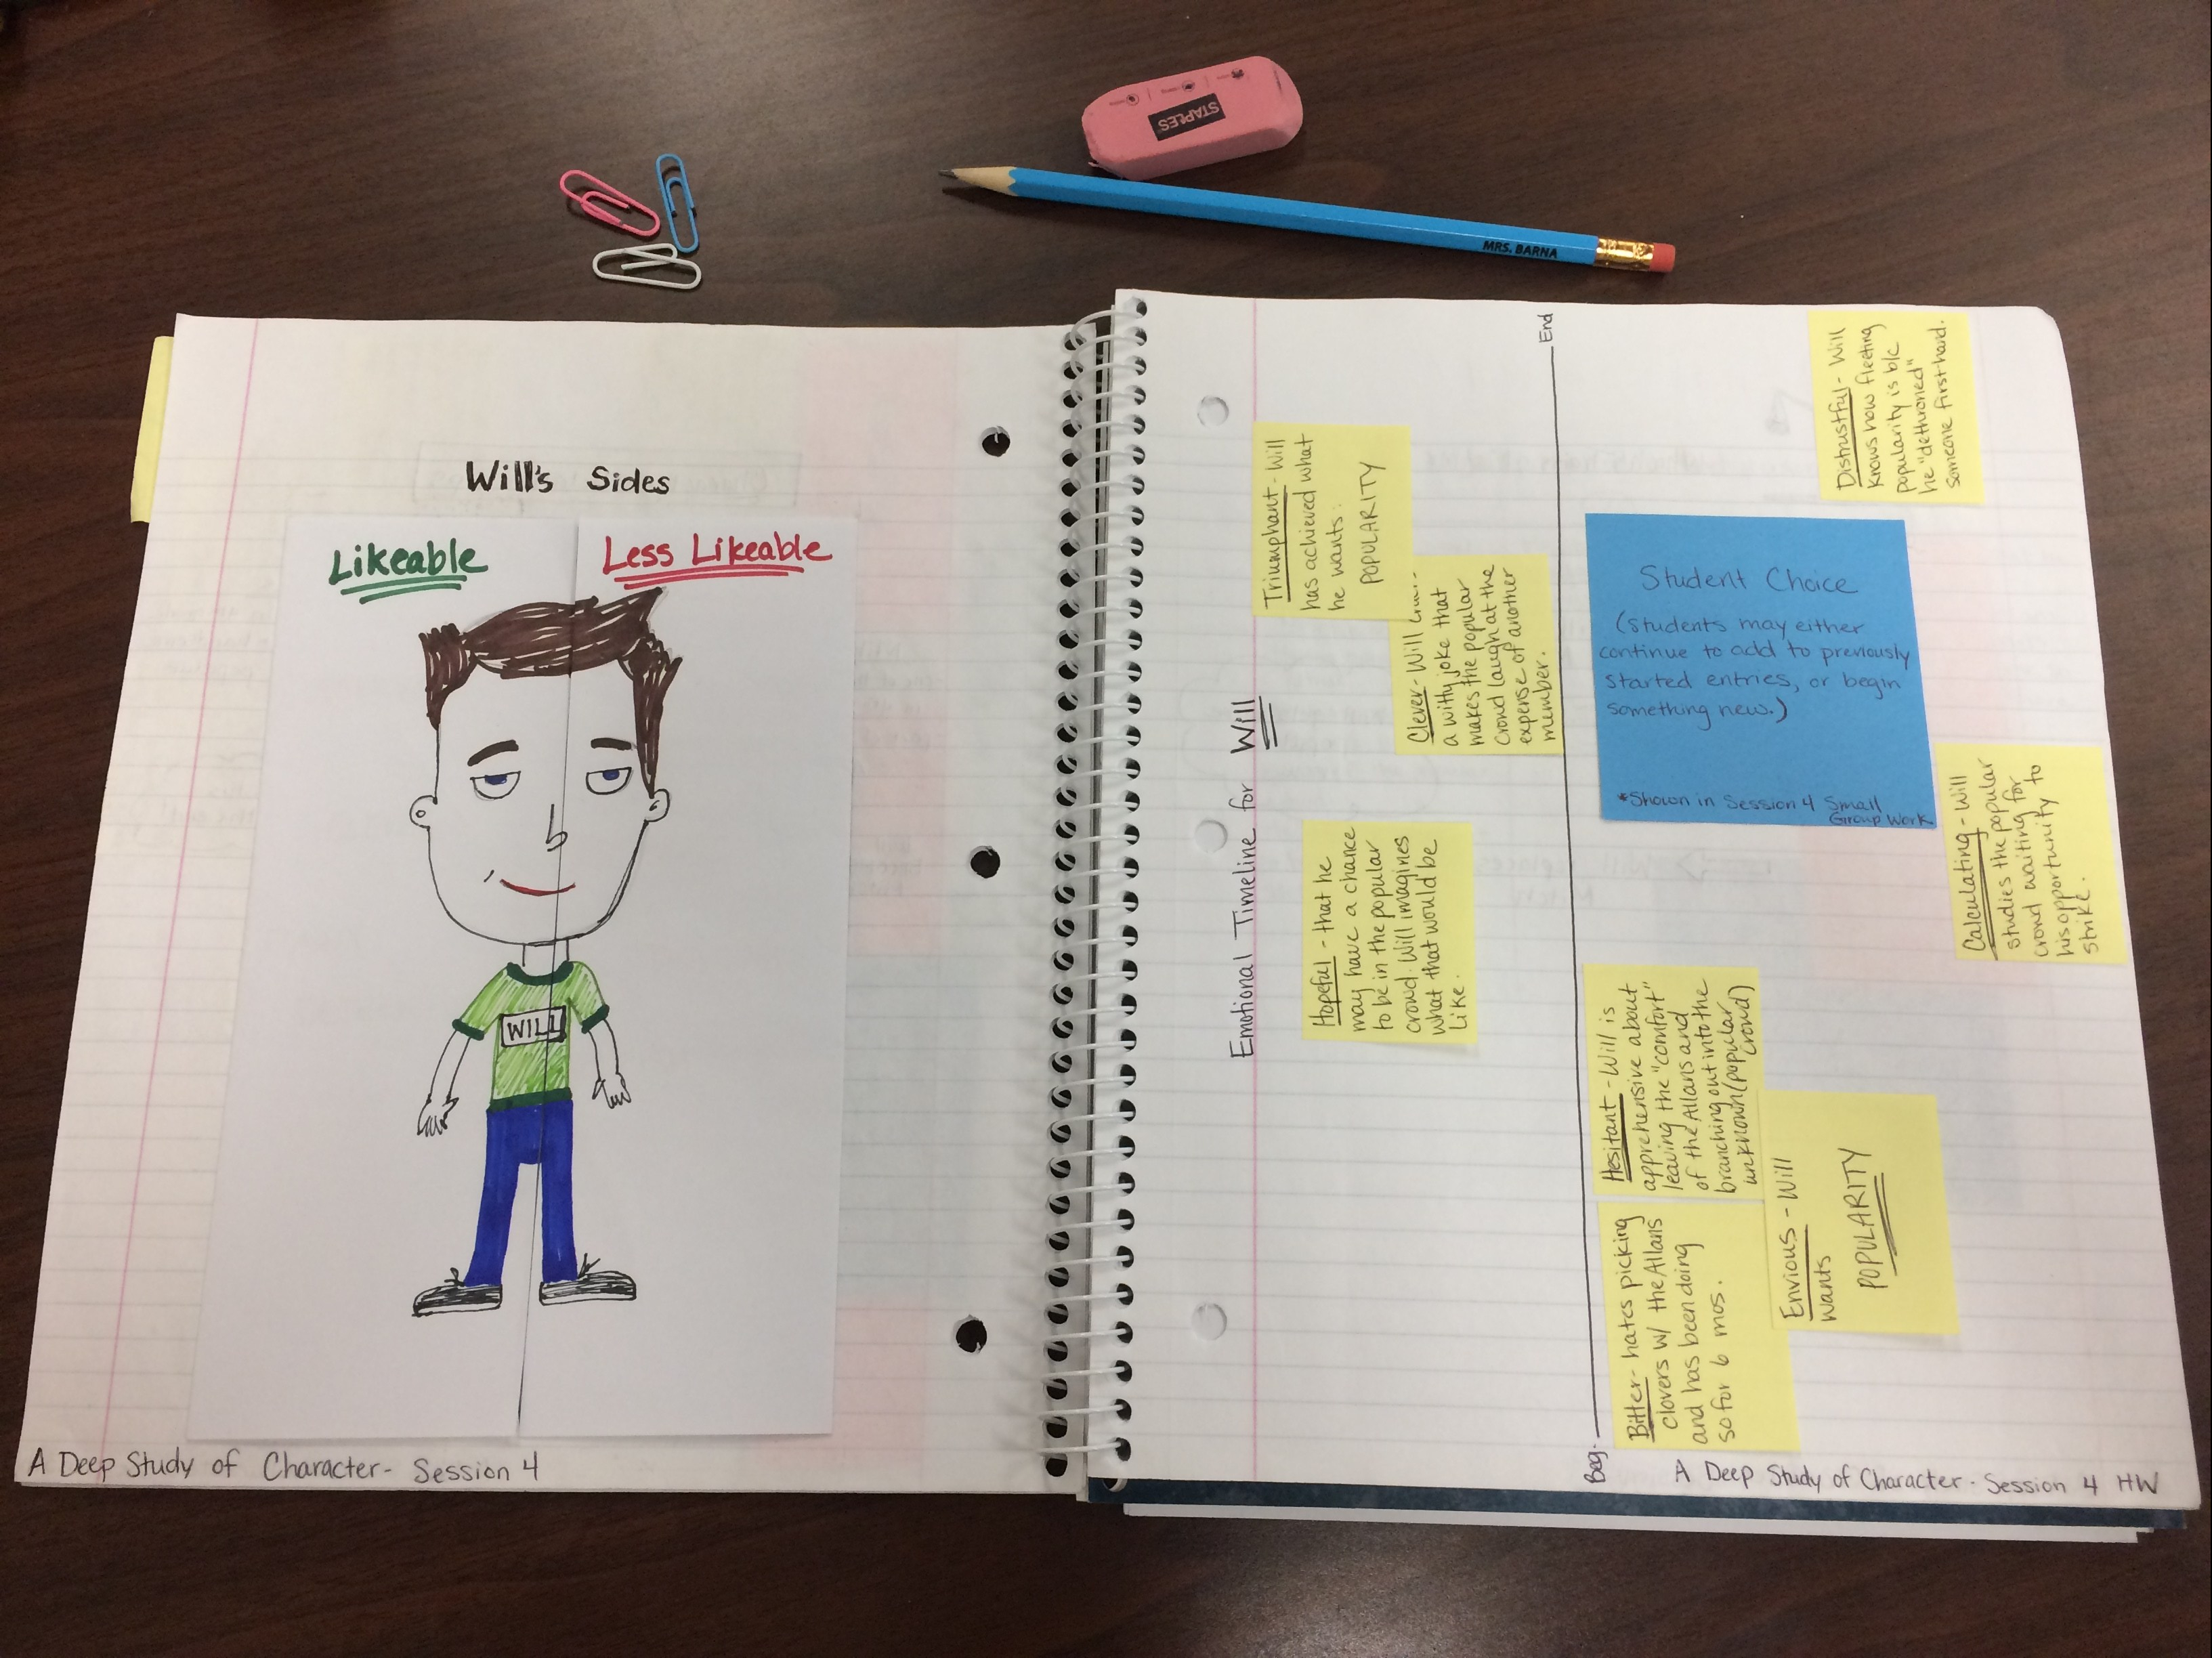
Session 4 Small Group: Traits Vs. Emotions
To make pages reusable year after year, I stuck Post-its to the outside of the sheet protectors. This way teachers can jot observations down without having to reprint the page each year. For example,

The blue tabs indicate each session of the bend. I labeled each by number, but then also put one word to remind myself what the content of that session is. (I didn’t have the words at first, and although I’m getting pretty good at naming the content off-hand, I would sometimes be a session off. With the goal of making this as simple and teacher-friendly as possible–why work harder than necessary?!)
♥
Putting this together was really a rewarding task. Like doing the demonstration notebook, this work helped to crystallize the concepts taught in the unit. Time-consuming, yes. But, well worth it- a labor of love!
What do you think? Is this something you would find useful in your classroom? What does your toolkit look like?
Let’s keep the conversation going-
Lindsay


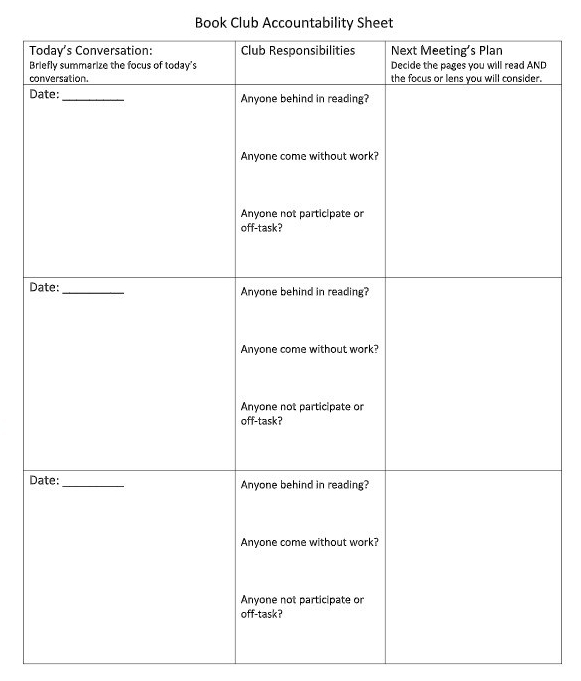


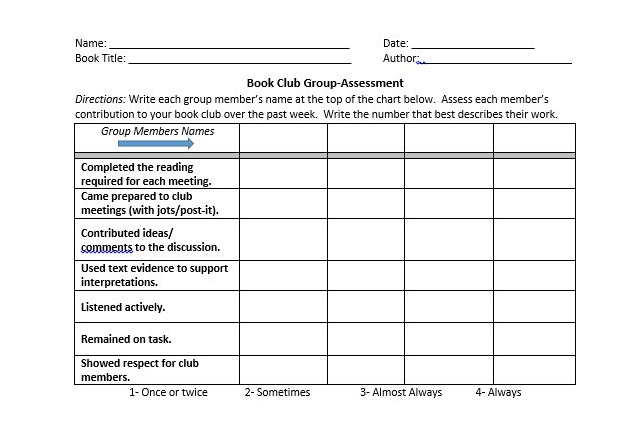
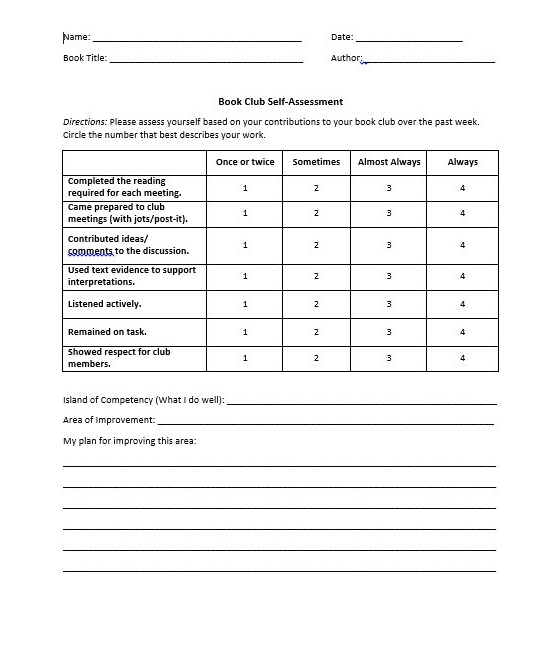 I also capitalize on peers keeping each other accountable by using a group assessment, where group members assess each other’s behaviors. If you’ve never done peer assessments, you might be surprised at how honest (sometimes brutally!) middle schoolers will be. The combination of the Self-Assessment and the Group Assessment provides me with a clear picture of who is doing what in a book club.